
Pizza Pockets and Pies
Saturday night is pizza night here at home. It’s been that way for +30 years now. Today I had to make pizza dough and decided to do some experimenting with not just a new dough recipe but a new way to shape the pizzas.
I started to weigh out the ingredients for the pizza dough, following a recipe I recently started using that required yeast, therefore it needed time to rise before using. We had just finished the previous night making pita shells which we sometimes dress with pizza ingredients and put under the broiler to cook.

When I looked at the recipe for the pita wraps, and the one for the pizza dough, they were almost identical except for a few things, like sugar in the pizza dough and none in the pita wraps. And yeast in the pizza dough and baking powder in the pita wraps.Same but different.
As I started with the pizza dough recipe, I had weighed out the flour, salt and sugar into the mixing bowl. Then when I thought about the yeast needed, that’s when I got to thinking about the pita dough recipe. I am always willing to experiment so I gave it a go. I replaced the yeast with baking powder and made an adjustment with the oil. Recipe will be at the bottom of the page.
After the dough was formed I divided it in half. Then took one of the halves and divided it into 6 pieces, forming each into flattened round shapes. Then let it rest for 15-20 minutes on the table.
Next step was to roll out the big pizza shell as that was in intention for tonight’s supper. Into the preheated oven it went at 400ºF for 8 minutes. While that was baking I started in on the six smaller pieces. The plan was to make six tart/pie shaped shells and bake them. The pizza shell came out after 8 minutes, fully expecting air pockets and blisters but none to be found.

I had put three in the cup pans and then another idea… pizza pockets! So the three tart shells went in the oven for 8 minutes as well. They came out better than expected.


Just the right baking time. Now onto the pizza pockets. I rolled them out to about 9 inches in diameter. Then we dressed the pizza pockets.

We poked a few holes in the top to let steam get out. Into the oven they went for 12 minutes first and then check on them.
While the pizza pockets were baking we dressed the pizza tart shells and put them in the oven with the pizza pockets when there was 3 minutes left on the pizza pockets.

When the 12 minutes were up, the pizza pockets were pretty much done but no colour to them, so I closed the door and set the timer for 8 minutes.


The underside was baked just right.

The last piece of pizza to go in the oven was the pizza itself. With so much pizza already baked, we decided to only bake half a pizza shell. But really, is there such a thing as too much pizza??? I say no! 🙂

Now for the final reveal, we cut into the the pizza pockets and the pizza pies!

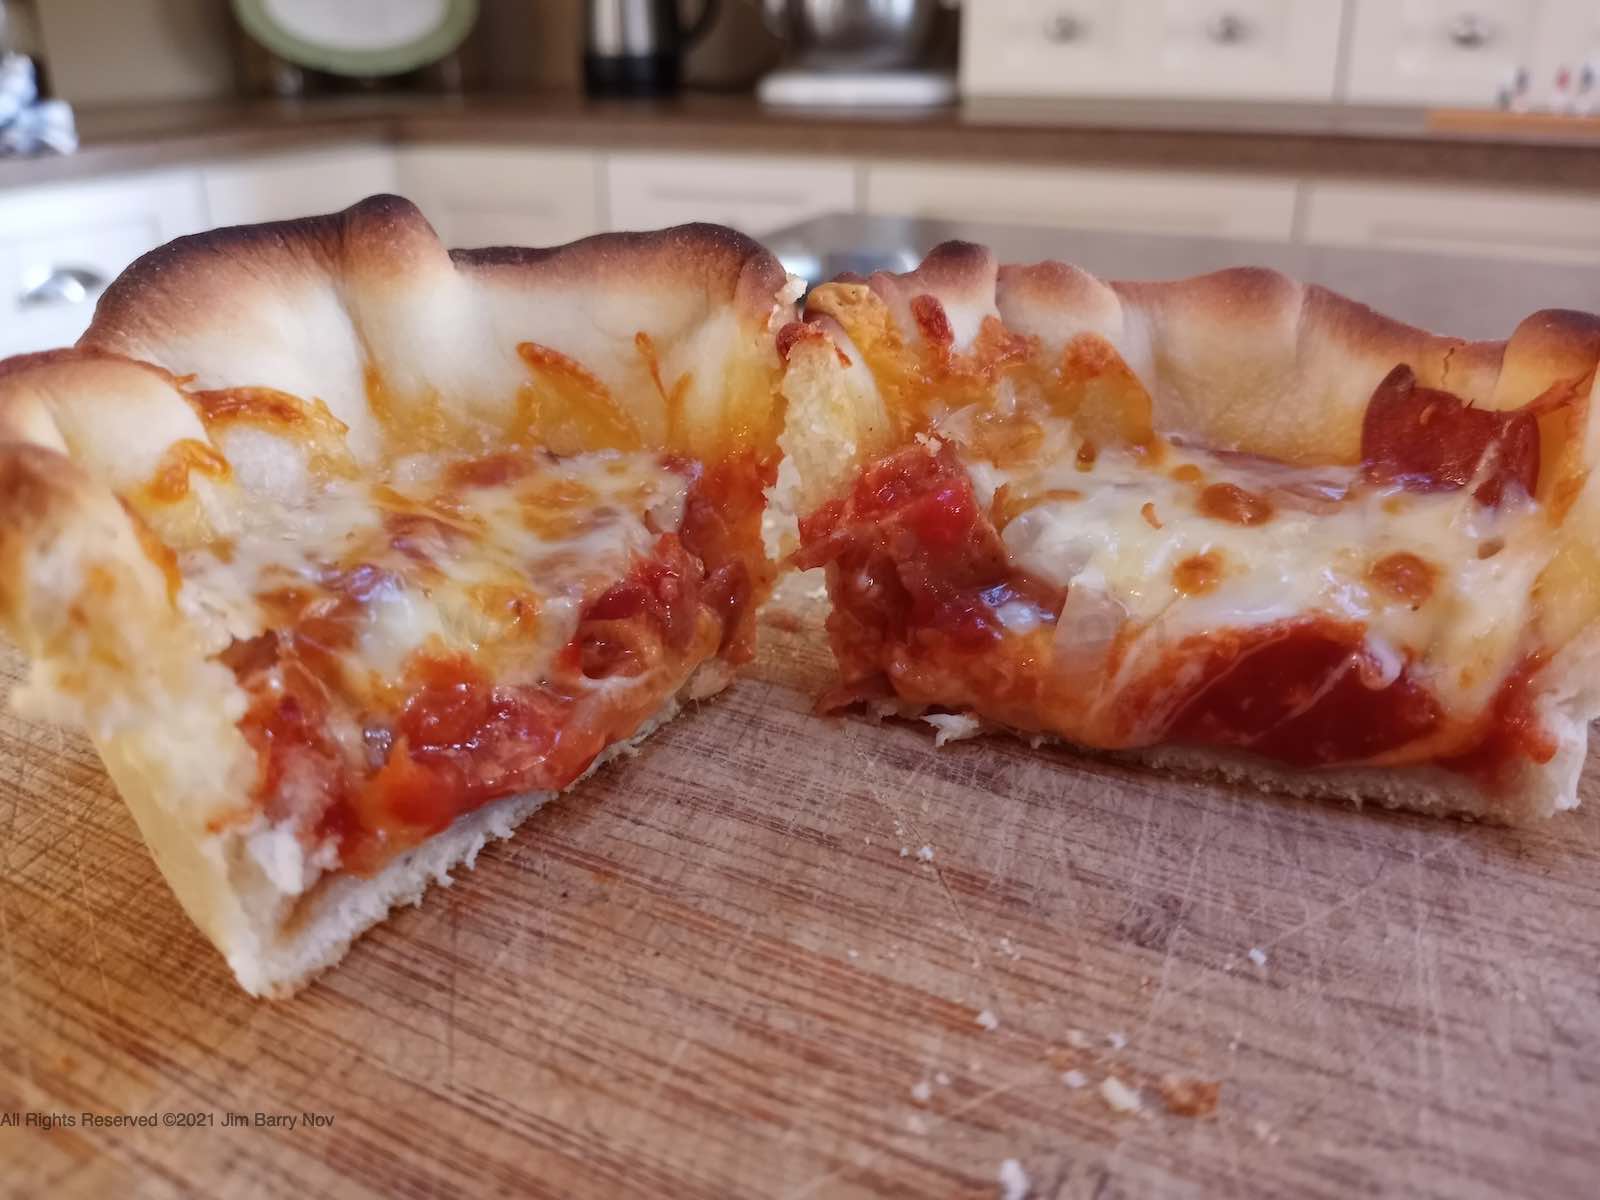
They were delicious and we couldn’t eat them all. Leftovers!!
Recipe
- 3 cups all purpose white flour (w e used supermarket no name flour)
- 3 teaspoons sugar (this amount is optional)
- 1 teaspoon regular table salt
- 1 teaspoon baking power (fast acting type works well)
- 1/3 cup vegetable oil (any oil will do)
- 1 cup luke warm water (amount is variable depending on the flour you use)
- Sift the dry ingredients into your mixing bowl.
- Weigh the wet ingredients then add to the dry ingredients.
- I used a 5qt counter top mixer to mix for 3-4 minutes. Then removed the dough from the bowl and molded the dough on the countertop for another minute. The dough should be smooth and pliable, not too soft but just tacky enough to lightly stick to your hand. You just want achieve a dough consistency that allows the dough to be rolled easily with a rolling pin after it rests for a bit.
- Divide the dough depending on how you want to use it.
- Speaking of rest… now leave the dough pieces sit on the countertop covered in a cloth for 15 to 20 minutes.
- At this point turn on your oven to 400ºF so it has a chance to pre-heat.
- Roll out your dough pieces and bake.
Bake times
- If you are baking just the flat pizza shell, 8 minutes on a greased pizza pan should be sufficient. After the pizza shell cools down, dress it and bake it in the oven at the same 400ºF for about 12 minutes. If you like your pizza toasty brown on top, after the 12 minutes turn on the top broil element for 2 minutes. Keep watch!
- The pizza pie/tart shells take also 8 minutes to bake, same temp. Once cooled, after dressing the shell, put it back in the oven for about 11-12 minutes.
- The pizza pockets take 18-20 minutes to bake, again, depending on your preference for colour of the crust.
Enjoy!


You May Also Like

24 hour pizza dough, crispy recipe

Detroit Deep Dish Pizza
