Homemade Dog Treats
Our favourite pooch is moving away soon. I may have shed a tear. So when we were asked if we wanted to dog sit for the weekend we jumped on it. I mean how can anyone resist this guy:

Jacob is a cockapoo which is a cocker spaniel/poodle mix and comes with all the essentials: leash, bed, blanket, food, food and water bowls, and of course a toy. On his first few visits we put his leash on to go outside, scared he would take off and we wouldn’t be able to find him. Now that he is a bit older, we don’t need the leash anymore. He is happy to follow us around and doesn’t stray too far, that is unless he crosses path with a squirrel. Then all hell breaks loose.
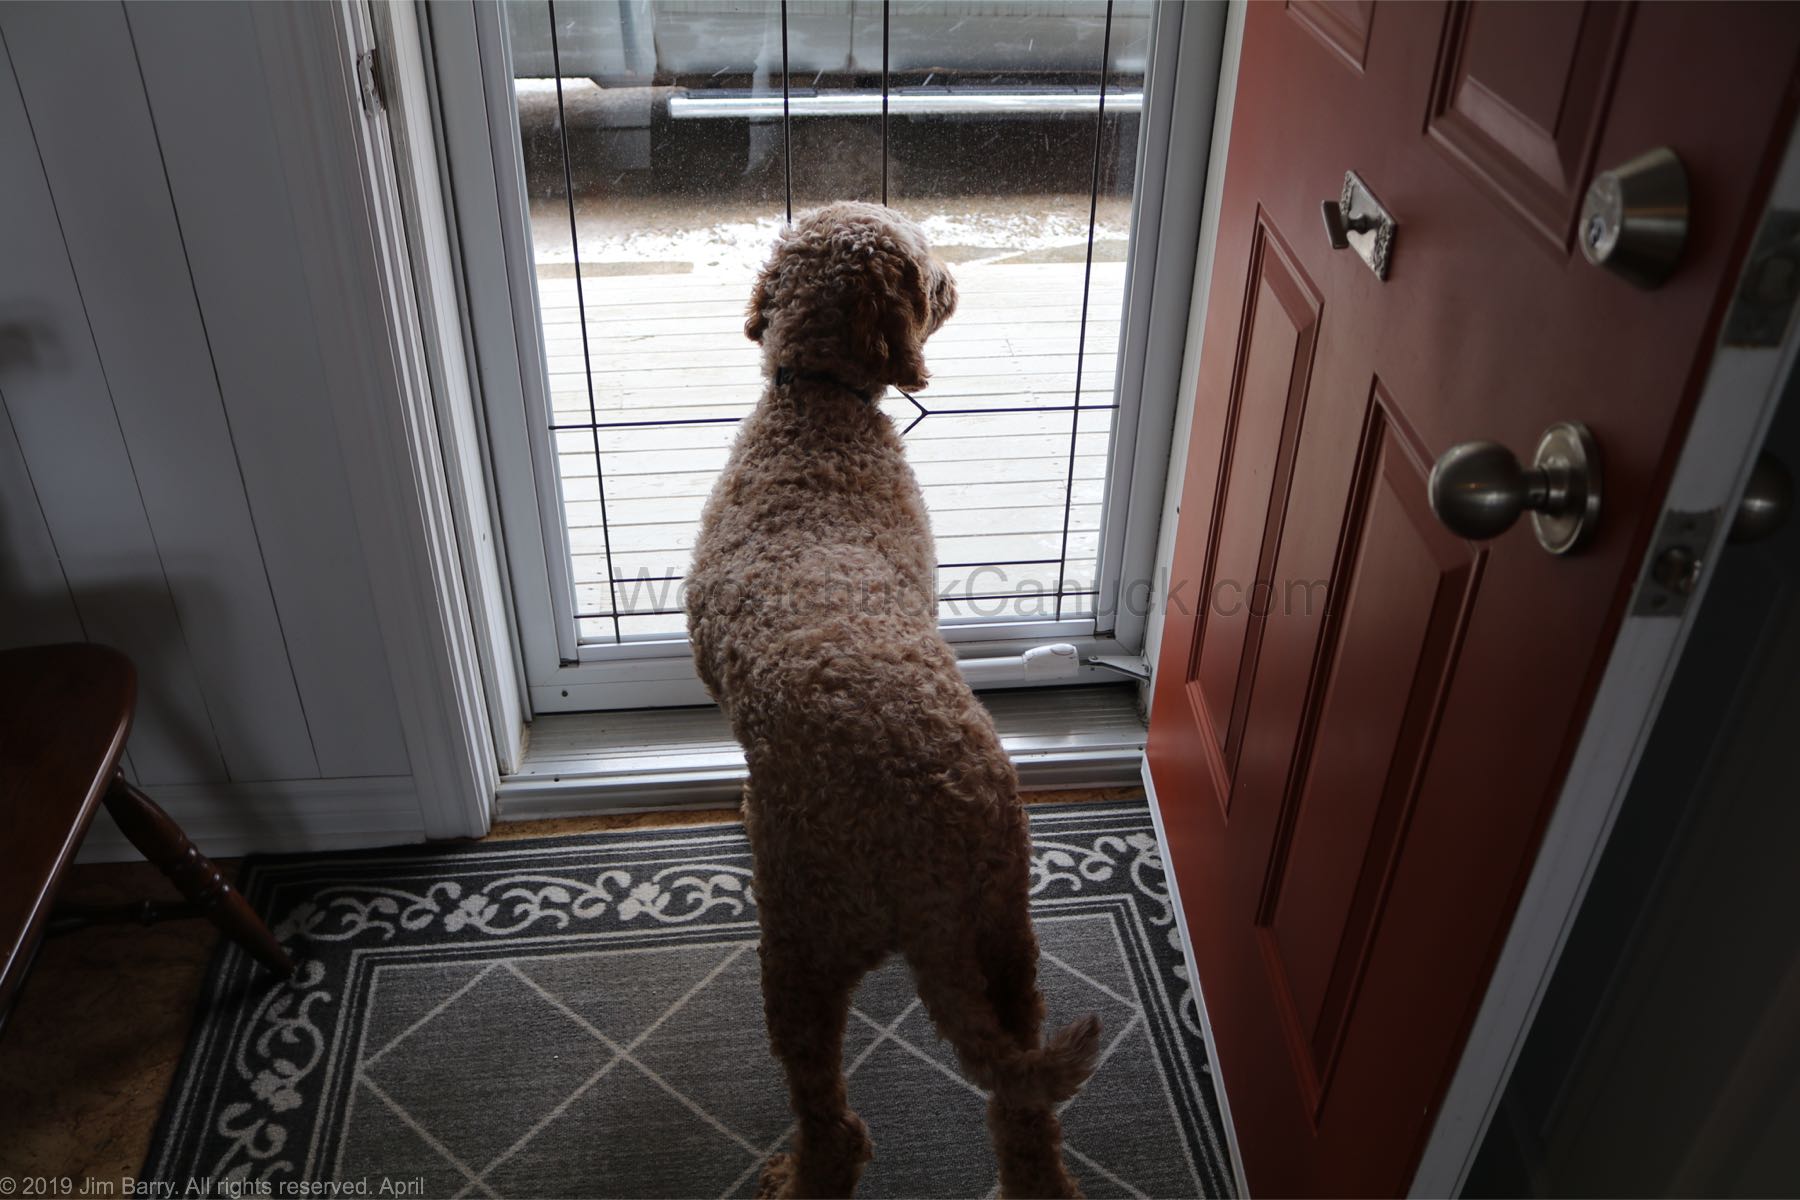
While indoors he is dreaming of being outdoors. Now that the weather is a little warmer we keep the door open so he can look out.
We decided to make some treats for him. We found a recipe for homemade dog treats and headed to the kitchen. It is an easy recipe with only five ingredients, and you mix, roll, cut and bake. Couldn’t be easier.
We cut the recipe in half, so here is what we used: 1/2 cup smooth peanut butter, 1/2 T molasses, 1/2 cup milk, 1 cup whole wheat flour, and 1/2 T baking powder. Mix on low until blended.
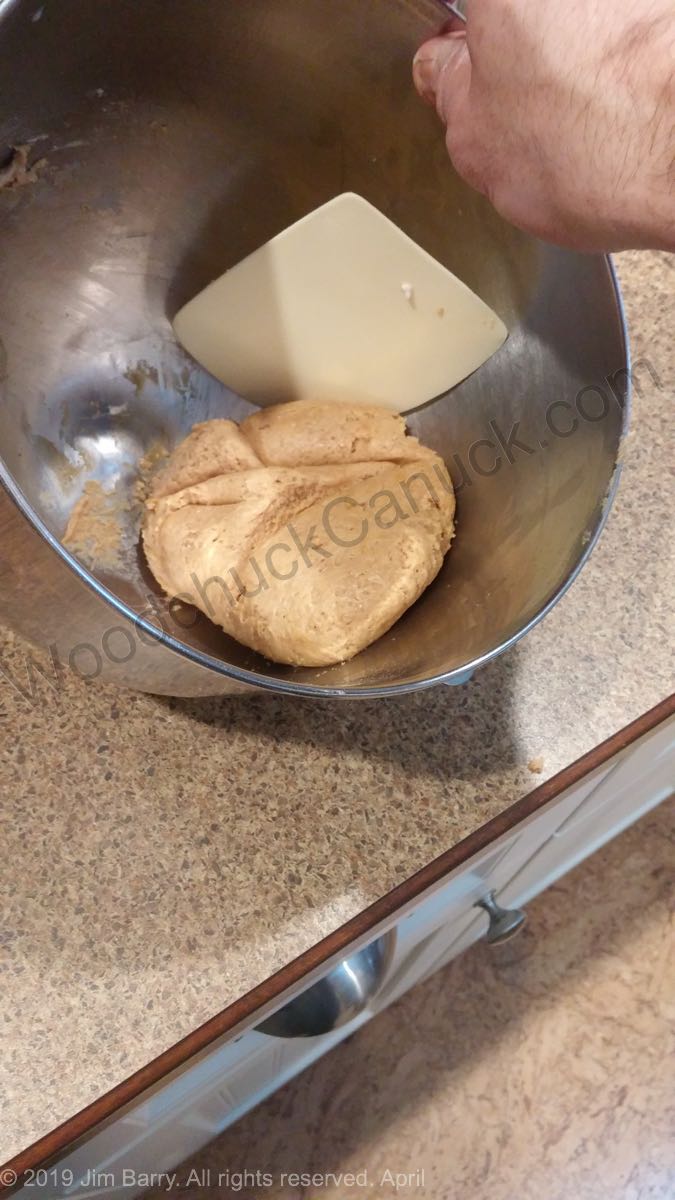
We rolled it out between two sheets of parchment paper first 1/4″ thick, just to see if it could be handled easily. It wasn’t easy because it was a little sticky, so we put it in the freezer for about 20 minutes.

We cut out the treats and baked at 350 degrees for 17 minutes.
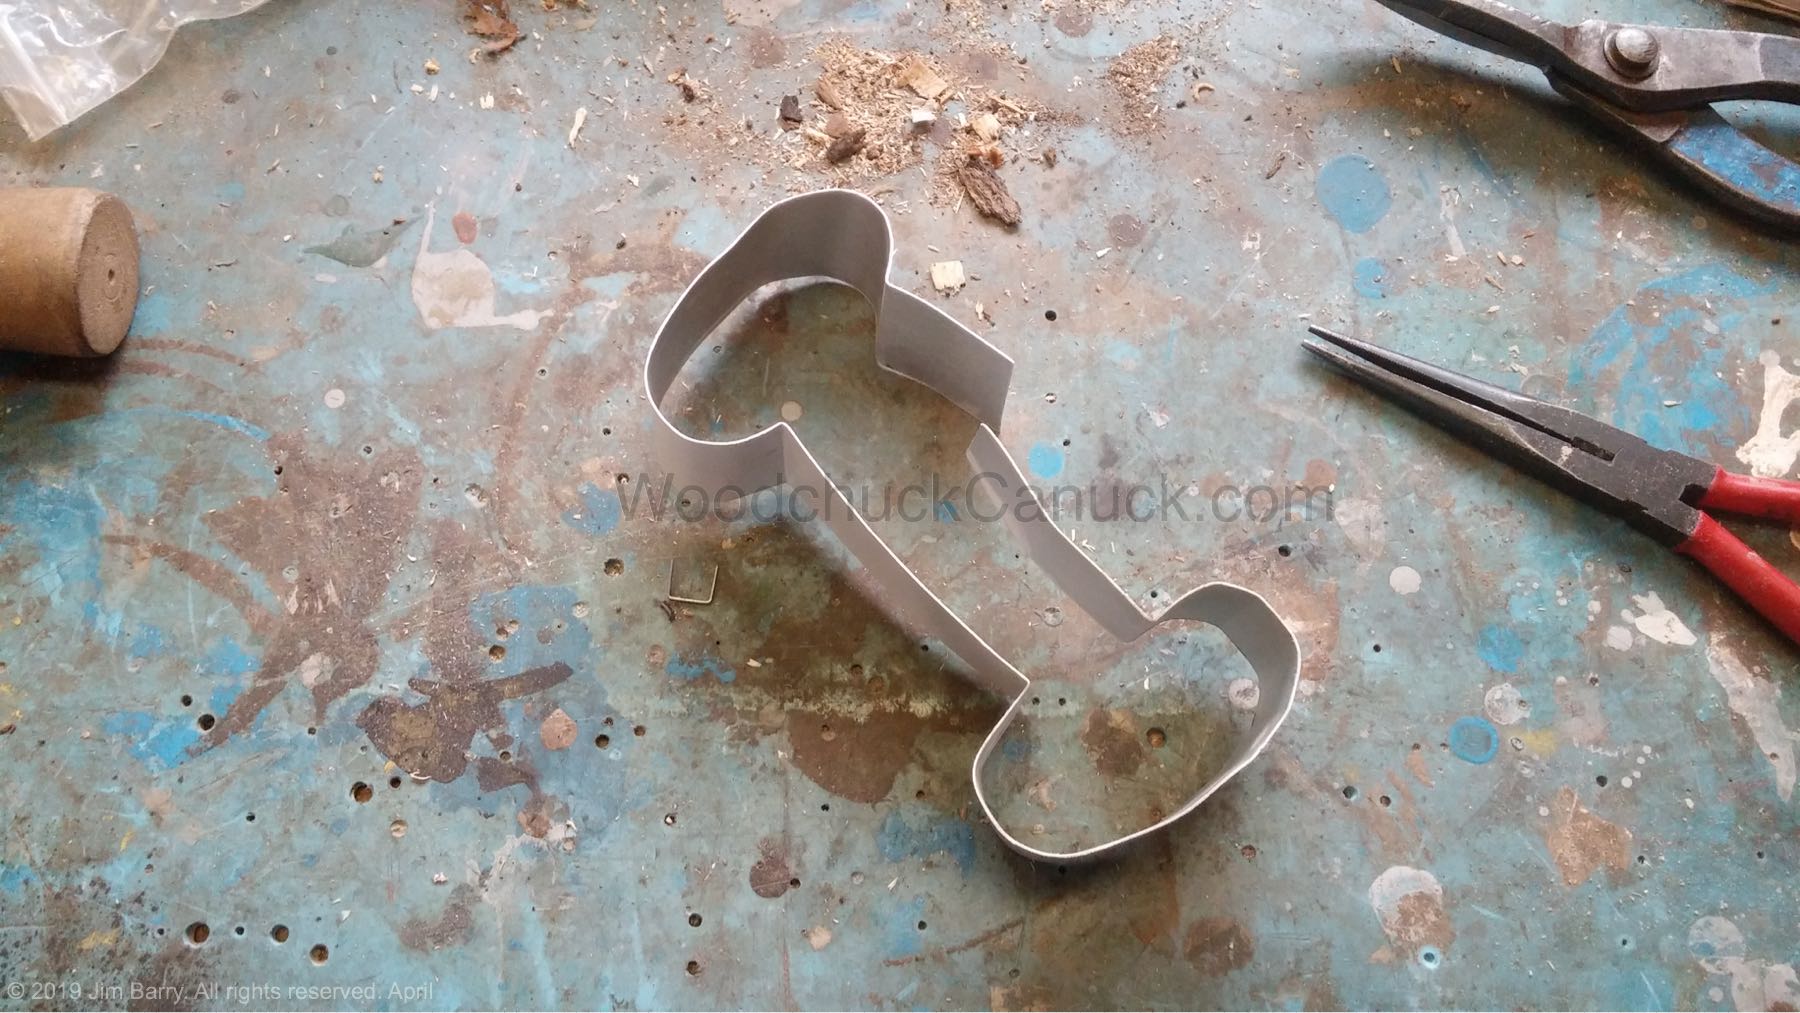
But wait … we didn’t have that bone shaped cookie cutter 15 minutes ago. Here’s how we made it.
First we go to the metal scrap pile in the workshop. This was a piece of metal flashing left over from some roofing job years ago. Jim kept it of course, might have a use for it some day. That day is today!

It starts with a general shape, the important part is to plan to have the seam on the side. No reason other that thinking it was a good place for it.

Now to roll up the other end of the bone.
Next step, how to keep it together. I suppose we could get out a drill and some rivets. There is a quicker solution, with just a simple crimp seam. To do that, put a fold on either end.

The seams could be squeezed together using a vise grip tool, or you can just hammer the seam like I did here.

Now its time to finalize the shape with a pair of pliers.

All ready for kitchen testing!

The cookies come out really easy.

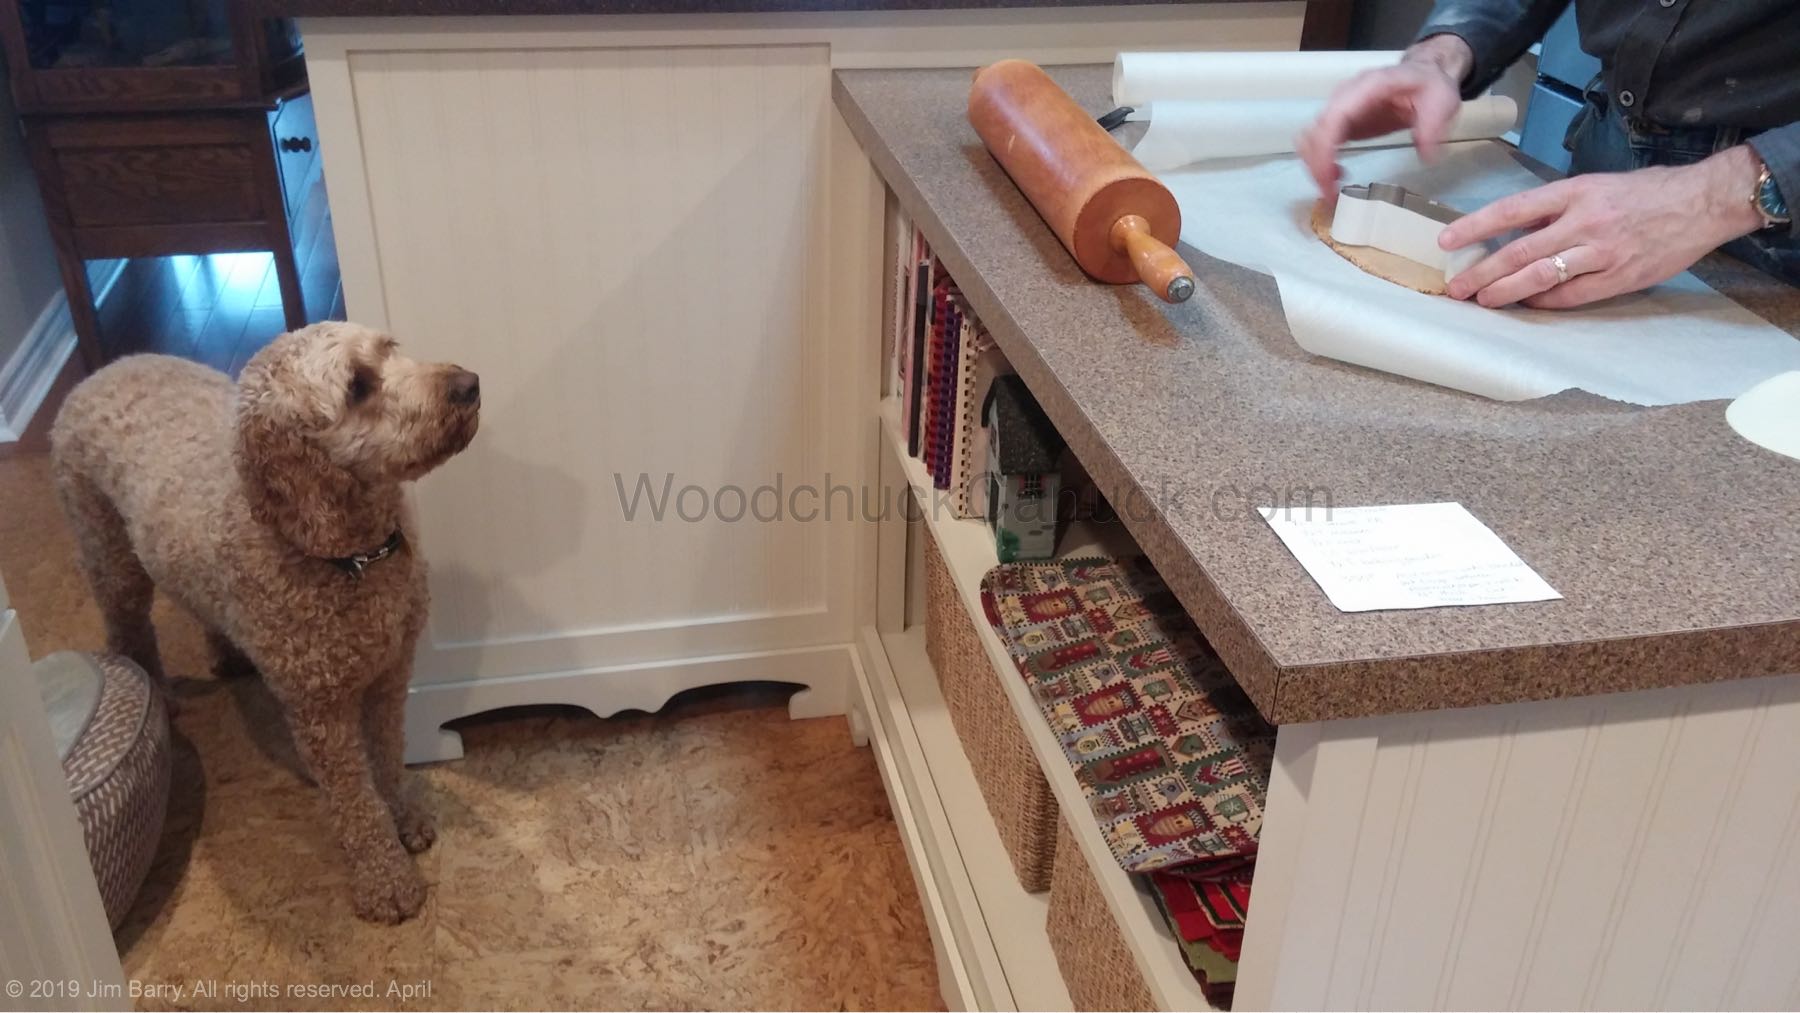
Jacob patiently waiting to see what all the fuss is about. He misses all the action of what is happening on the counter top.
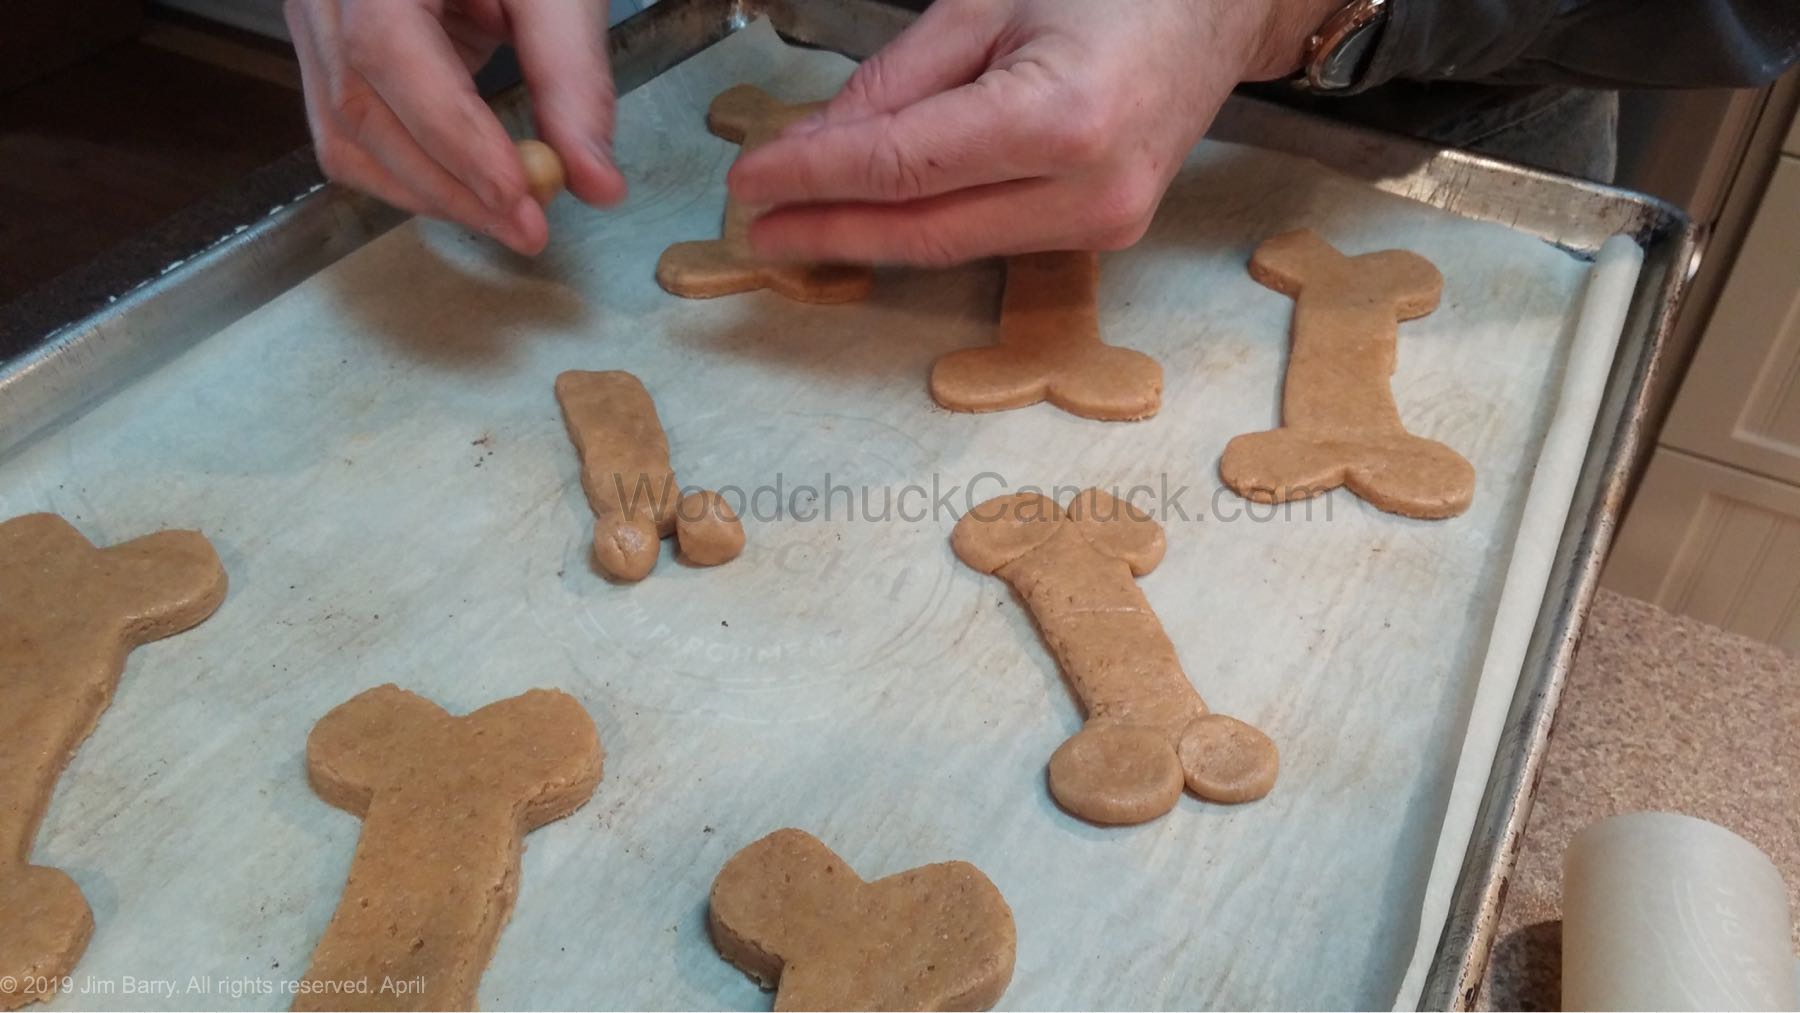
If you don’t want to make a cookie cutter, you can easily make dog bone shaped cookies by hand. Start with a strip in the middle, then roll four small round pieces of dough and press them flat.
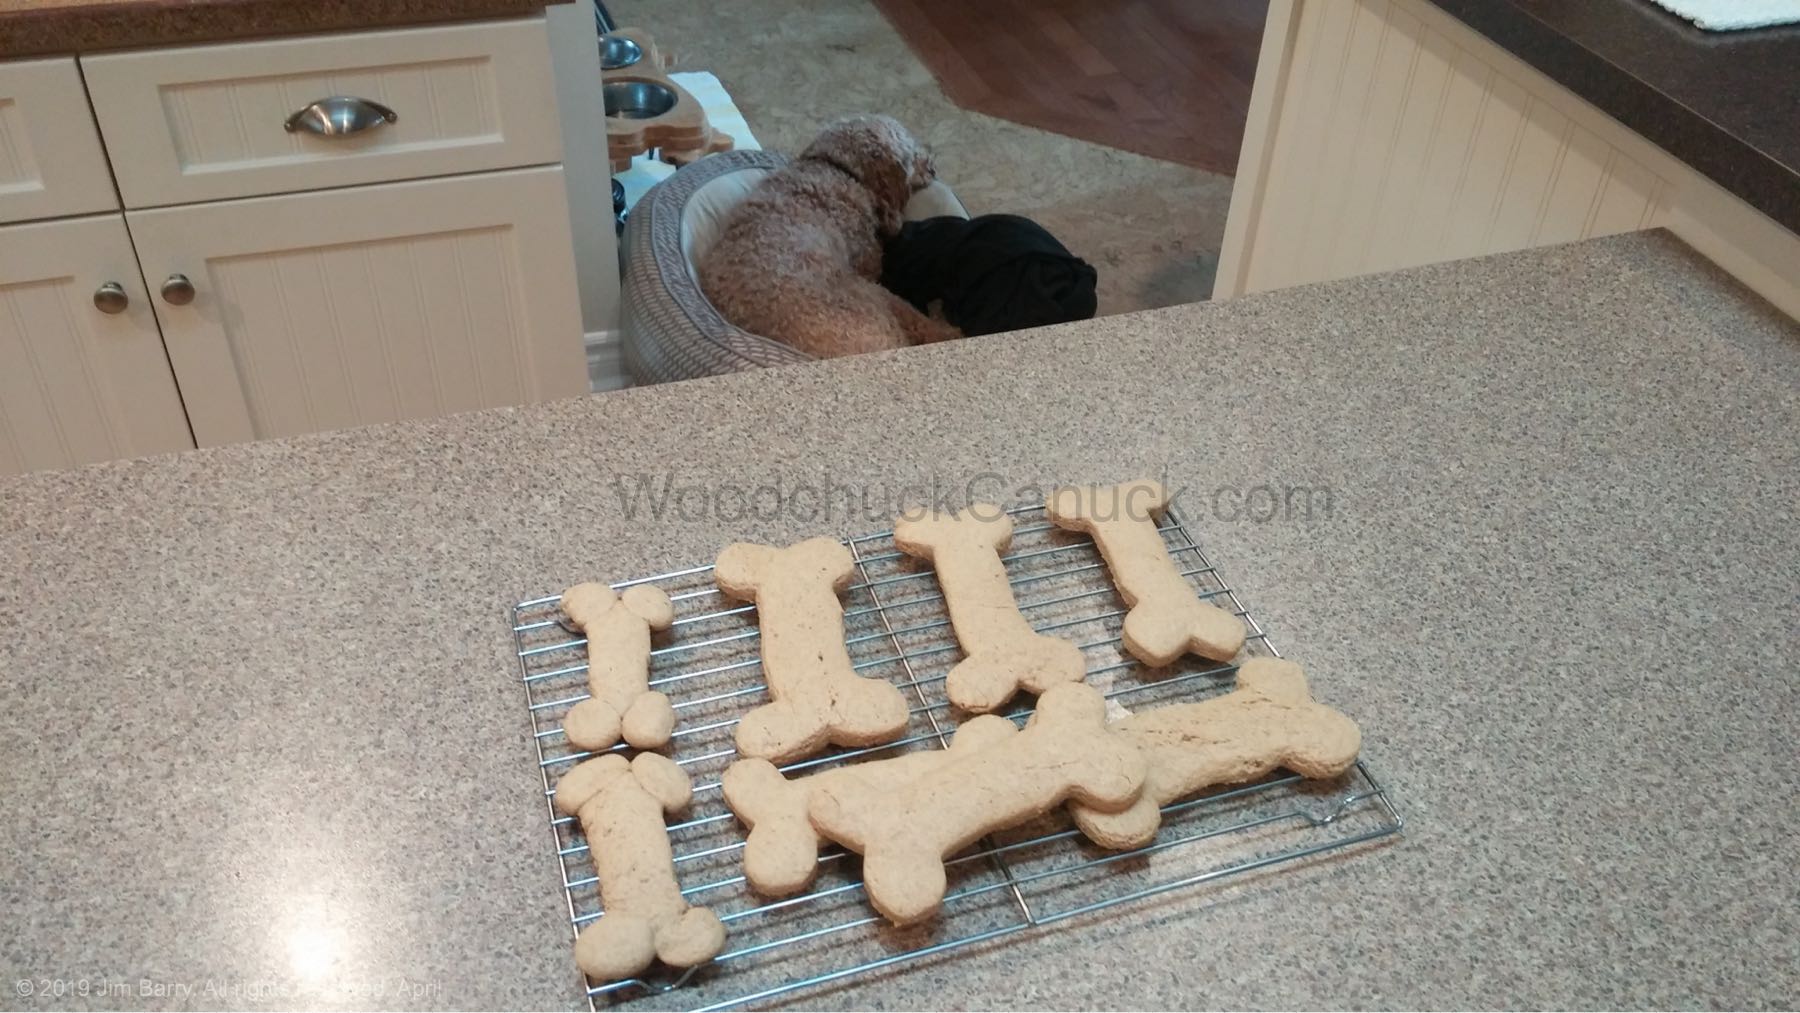
Fresh out of the oven! Are they ready now?!?!?!? 🙂

Yes, the smell of peanut butter is irresistable but we all need a cooling off period for now. Don’t look so sad Jacob!
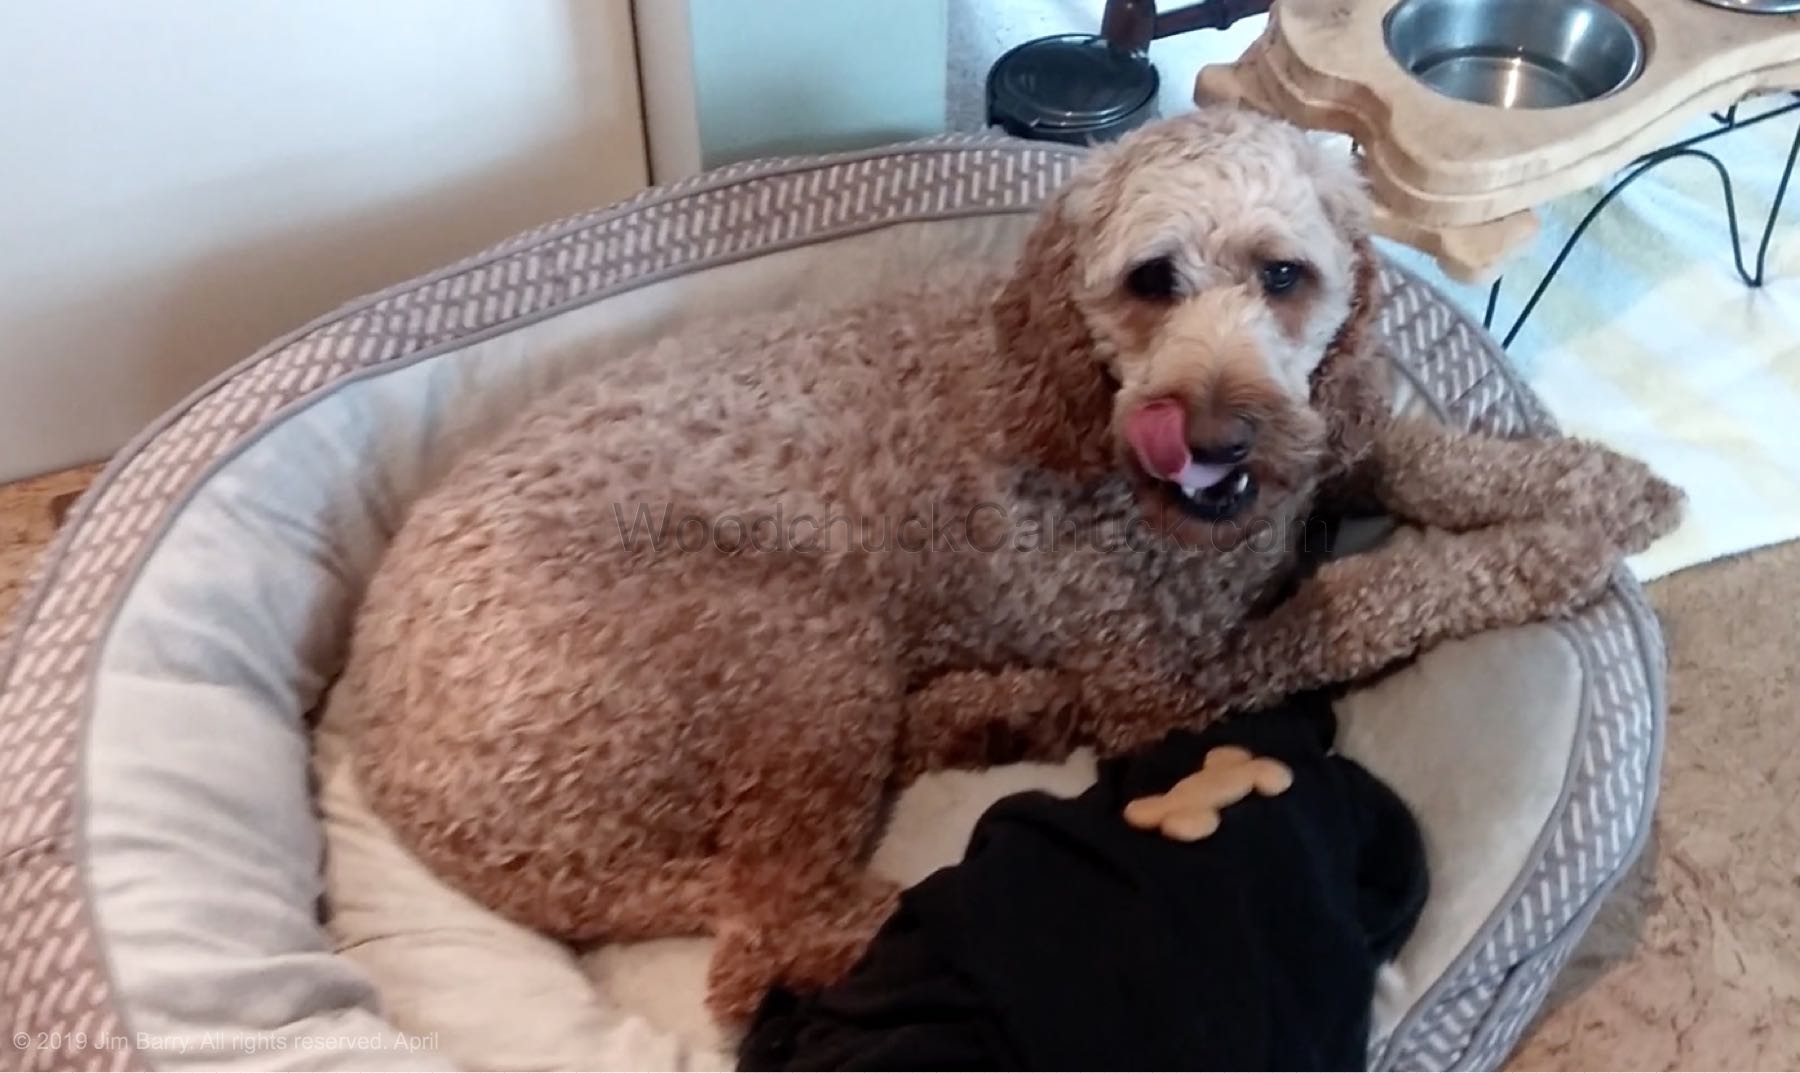
That’s it, Jacob is not waiting any longer!

You May Also Like
