Making Hexagon Shelves
Some call them hexagon shelves and others call them honeycomb shelves. No matter what you call them, they are cool. We have no wall space for shelves of this size so when we were contacted to build a set we thought it would be a fun project. This is the picture we got from the customer.

This particular one sells for $150 US, thats equal to $196 CDN plus shipping and you had to contact them for a shipping quote to Canada. You just know that can’t be a good sign. Oh and don’t forget tax and duties. Probably close to $300 by the time it would get here. That’s insane people!
There were to be a few changes though. Two of the hexagons were to have shelves and this is the configuration she requested.

You know what this means people! Angles. Our favourite thing! Actually there is only one angle, but I’ll get to that in a minute.
First things first, we had to choose the wood. We happened to have some pine boards in the workshop, left over from another job, that were perfect for this project. We settled on having the shelf unit be 3 1/2 inches deep so we headed to the tablesaw with our pine boards to rip them down to size.

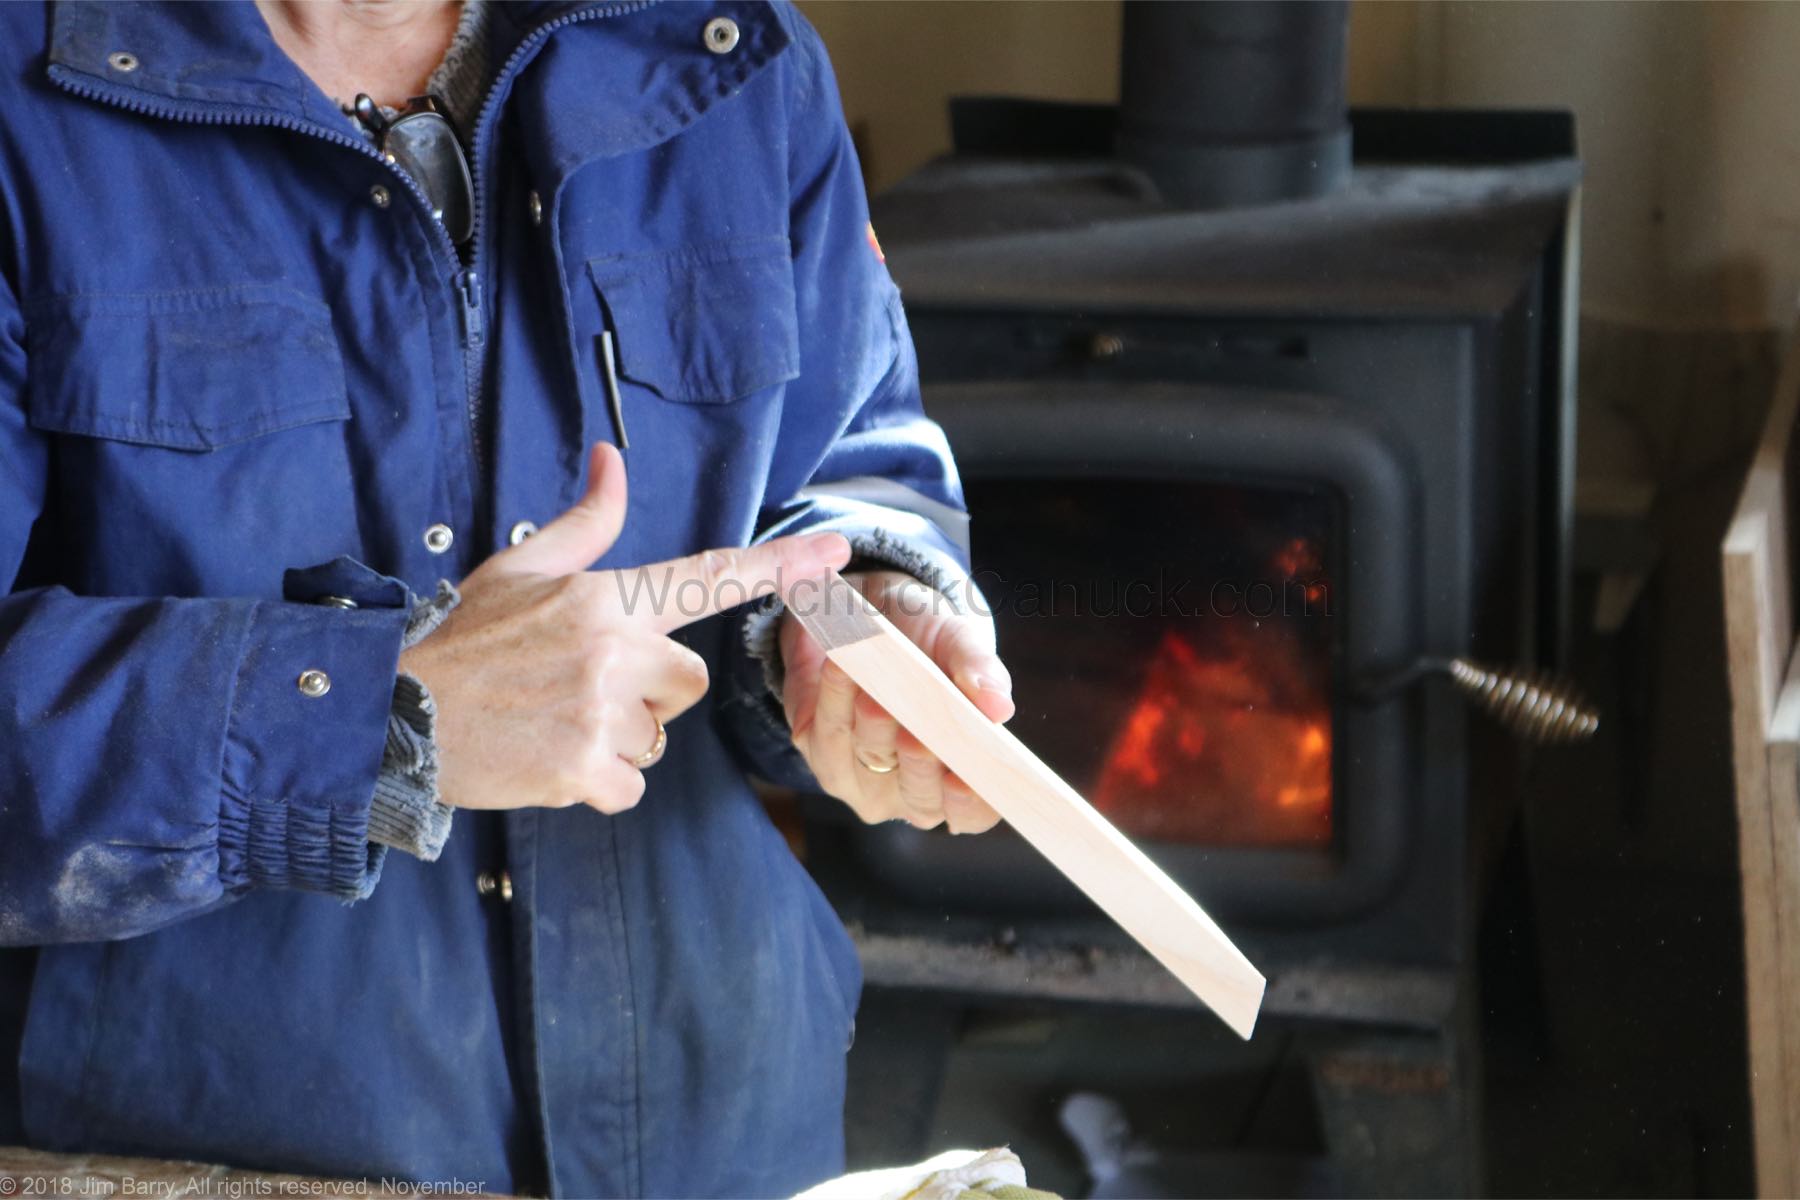
Next up was cutting the 30 pieces needed, six for each hexagon and there are five to make. Each piece measured 8 1/2 inches long and a 30 degree angle had to be cut on each end.
As a test, we cut out the first six pieces and when we fit them together the angle must have been off by a degree or two. We made the proper adjustment to the miter saw and tried again. Perfection. Now we could begin to cut out the 30 pieces. Here is one of the 30 pieces cut out, with the two ends cut at 30 degrees.

Then it was time for assembly. We hand sanded the ends before applying glue…
And a few brad nails for good measure.

After a good sanding, it was time for stain. I took a few scrap pieces into the paint room and brushed one end with wood conditioner and left the other end raw. Then applied different stains for the customer to choose from and they settled on Minwax Special Walnut.

I used a brush to apply the wood conditioner and a rag to apply the stain.

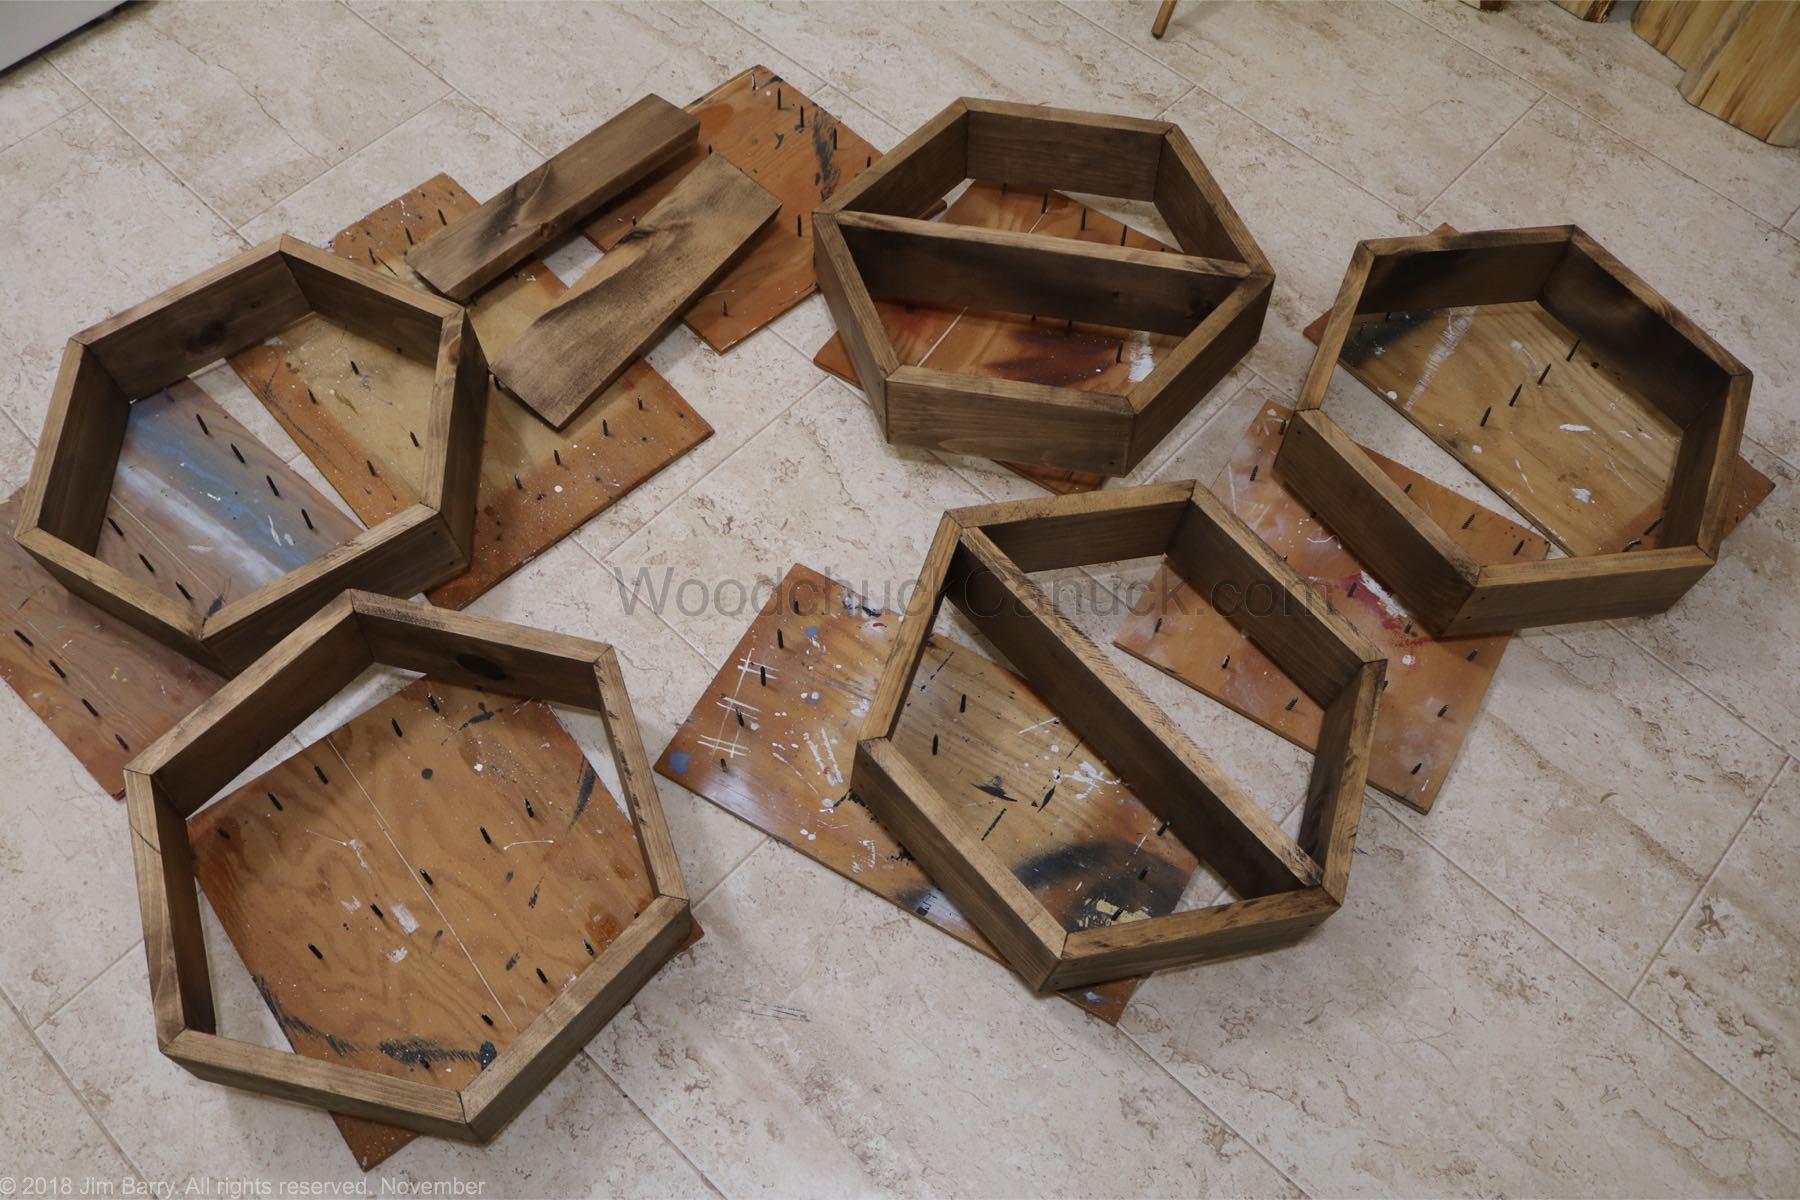
Here they are all stained.
We let the stain dry overnight and then took them to the workshop to attach them together. The ones from the inspiration picture are all individual but the customer wanted these joined together. We could have just glued them in place but decided to use screws instead.

Here they are all assembled and hanging.

And another angle…
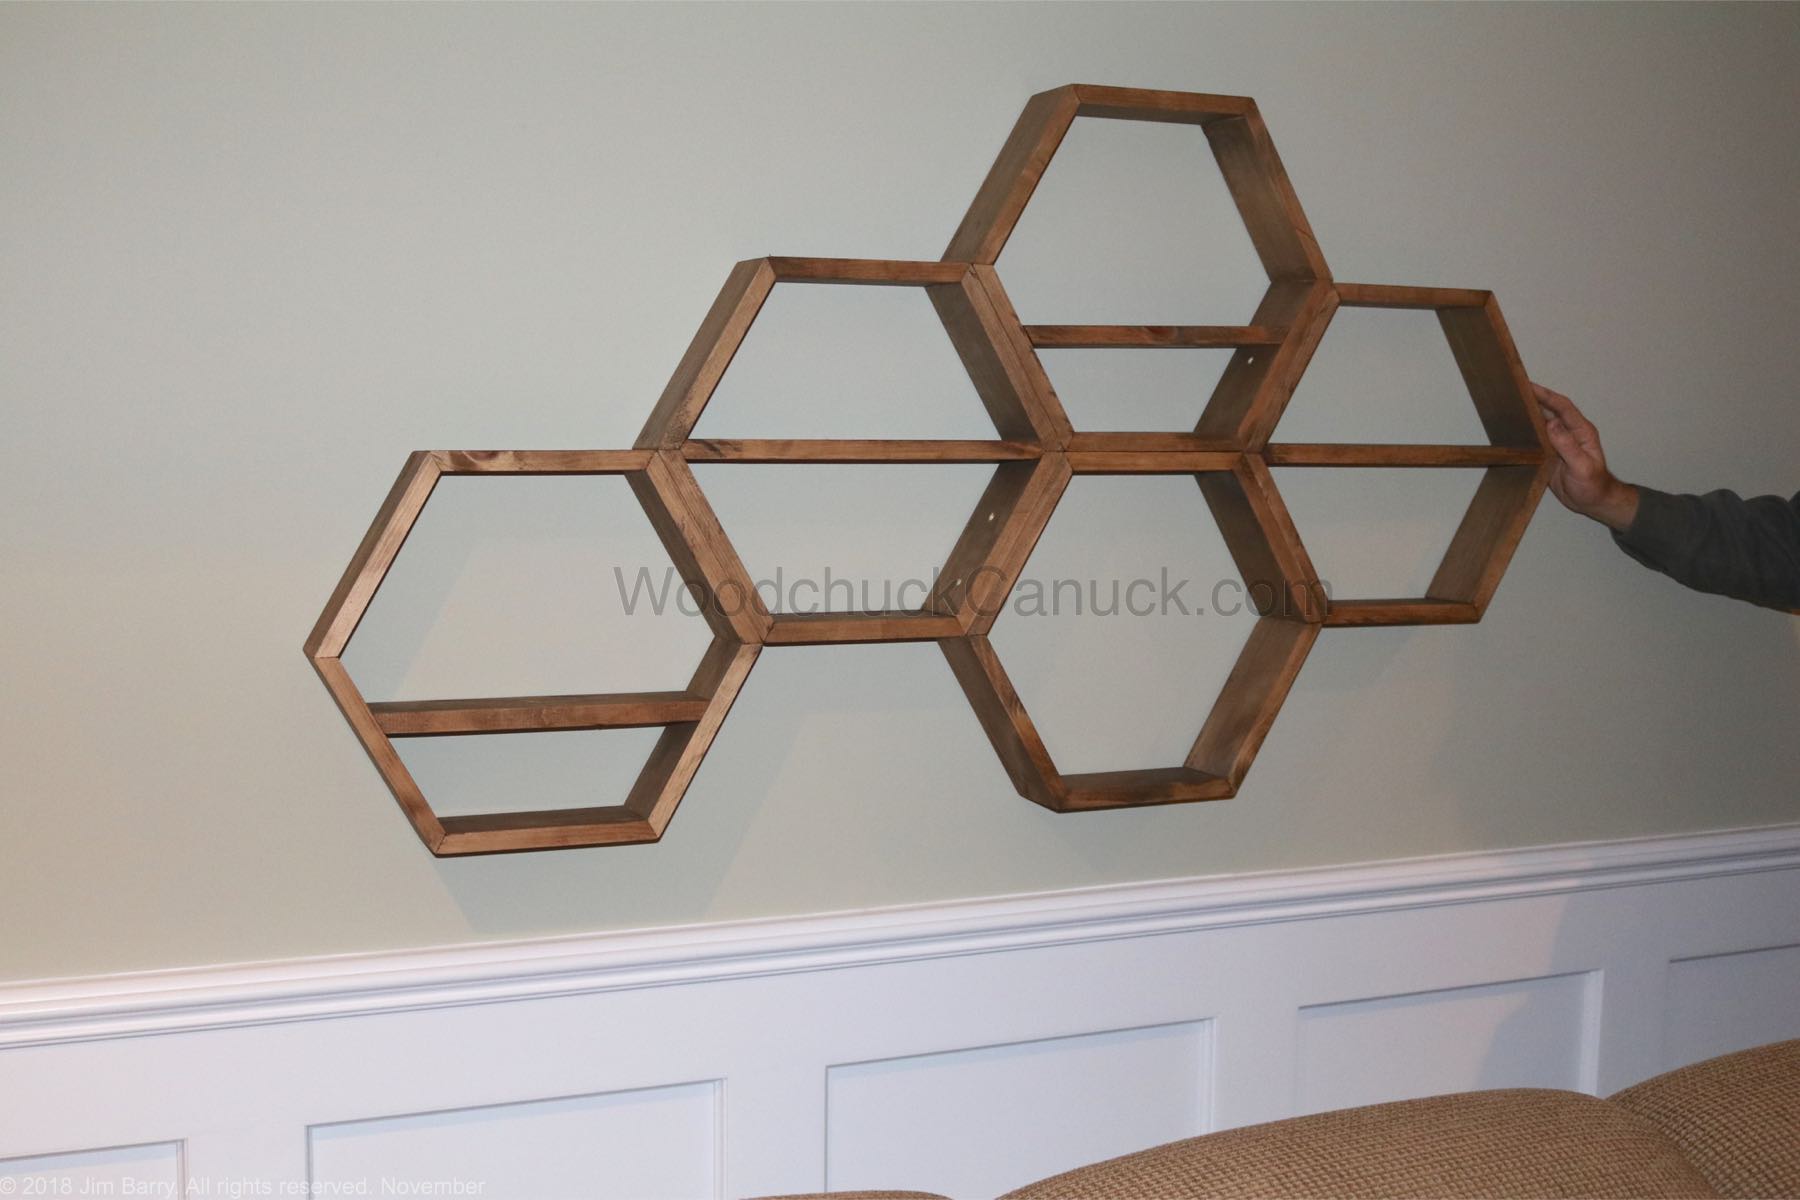
Hey, they look pretty good on that wall, maybe I found a spot for some new shelves after all. And I can guarantee they didn’t cost $300 either.
Later


