Upholstering Bar Stools for the Kitchen
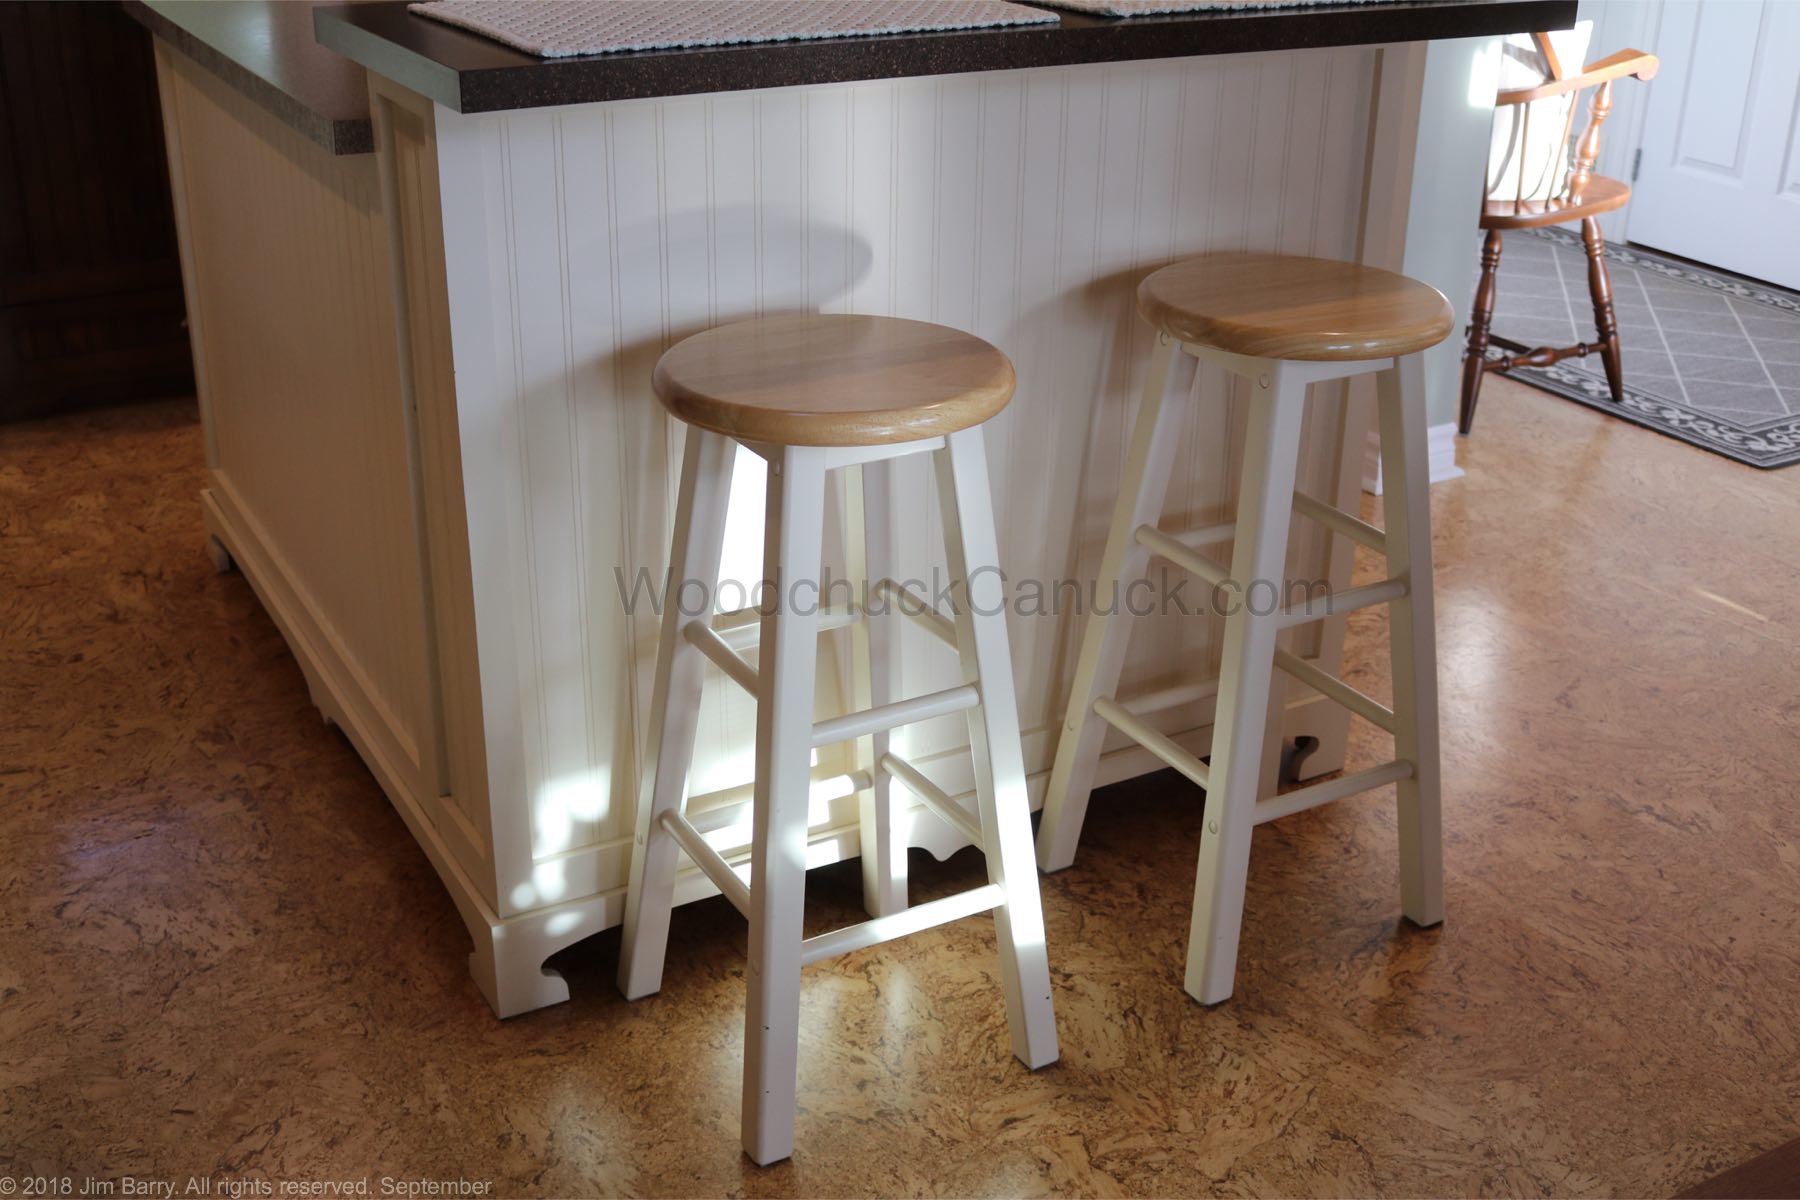
Today I am going to show you what not to do when upholstering a stool. You’re welcome. We have these two stools at the island in the kitchen and thinking back we have had them for at least 25 years. And for about 15 of those years we weren’t even using them. Not sure why we hung on to them, nothing special. Just your regular bar stools. Here is what they looked like just a few days ago.
Actually, up until we moved here they had dark green legs. Remember the 80’s? Yeah me neither. Too young for that!
Once Jim built the island and we had a place for stools, I had sanded down the legs and painted them to match the island. Then the other day I decided to upholster them since I have a plethora of drop cloth material left over from making a runner, pillows, drapes and even 2 magic bags for my Mom.
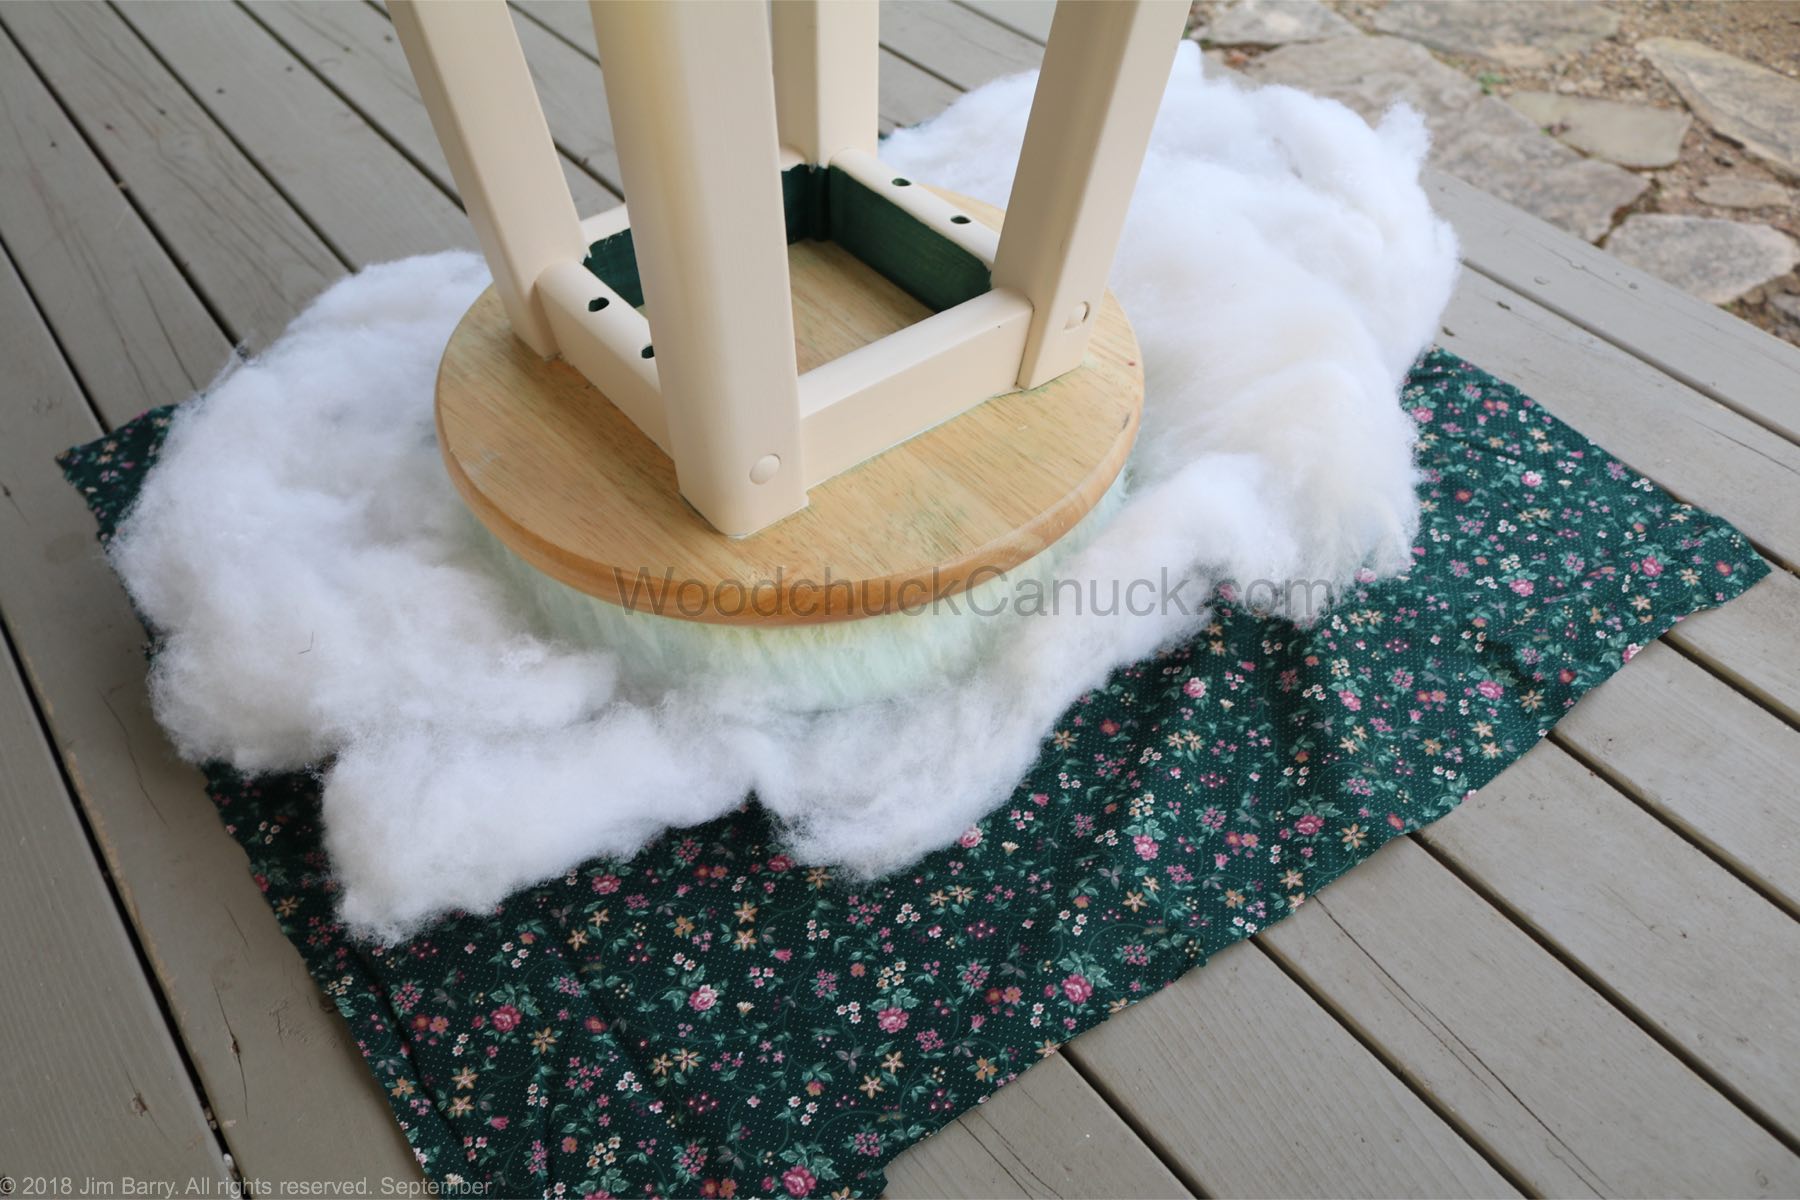
To start, I had wanted to use 2 inch thick foam. The only place that sold foam in our town was a car upholstery shop and they only had 4 inch thick foam on hand. No problem. I bought a small piece, brought it home, and cut out a 13 inch circle.

Then we took it to the workshop and Jim proceeded to cut it in half to get two 2 inch foam circles.

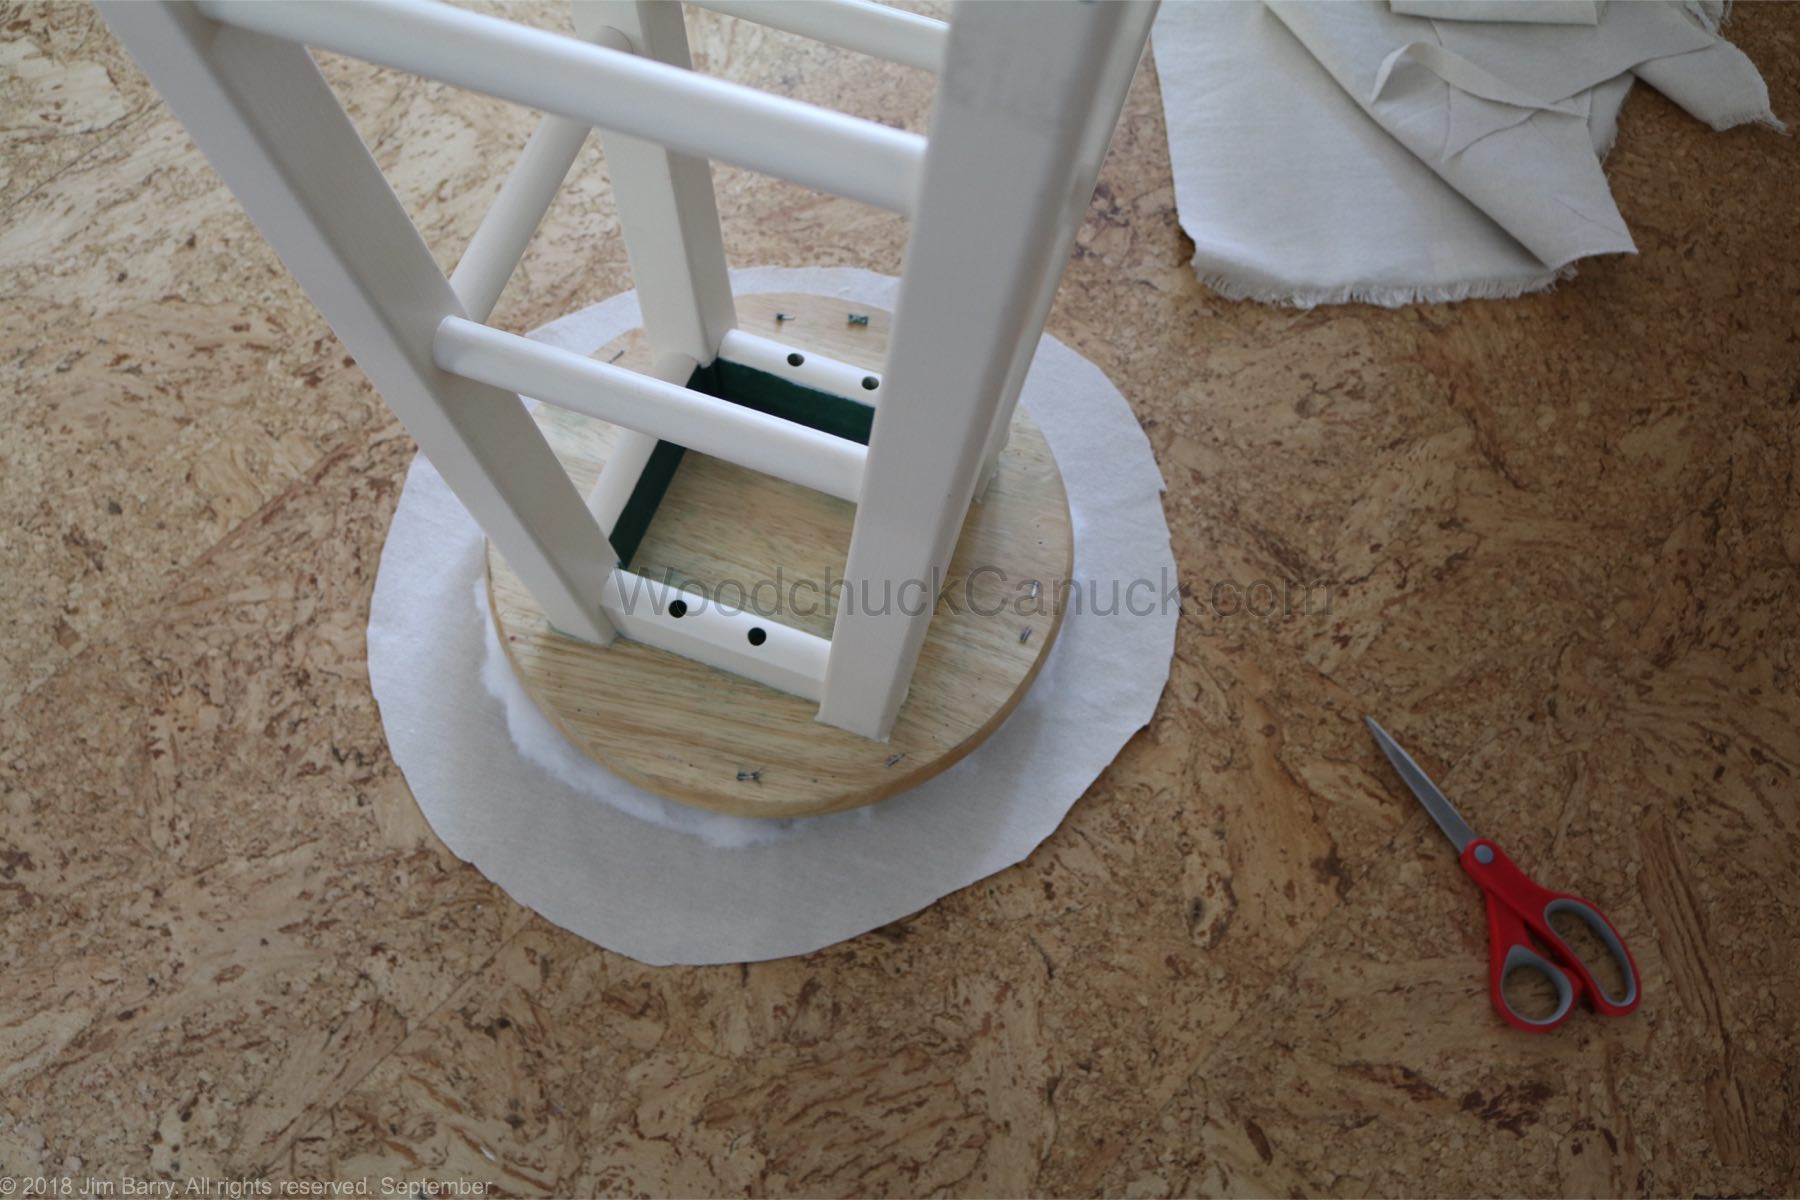
I had read a tutorial where they used foam, batting and a liner even before the material was put on. Figured they knew what they were talking about. So thats what I did. They also suggested that the foam be glued to the seat first. I decided to skip that step figuring at some point, in the distant future, I could take it all apart and glue would foil my plans.
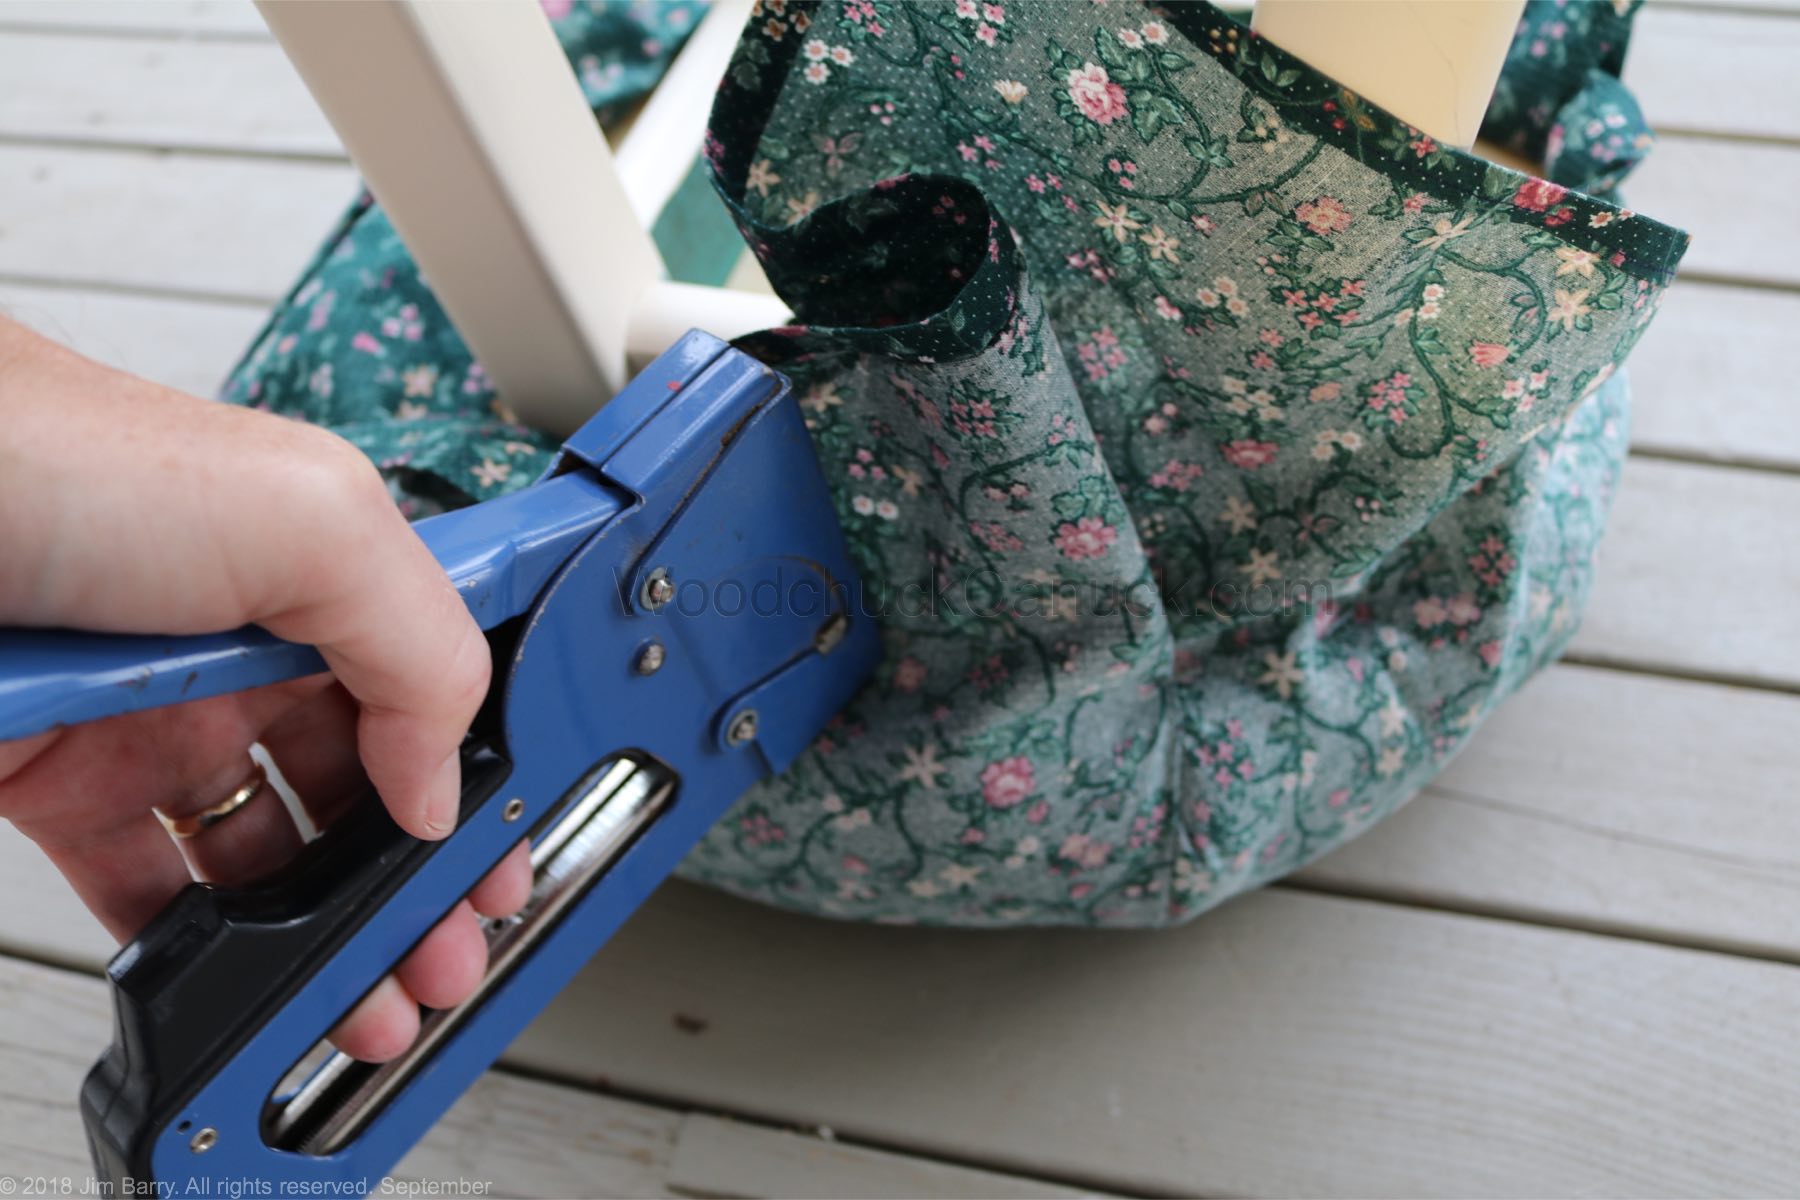
Oh and for the liner I was using a piece of scrap fabric I had in my stash. Before I started to staple I trimmed all of the excess around the edges.
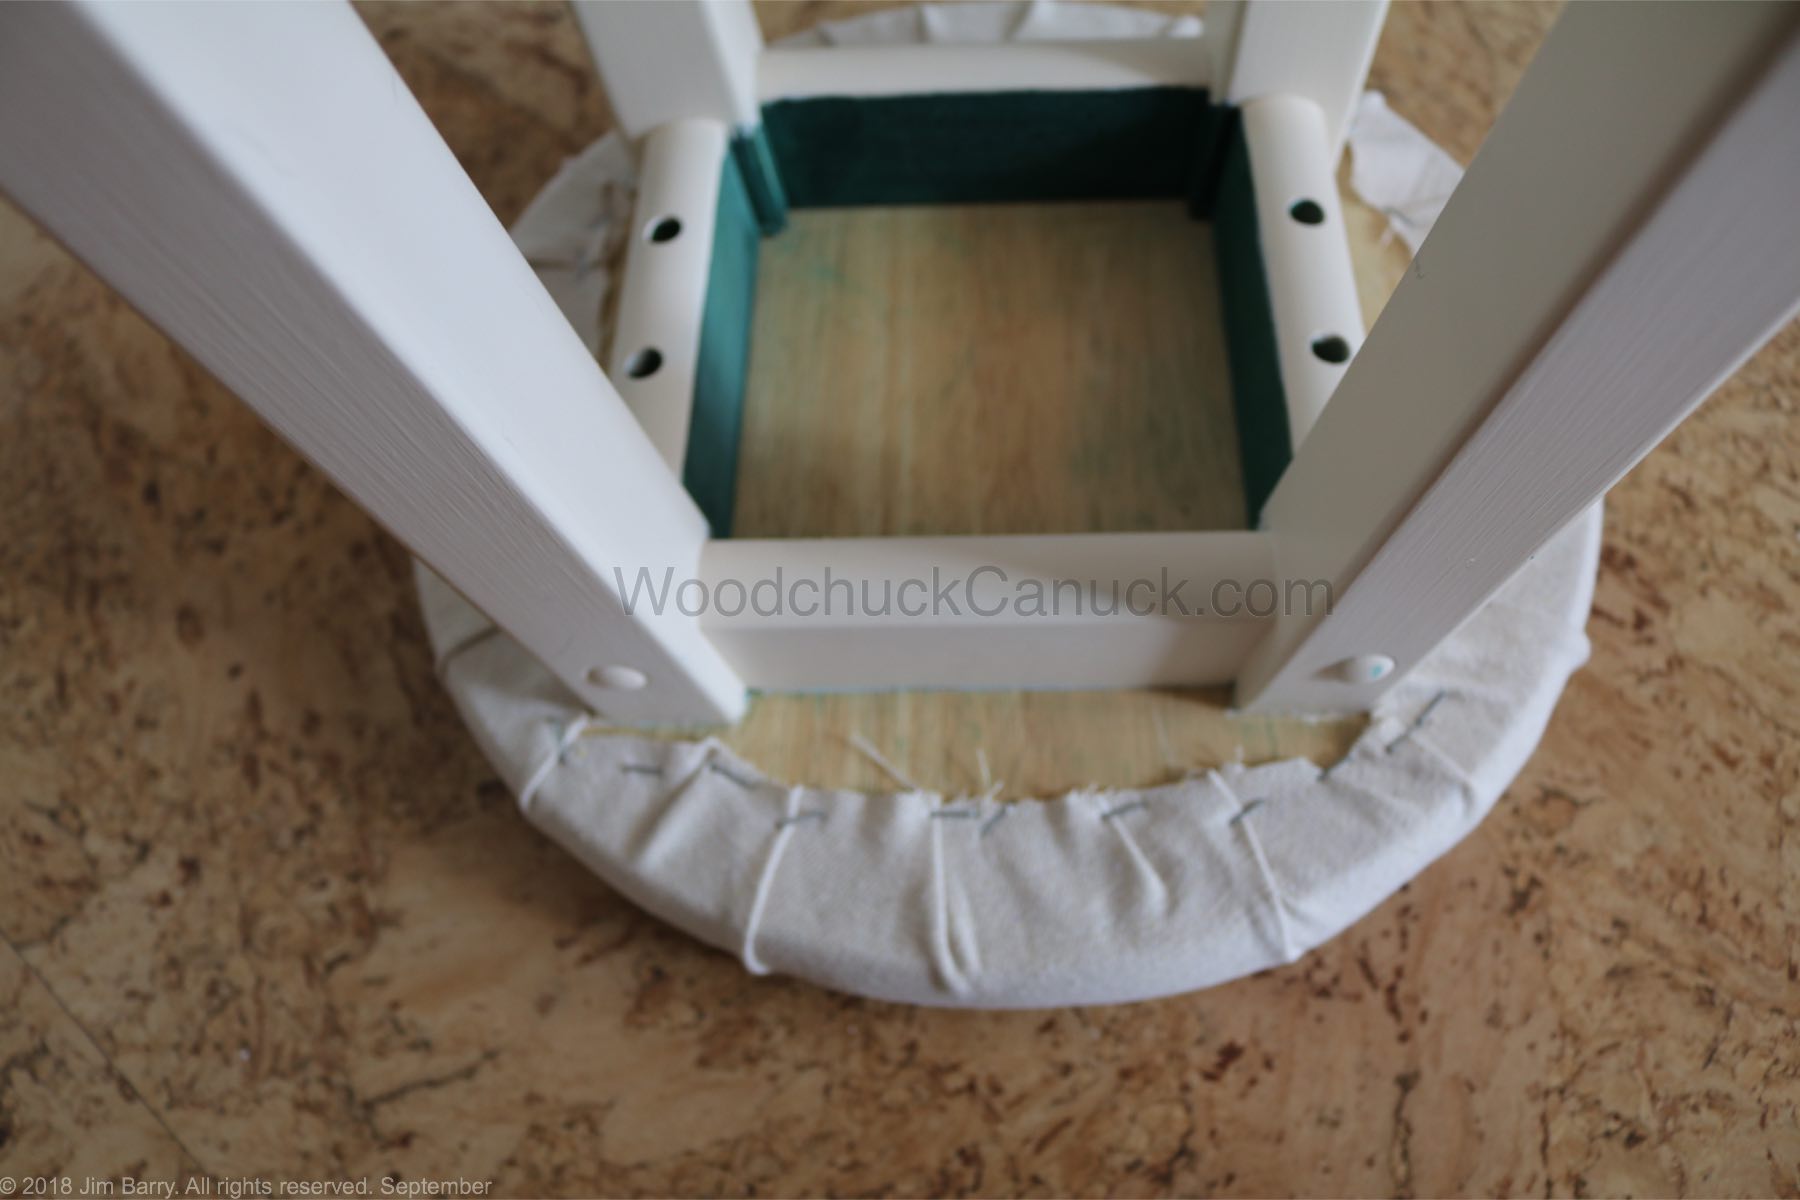
I worked my way around the stool, stapling opposite sides, like you would, and even hammered in the staples just to be sure.
Then I flipped my masterpiece over for a look see and viola.

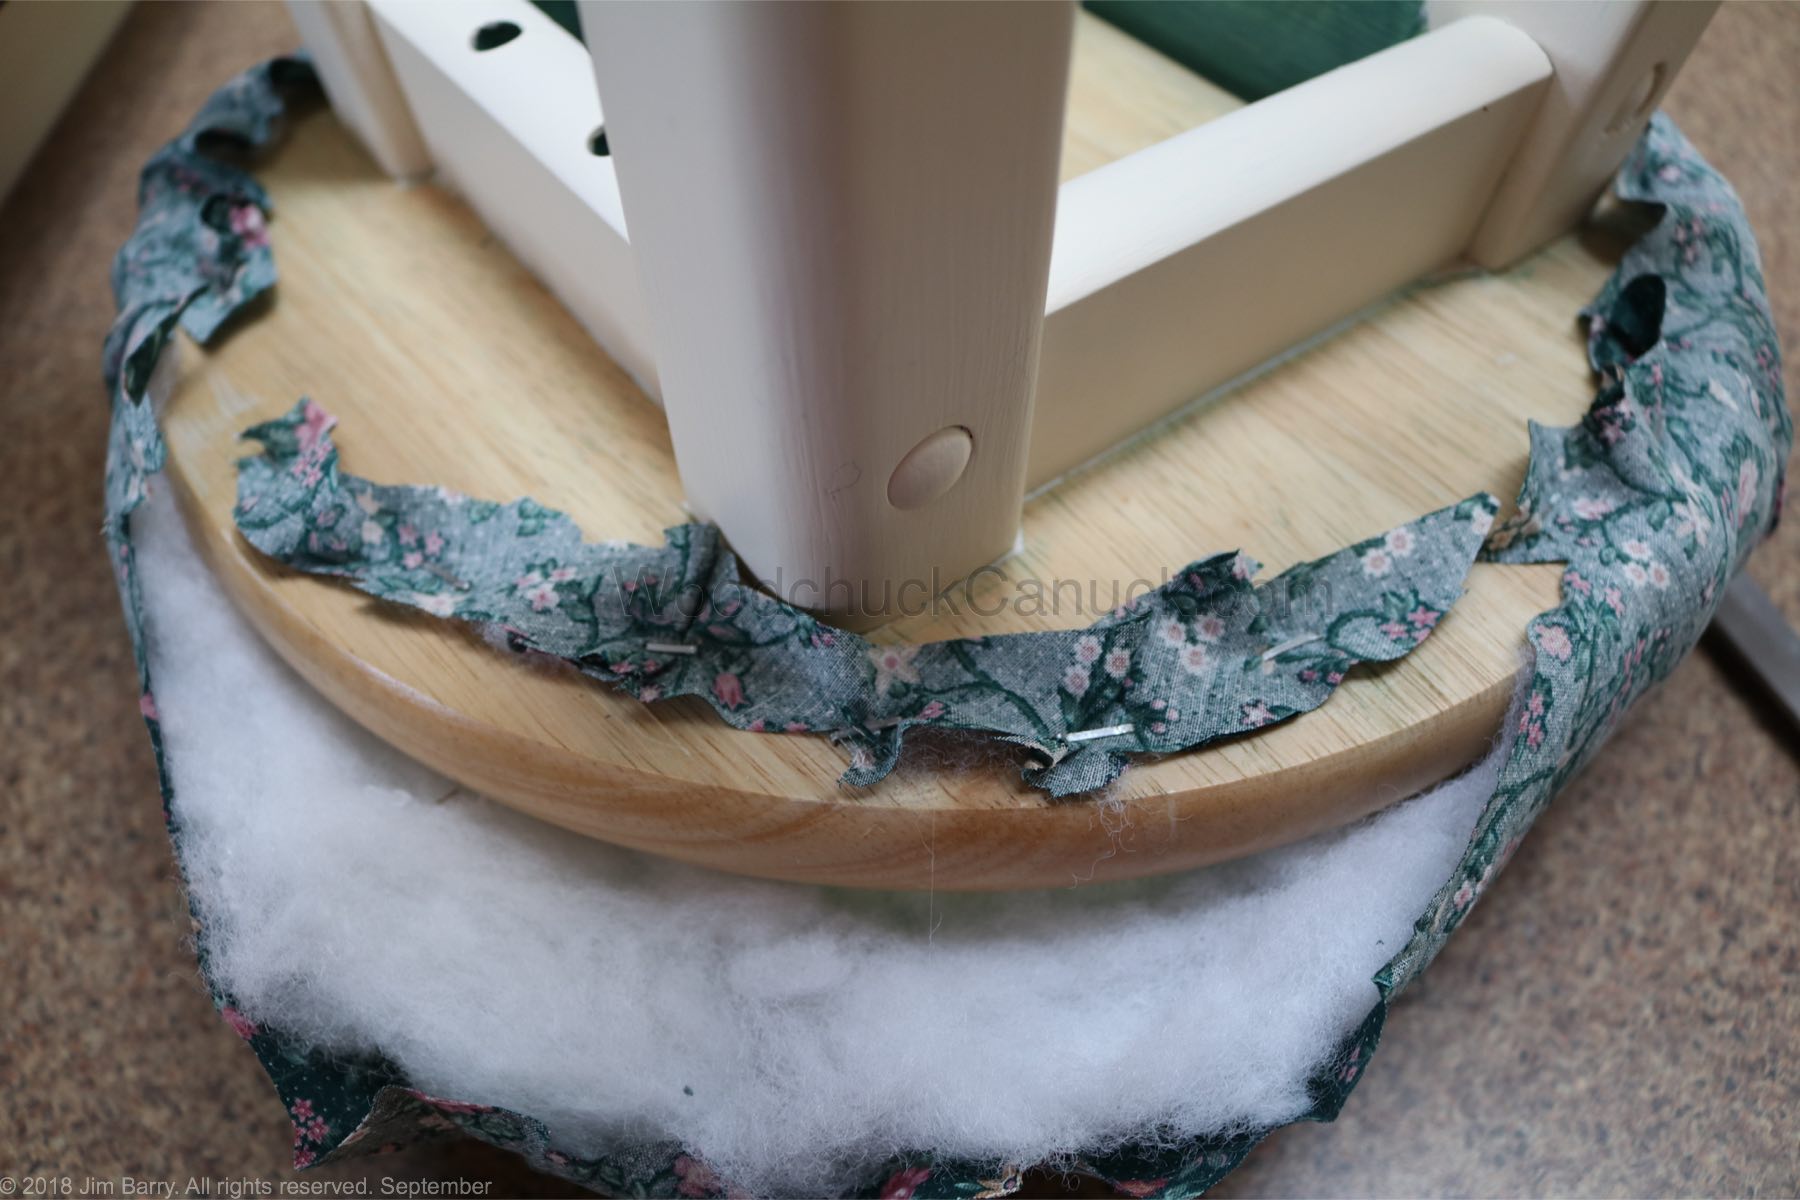
I brought them in the house and put them in place. This is where the project came off the rails. Jim showed up and told me they look like Granny stools. What?! WTH! That wasn’t the look I was going for. Actually he thought I was finished and this material was the final product. Hardly. (And the material is inside out!) We had a good laugh. But…the more I looked at them the more I didn’t like them. Something wasn’t right. Also they were really high and we would have needed stools to reach the stools. I left them for a day or so while I figured out how to remedy the situation.
And well…the only remedy was to start over. Sigh. That meant removing about 30 staples per stool that I had hammered down good and solid.
Back to square one. This time I left out the foam. It was very dense foam and didn’t have much give to it. I decided to just use the batting and the drop cloth material. No foam, no liner.
I stapled and hammered my way around the stool once again.
With one stool finished, I wanted to show you the difference with and without the foam.
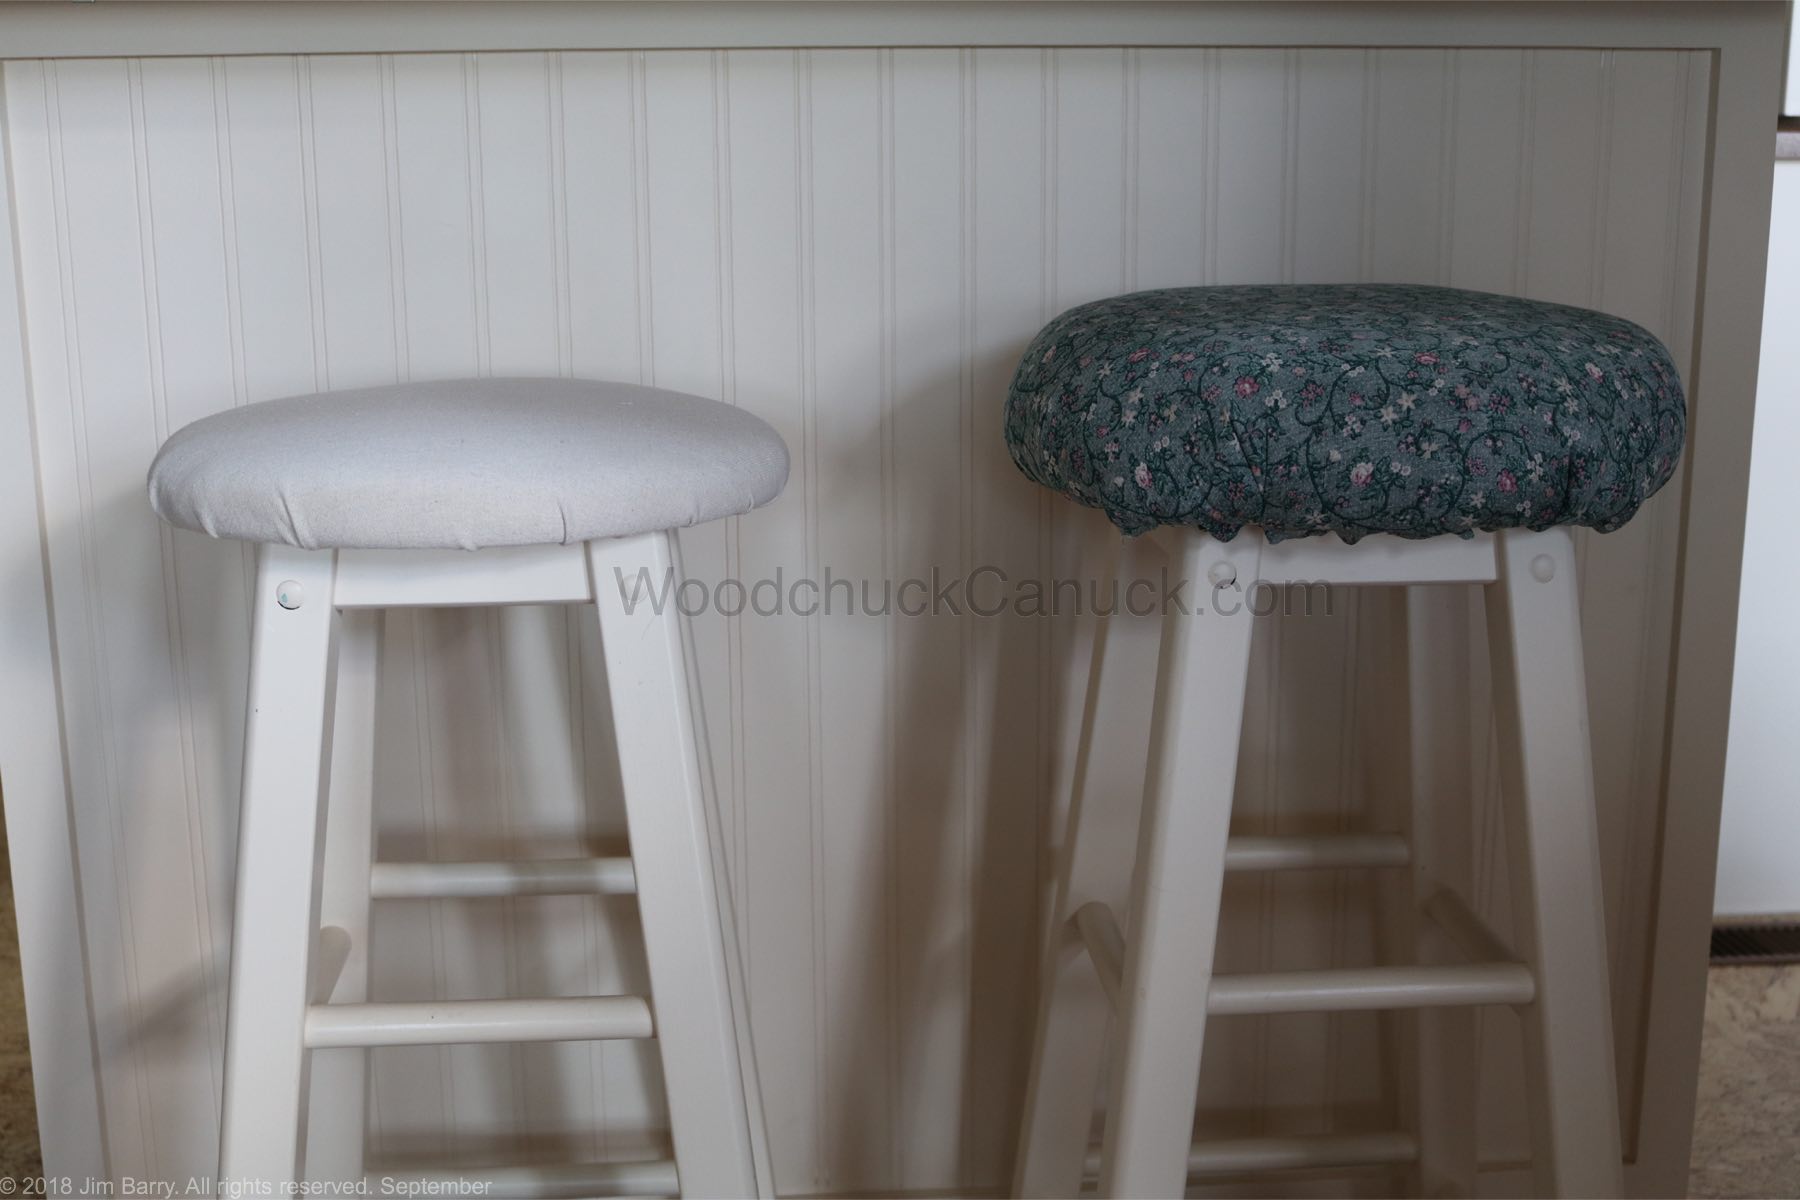
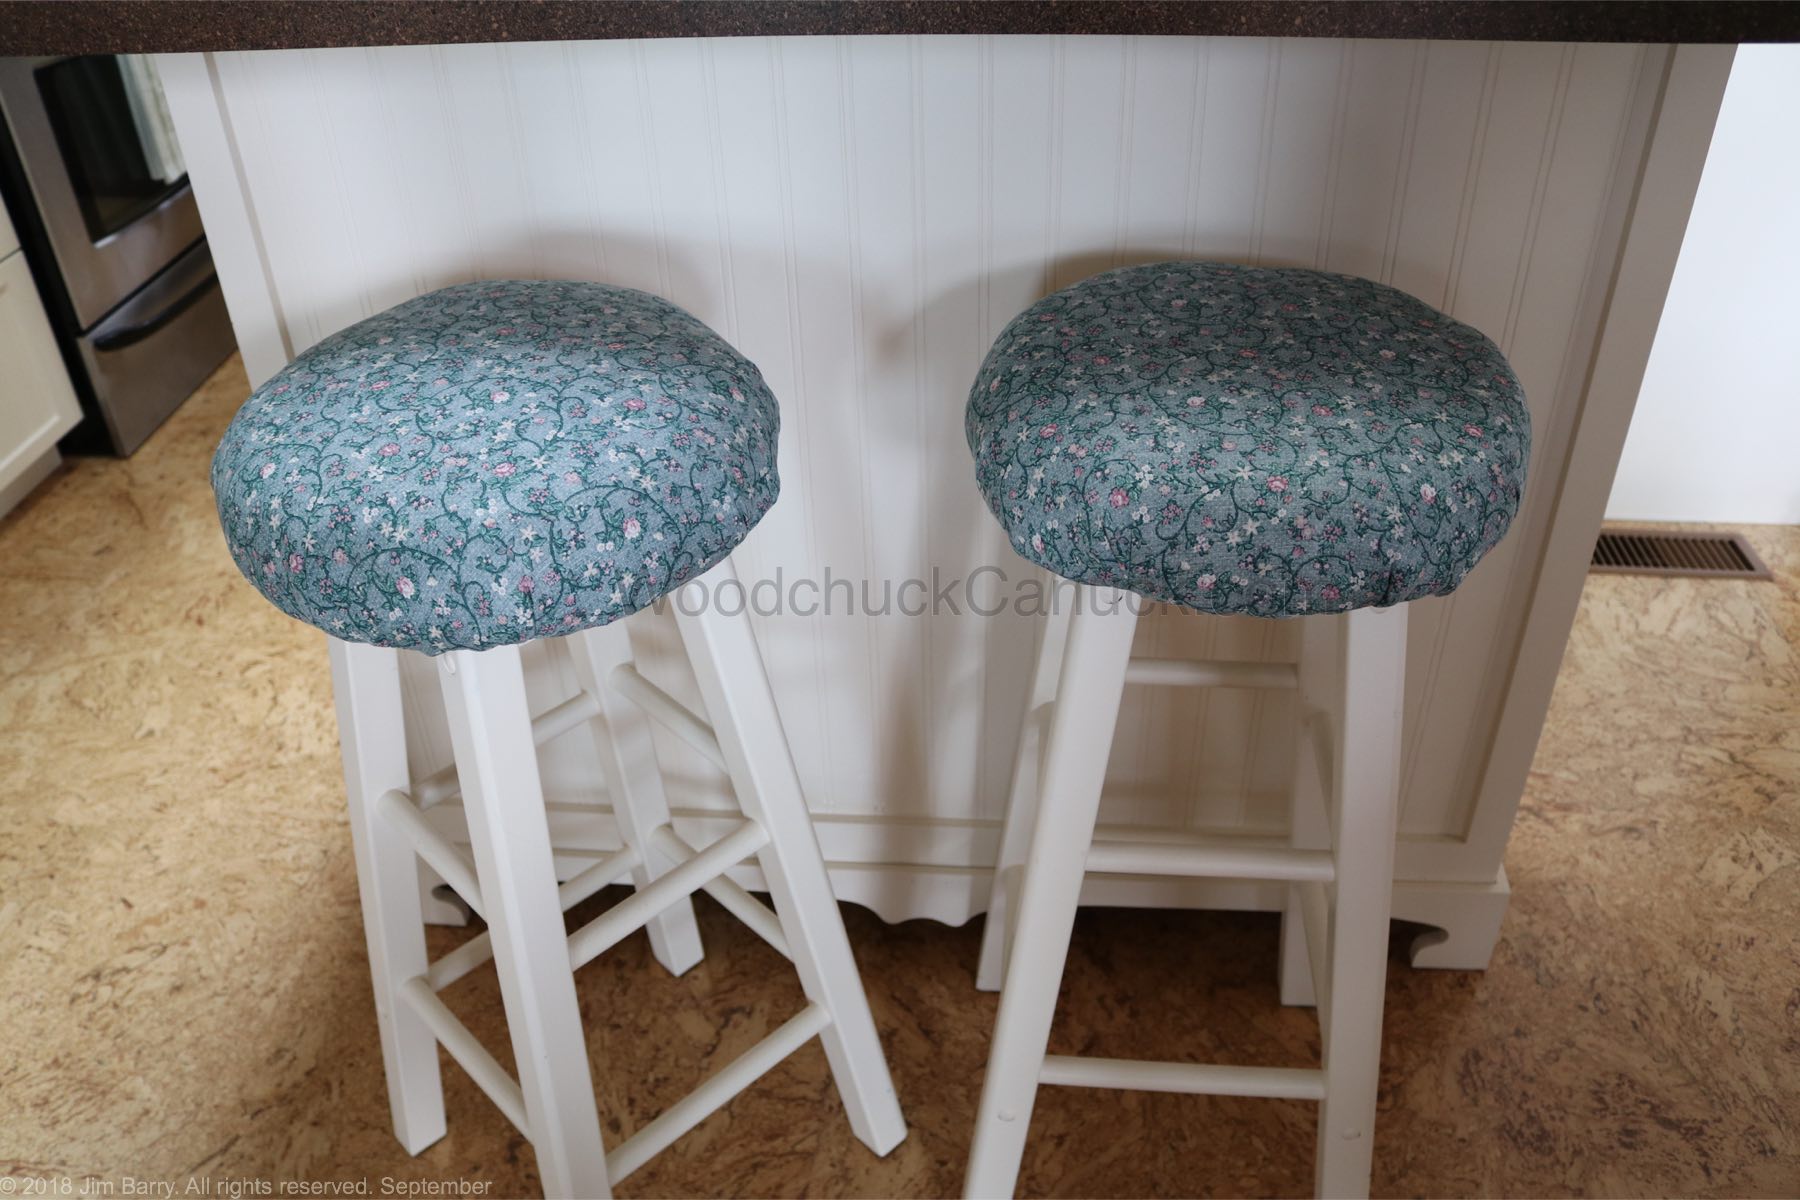
And with both stools done.

The whole point of upholstering these stools was that I had big plans for the material too. Paint was involved. Perhaps monogramed or stripes or trees or ??? Jim suggested I step away from the paint can for a bit. Ok…for now. We will see what the future holds for these stools.
Later