Working With What Ya Got…Table Makeover
Several years ago, Jim built this hall table. It has been moved around in several different locations but has landed here and is a perfect fit for this wall. Actually it was pretty cheerful and we happily lived with it for 6 or 7 years. While I enjoyed the color, it was time for a change.

This project is part of the ‘snowball effect’ of painting the room green. This table was due for a makeover. I manhandled the table through the door and outside where I gave it a light hand sanding for the new paint to stick better. Then a quick once over with a tack cloth.

Once back inside, I spread out a sheet of plastic, taped off the hardware, and got my navy paint out.

The next day I did a second coat and let that dry. Then the table sat for over a week waiting for us to get some free time. The paint needed time to cure and I’m practising patience. We wanted to add a new wooden top to it in case you were wondering why the top was still yellow. Oh, and I signed the top and dated it in case in another lifetime someone discovers it.

For the wooden top we started with this board. It wasn’t labeled but we think it was off one of the first logs we milled and that would make it fir. Jim says he can see the beauty in the wood, I was a bit more skeptical.
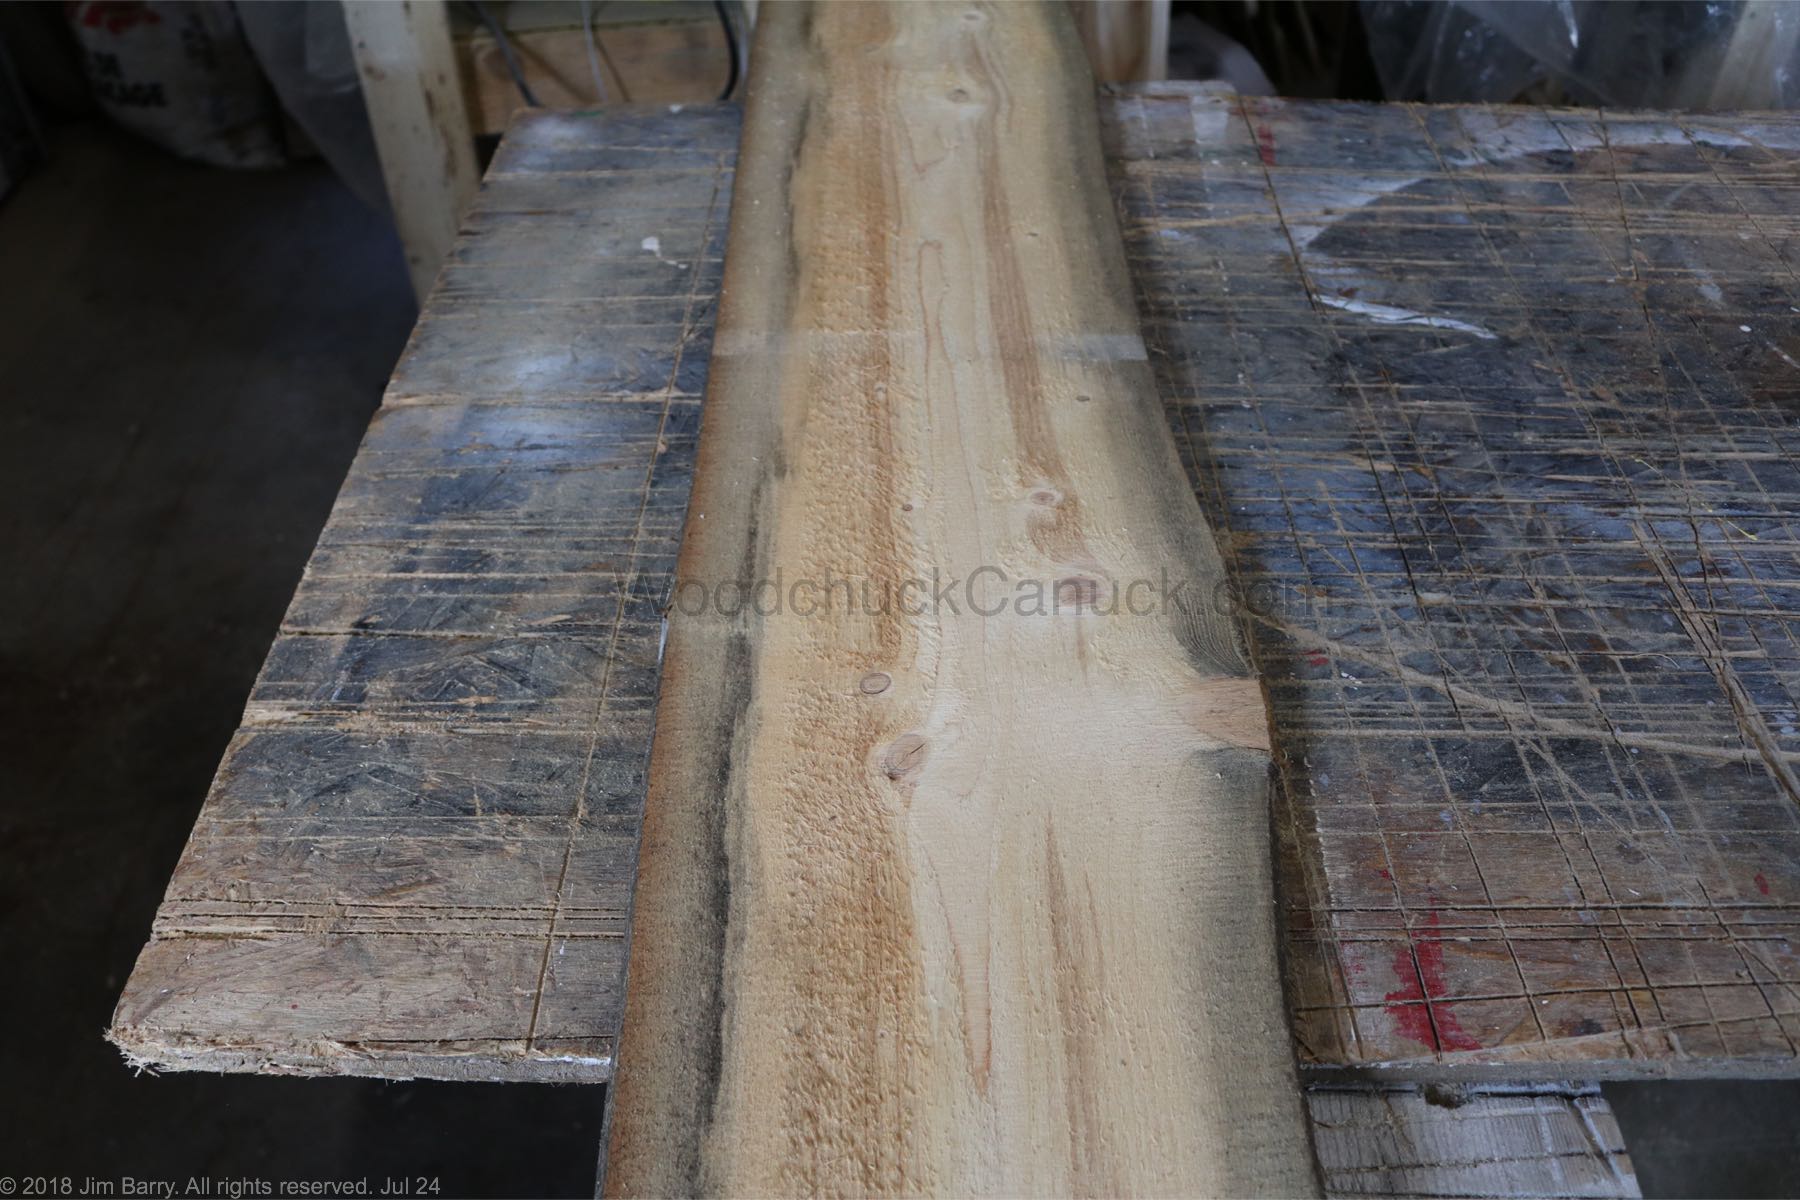
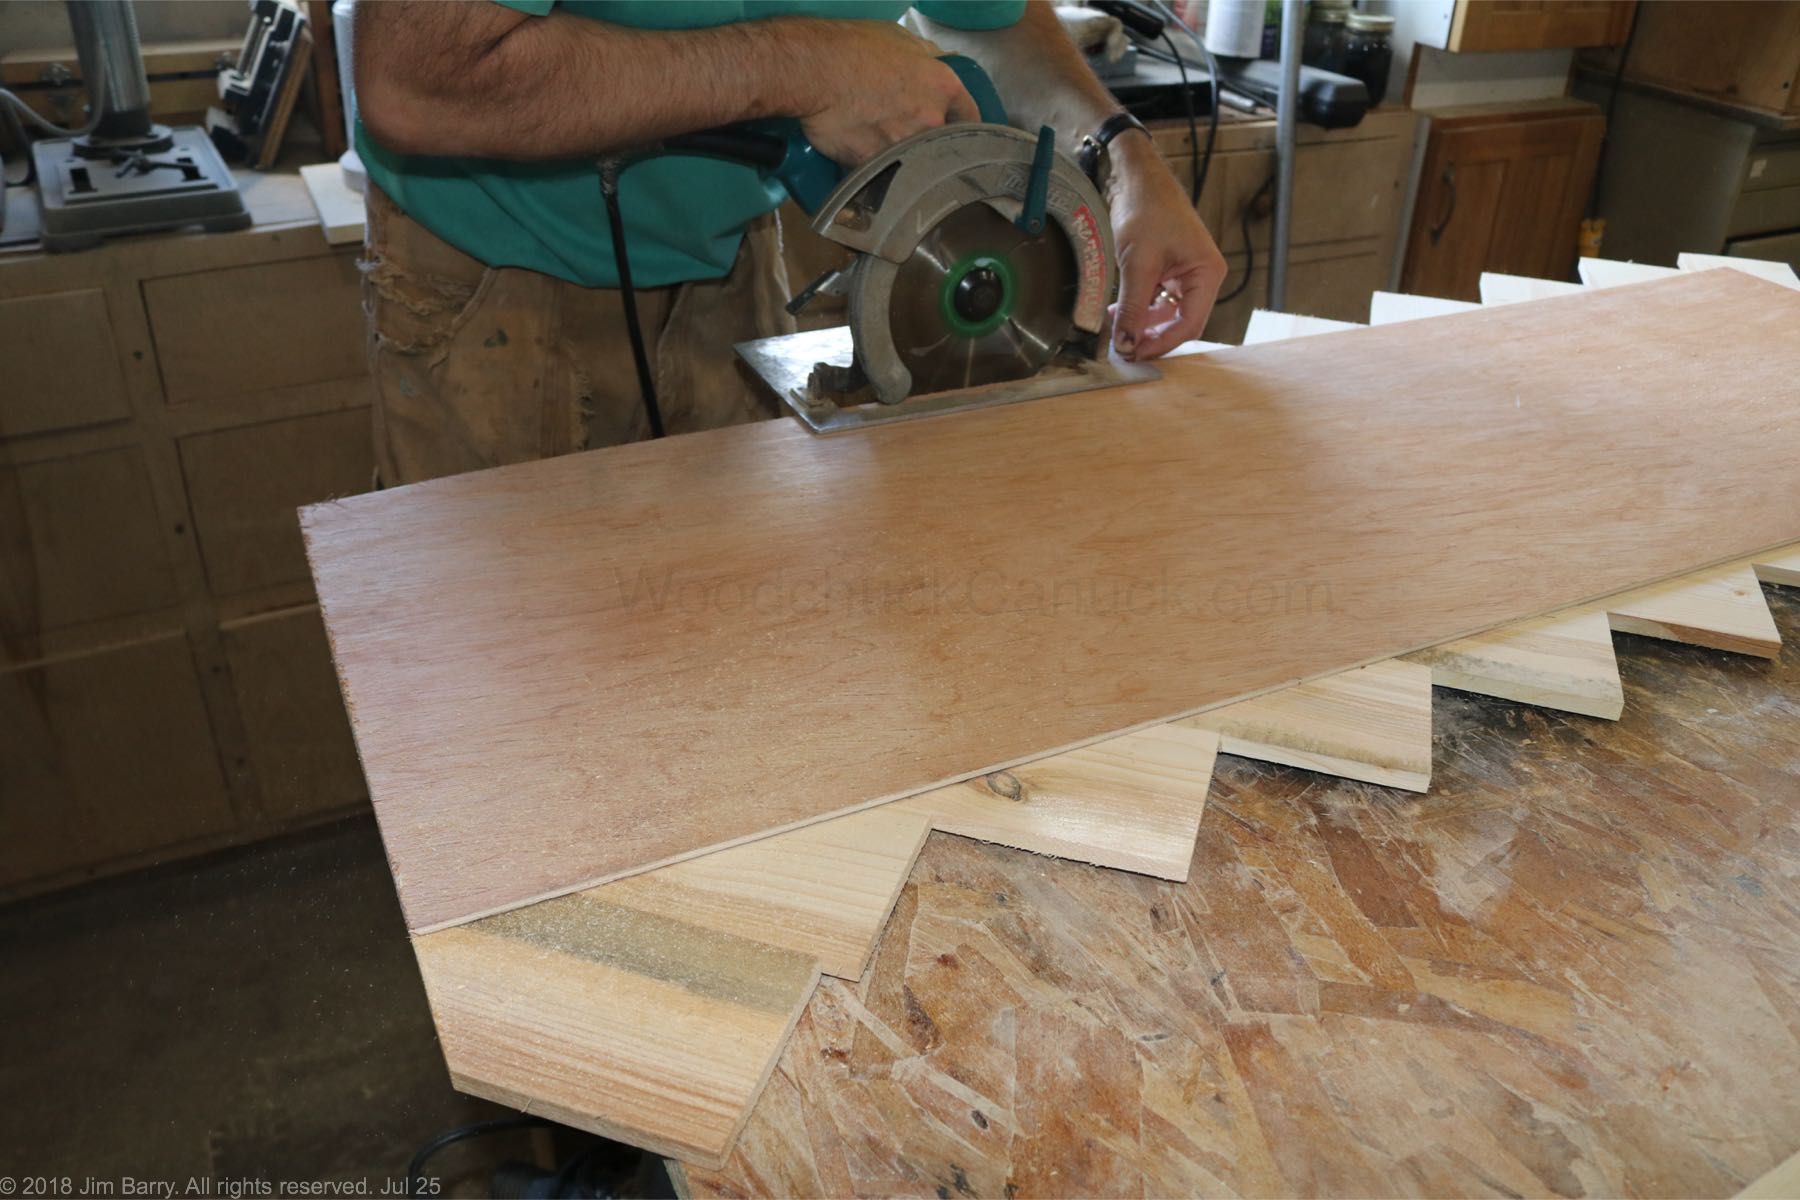
We squared up the sides of this ugly board and cut it into 4 inch wide strips. At this point the boards were sanded and cut down to 14 inch lengths. We also cut out a piece of luan plywood the exact size of the current tabletop. We measured and drew a line down the center of the plywood and started arranging the strips of wood in a herringbone pattern.

Once we were happy with the placement, each piece was glued in place and weighed down with cement blocks overnight.

The next day we removed the cement blocks, flipped the whole thing over and Jim cut off the excess wood hanging over the edge of the plywood.
From the same wood, we added trim around the edges, the same way you would build a picture frame with mitered corners. We settled on 1 1/2 inches thick to give the top a beefier look.

Jim did a final sanding and we gave it a coat of stain and let it dry overnight.

In the morning we brought it in the house and got it in place. Then Jim put a coat of wax on and gave it a good buffing.

So here is the BEFORE…
And the AFTER…
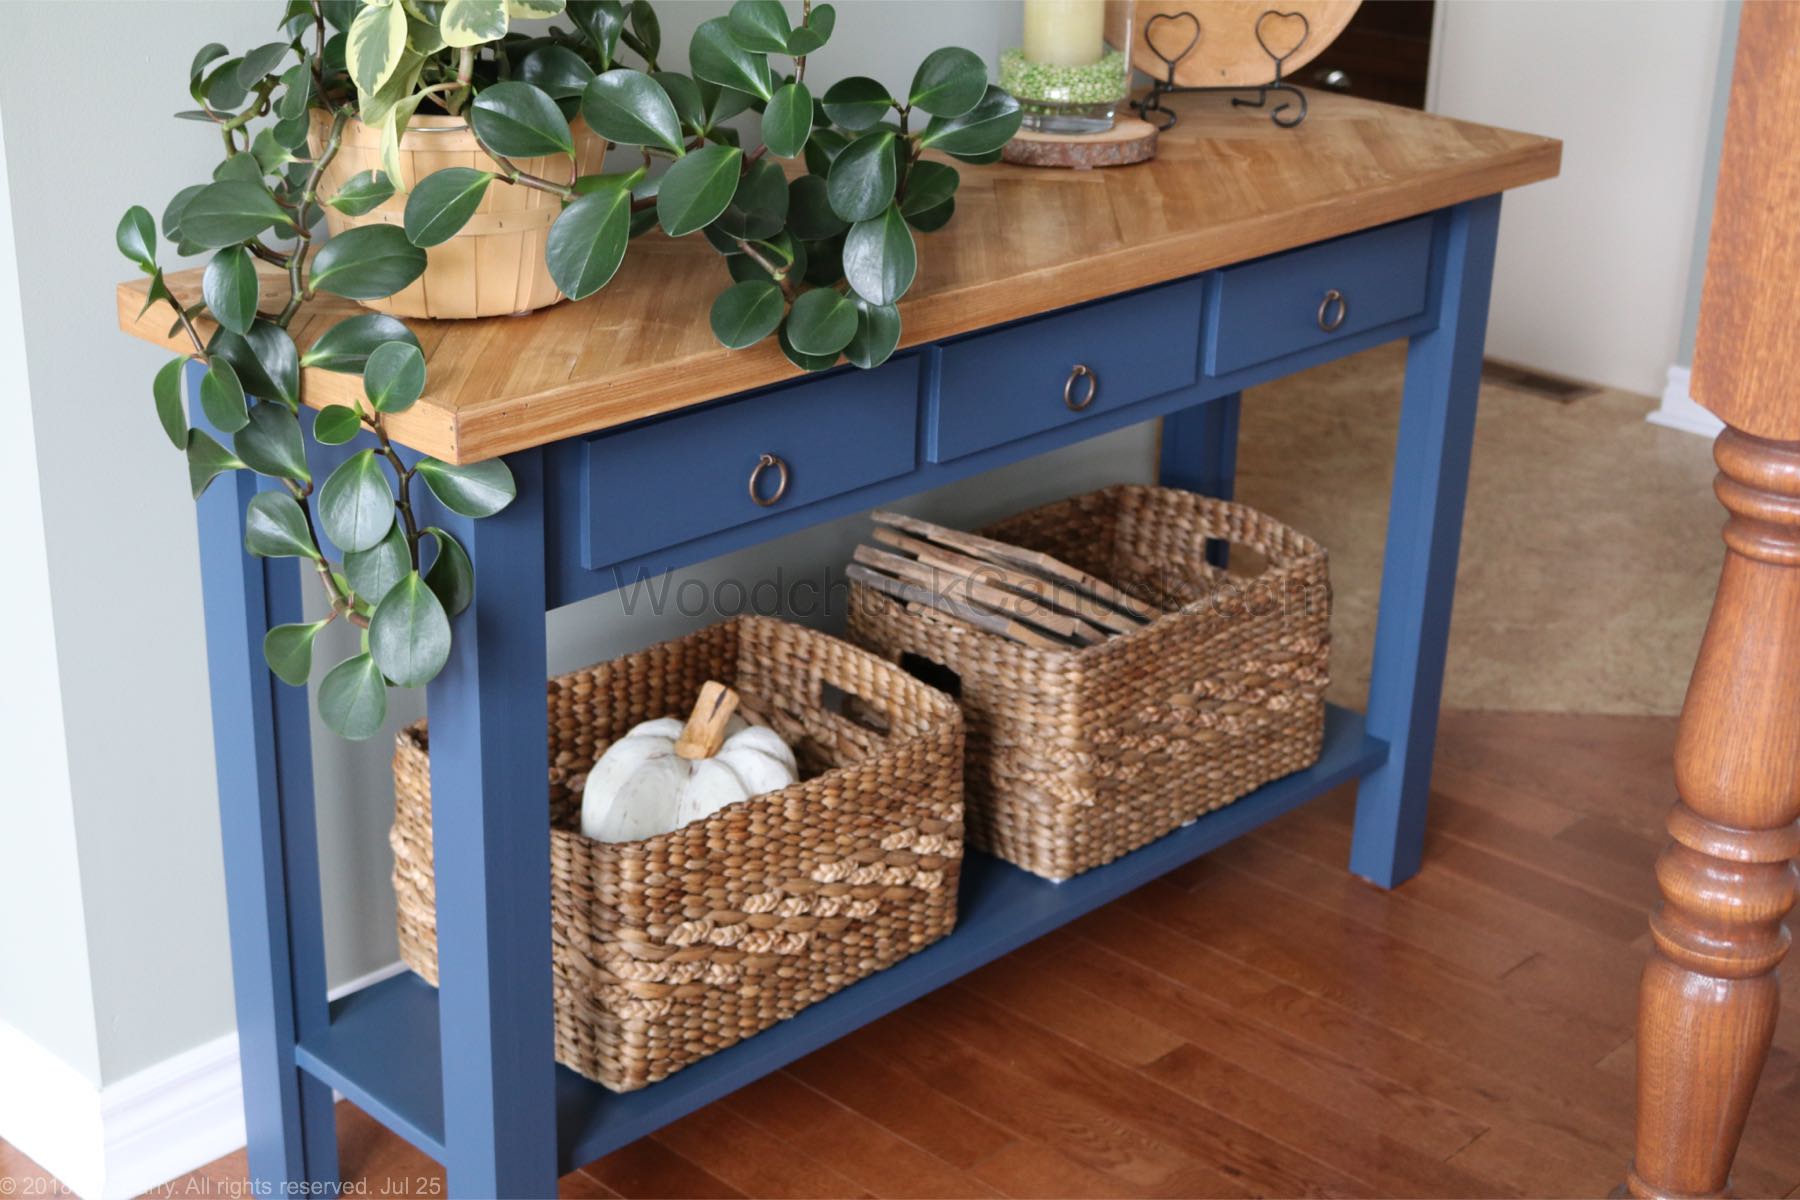
With a closeup of the top for good measure.

This could be done with any table really. Who new Fir could look this good. Jim did. That’s who!
Later