Painting Grain Sack Stripes on Fabric
I may have bragged a time or two about the area we live in. Postcard perfect really. There is just one problem. Our nearest three towns are seriously lacking in the shopping department. I blame the internet. It’s both a curse and a blessing. I think as a result of a lot of people doing their shopping online, there has been a decline in retail stores. Some things you really need to see in person before you buy. Case in point…fabric.

I’ve been digging grain sack fabric for some time now. If I wanted to buy some I would have to order it on the internet. Then I came across a tutorial where someone made their own. I thought it was genius and with any luck I could do the same.
I headed out to pick up some painters drop cloths. I lucked out and found them at Canadian Tire. For all you non-Canadians, (it sucks to be you), CanTire is our national hardware store. I read most drop cloths have a big seam down the middle but I took a chance and bought it anyways. Nothing to loose.
These ones were perfect. They are made of a heavy natural twill material with no seam to be found.

When I got it home I threw it in the washer and let it air dry until it was just damp. Then I ironed it. I decided to make a table runner and 2 pillow covers. First up the runner. I took one I had on hand and cut a piece of material about an inch bigger all around.
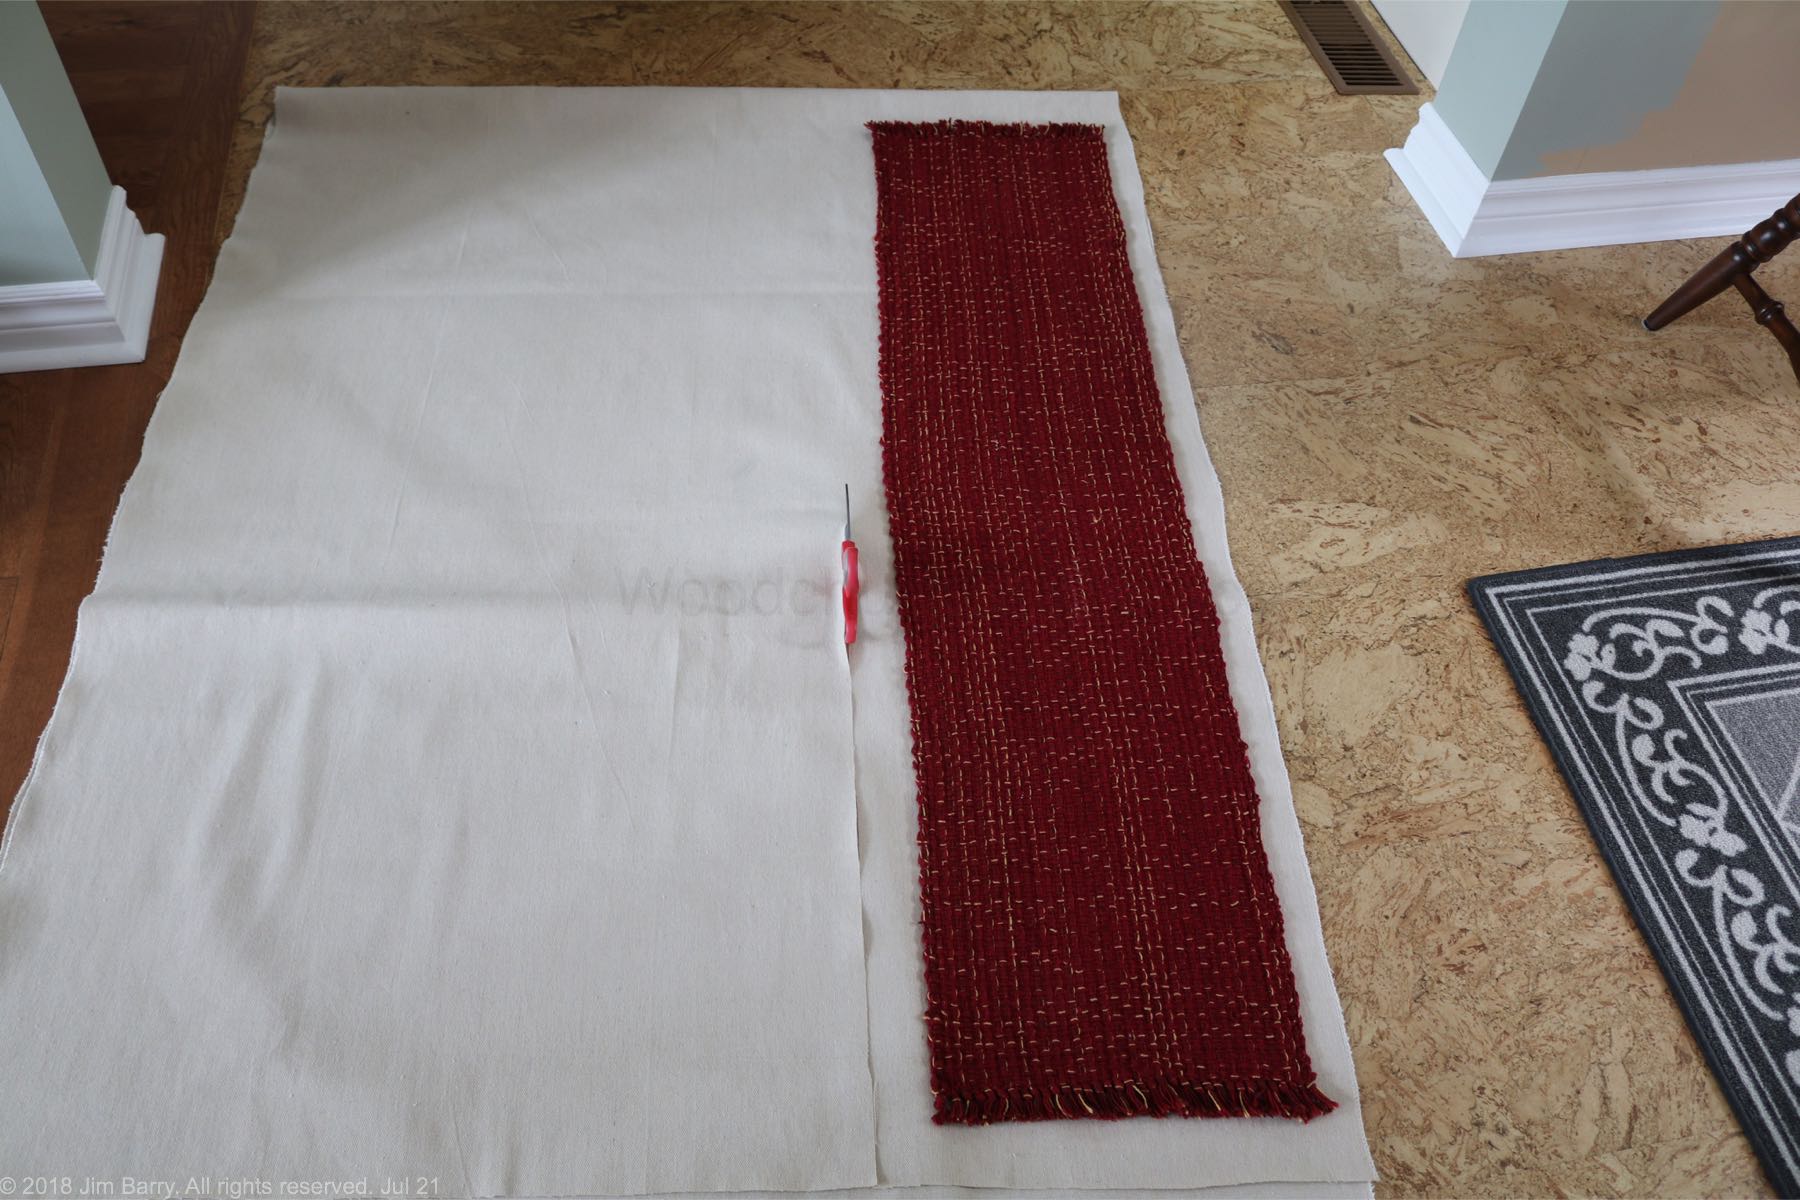
While I was at it I cut out for two pillow covers too.
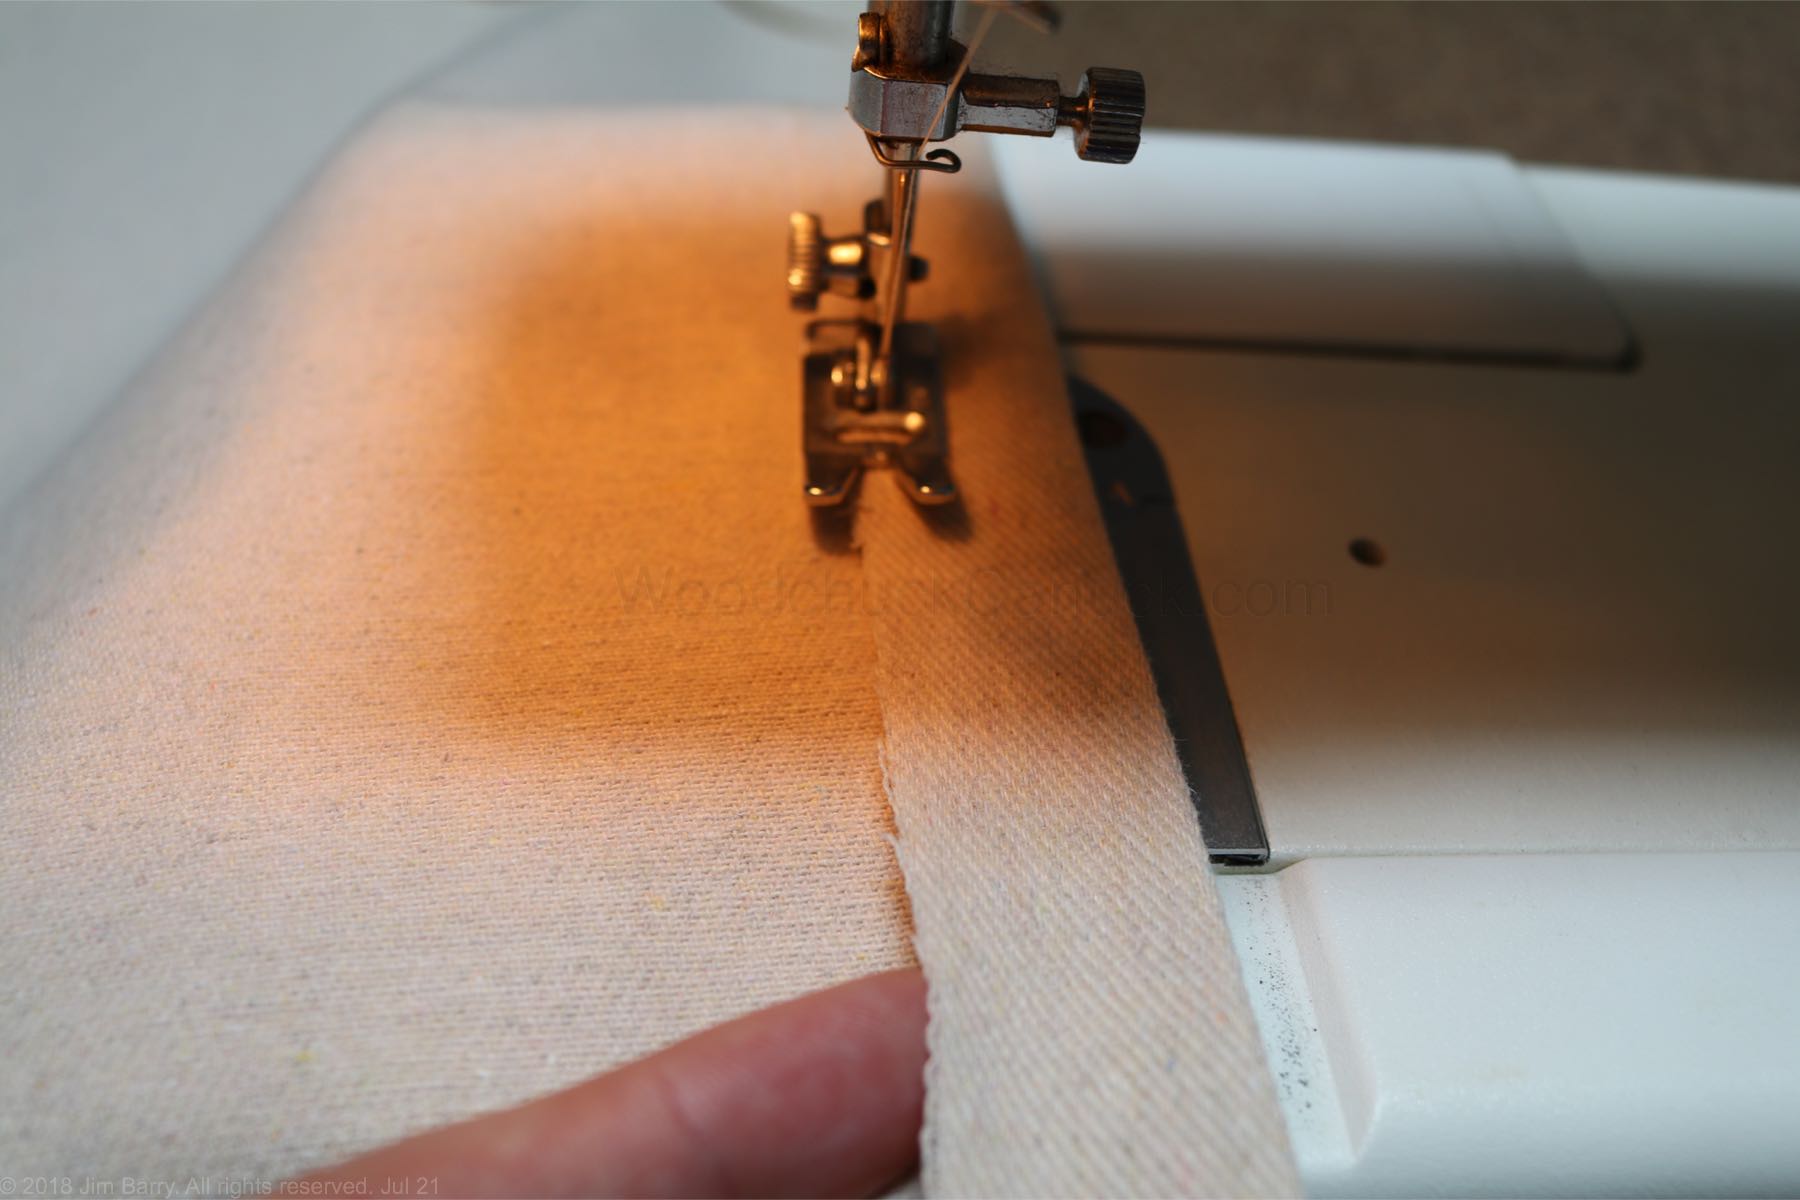
For the runner I turned the sides and sewed them before I started on the stripes. I thought it would be easier to center the stripes after.
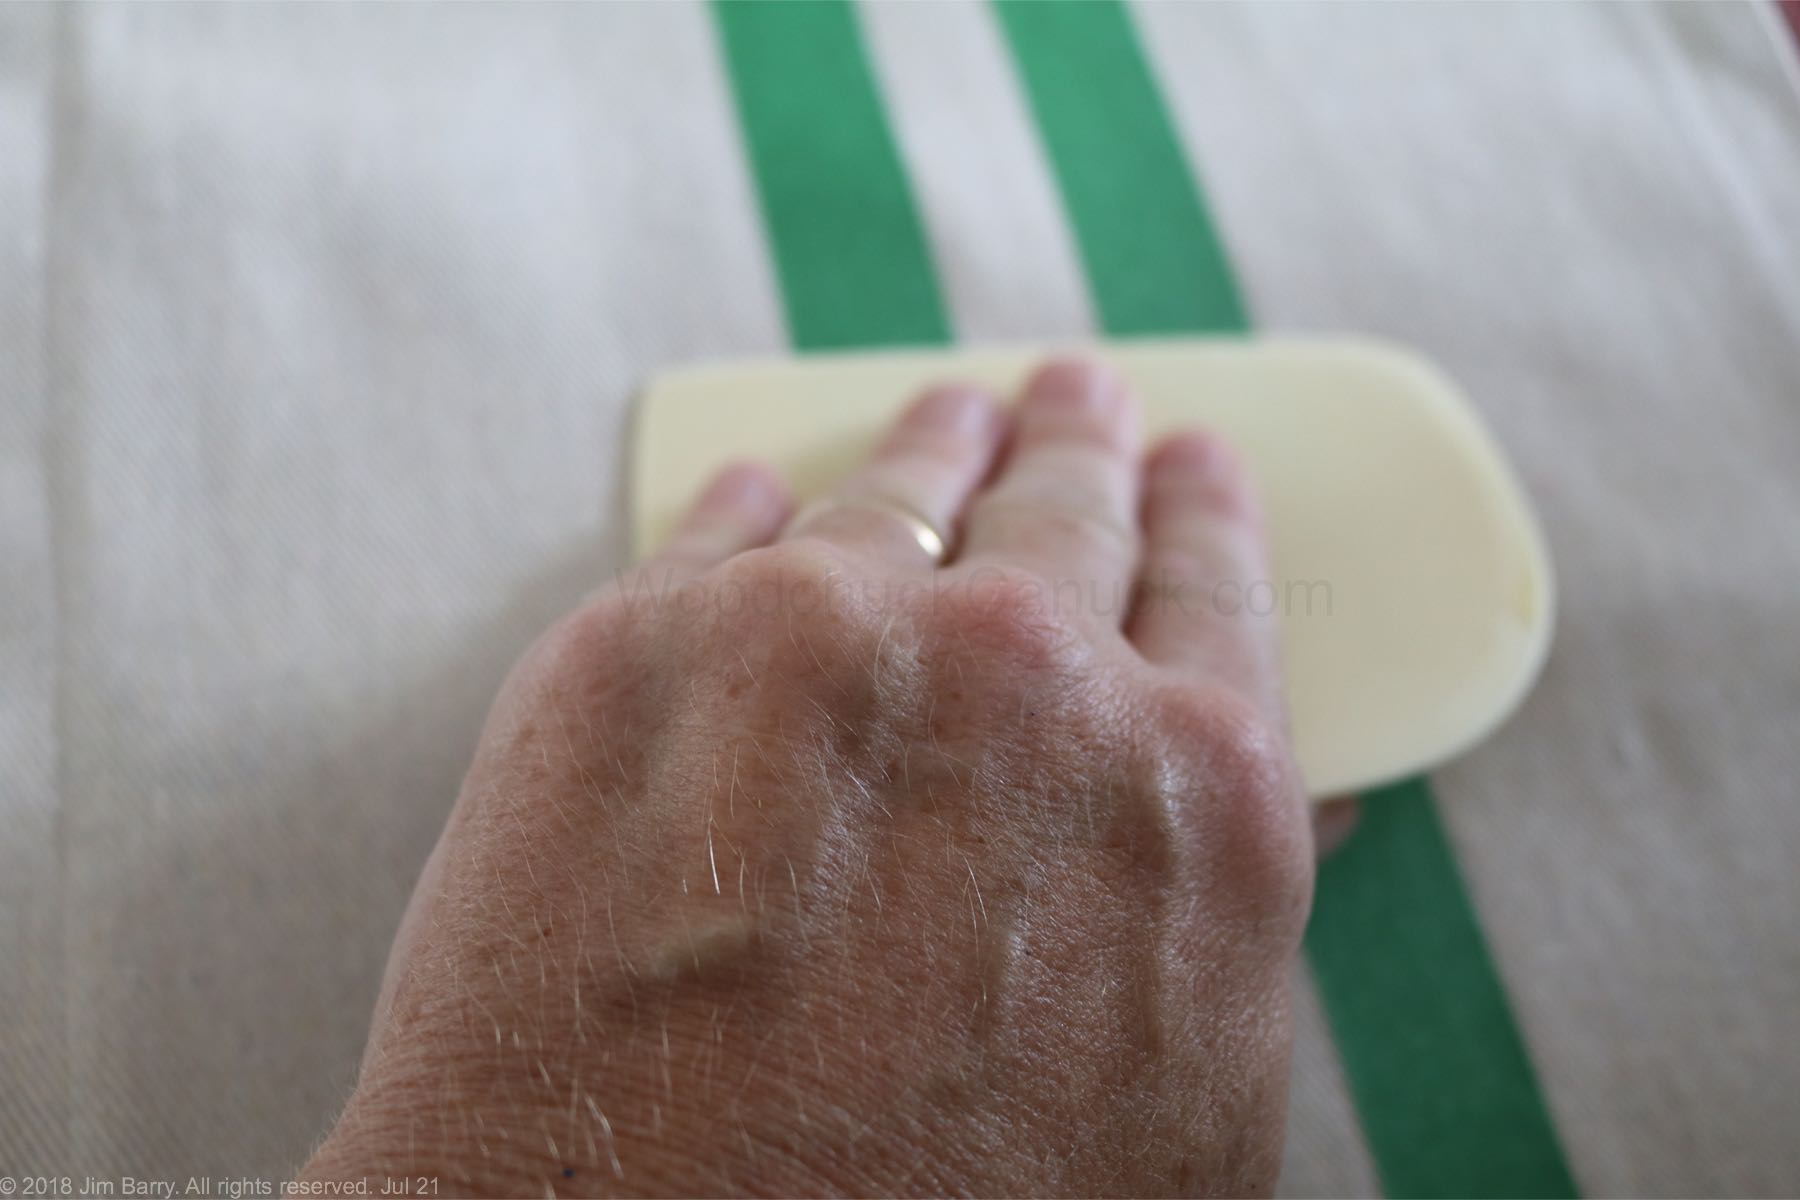
Now it was time for the stripes. I just eyeballed it.

If you do this don’t forget to really get the tape on good so the paint won’t bleed underneath. I used a plastic scrapper.
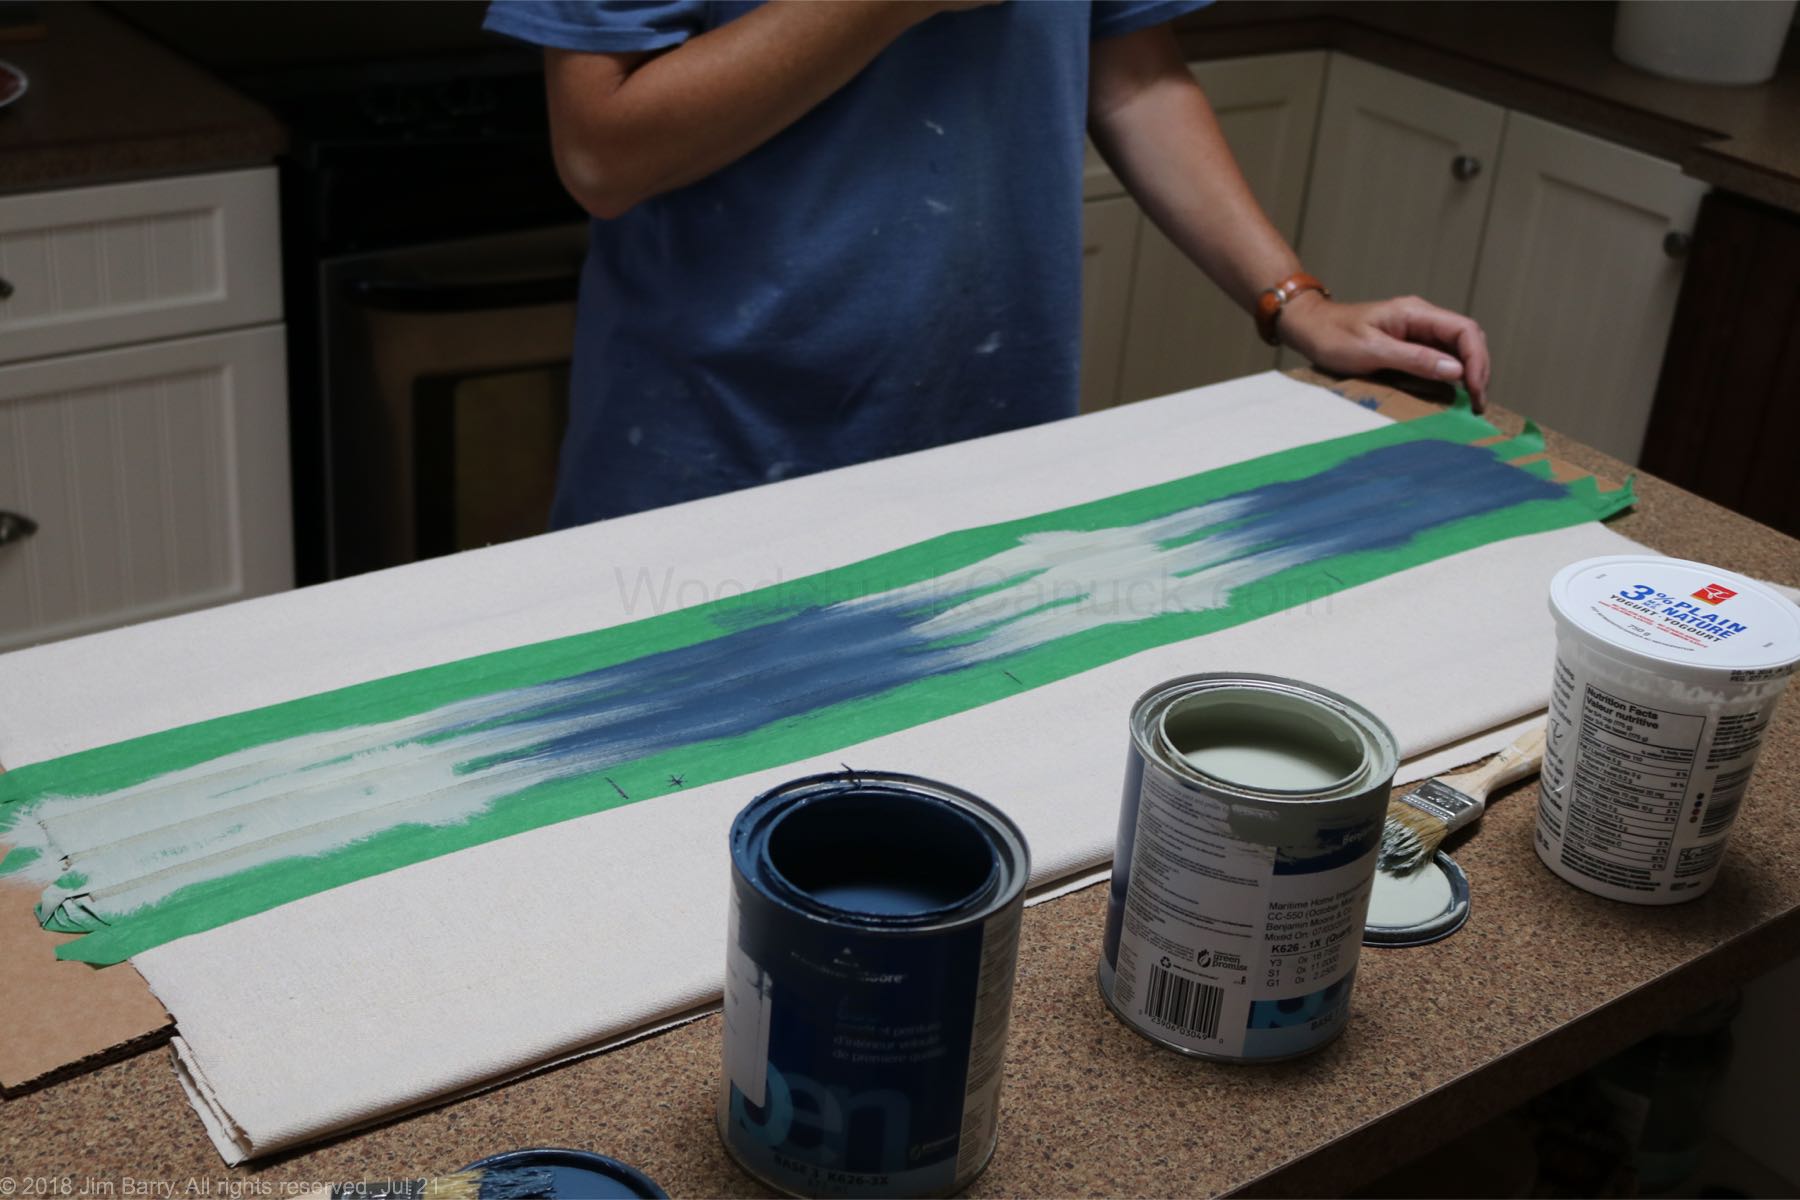
Then it was time for paint. I decided on navy for the stripes so I just painted in between the taped lines. It takes a bit more paint than you might think. I also had a piece of cardboard underneath in case paint came through the other side but it didn’t. Then I removed the tape while the paint was wet. And voila.

I’m no seamstress, in fact the sewing machine and I are only casual acquaintances, sometimes enemies, but it turned out pretty good.
Now on to the pillow covers. Same steps except this time I painted the stripes before I sewed.
Here I was removing the tape while the paint was wet. The paint darkens as it dries.

Back at the sewing machine there were 2 sides to sew and once the pillow was inserted I hand stitched the third side.

Here are the pillows all finished.

And in their new home. We are working on finishing that entryway wall as we speak.

You might think the painted parts would be stiff but not really. I read you should use fabric paint and I’m sure that might make a difference but I just used regular latex paint.
If anyone asks I’m not telling them I had to buy fabric at Canadian Tire. Nope, not telling.
Later


4 Comments
Pingback:
Pingback:
Pingback:
Pingback: