Building a Twisty Table
Ever see something and say, “I can build that”. Yeah, we do the same thing. Which reminds me, I’m quitting Pinterest. I recently saw a small twisty table which was awesome and thought it would be a fun EASY project. Not fun, and definitely not easy. Challenging comes to mind. But really, how hard could it be? This is the picture from Pinterest.
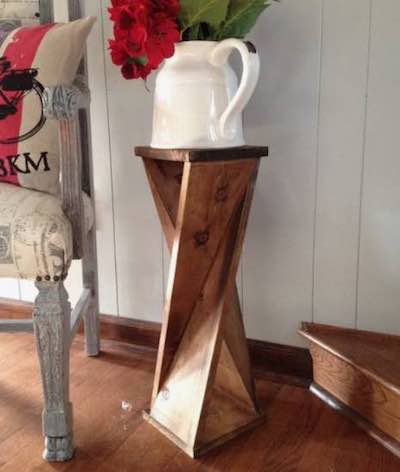
Simple right? Apparently you need three things to build this table. Patience, math skills, and woodworking experience. Still, I thought, no problem, we have two out of three. Jim is awesome at both math and woodworking. We forged ahead with our math skills and woodworking experience hoping that would be enough to turn out a fine twisty table.
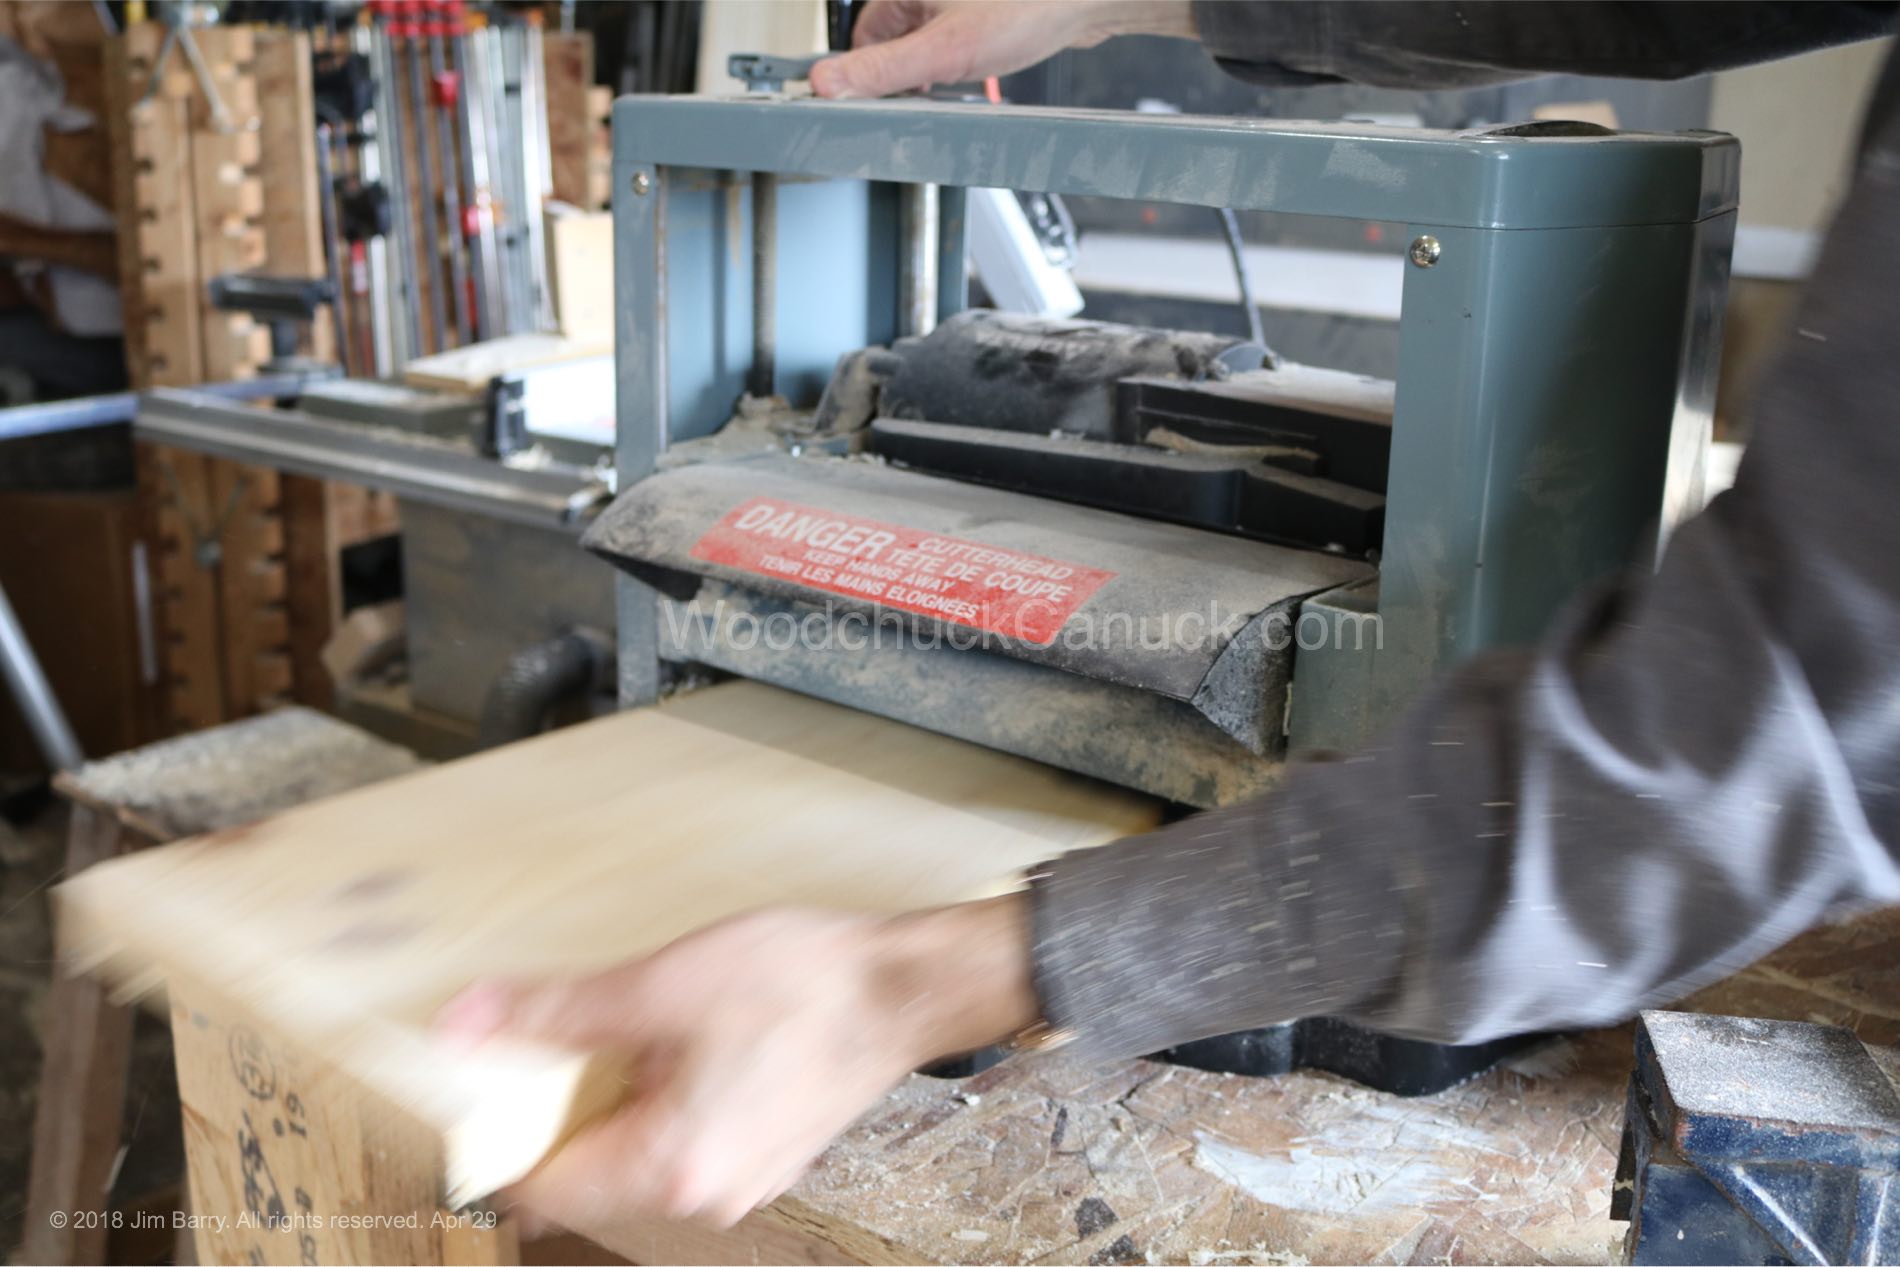
We started by cutting our boards down to size, leaving them a little longer than we wanted our finished table to be.

Then we passed them through the planer multiple times. There were four boards in total. One for the top, one for the base. The other two were going to be cut in half on the diagonal to create four legs.
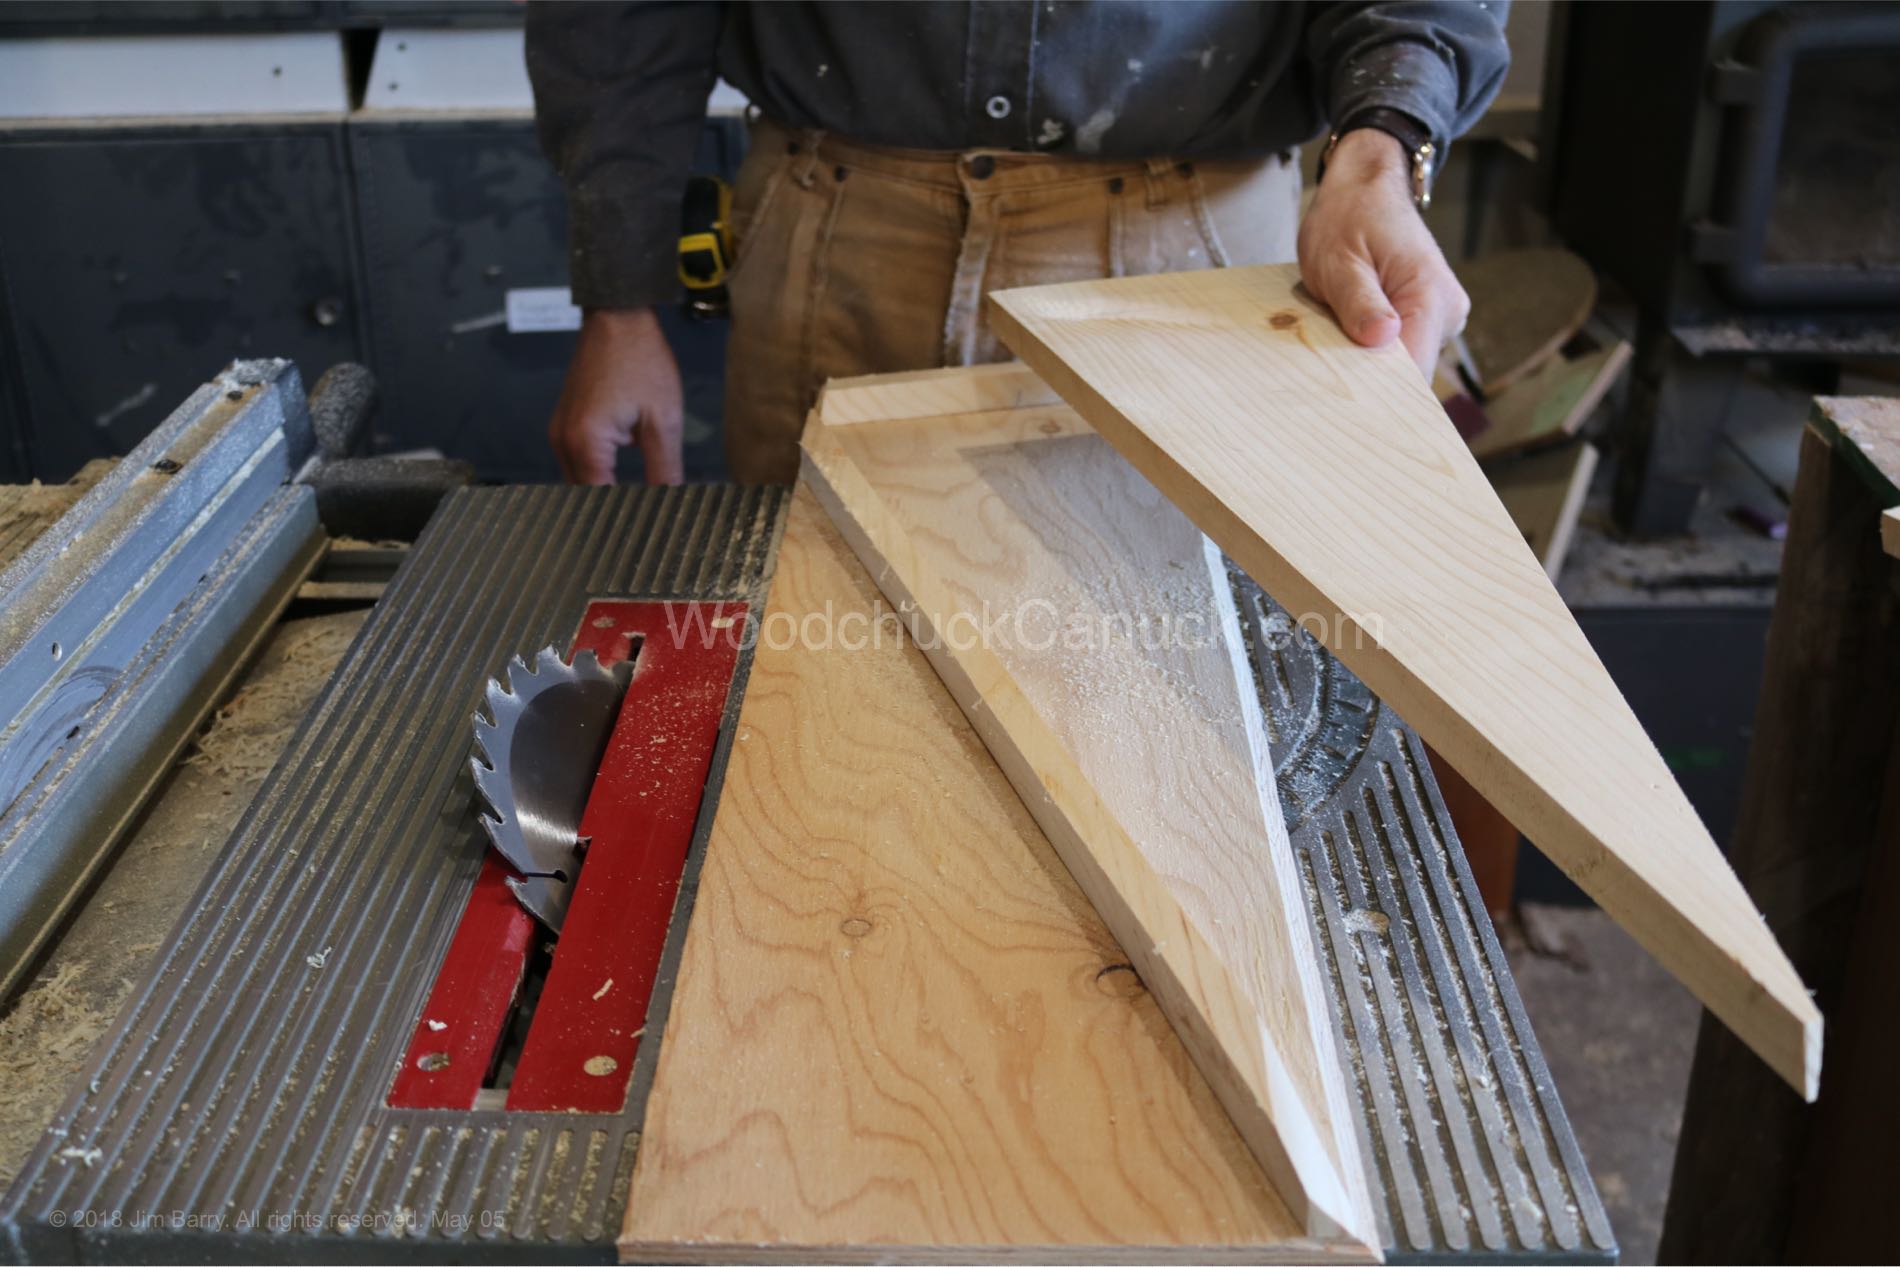
Next up was actually cutting them on the diagonal.

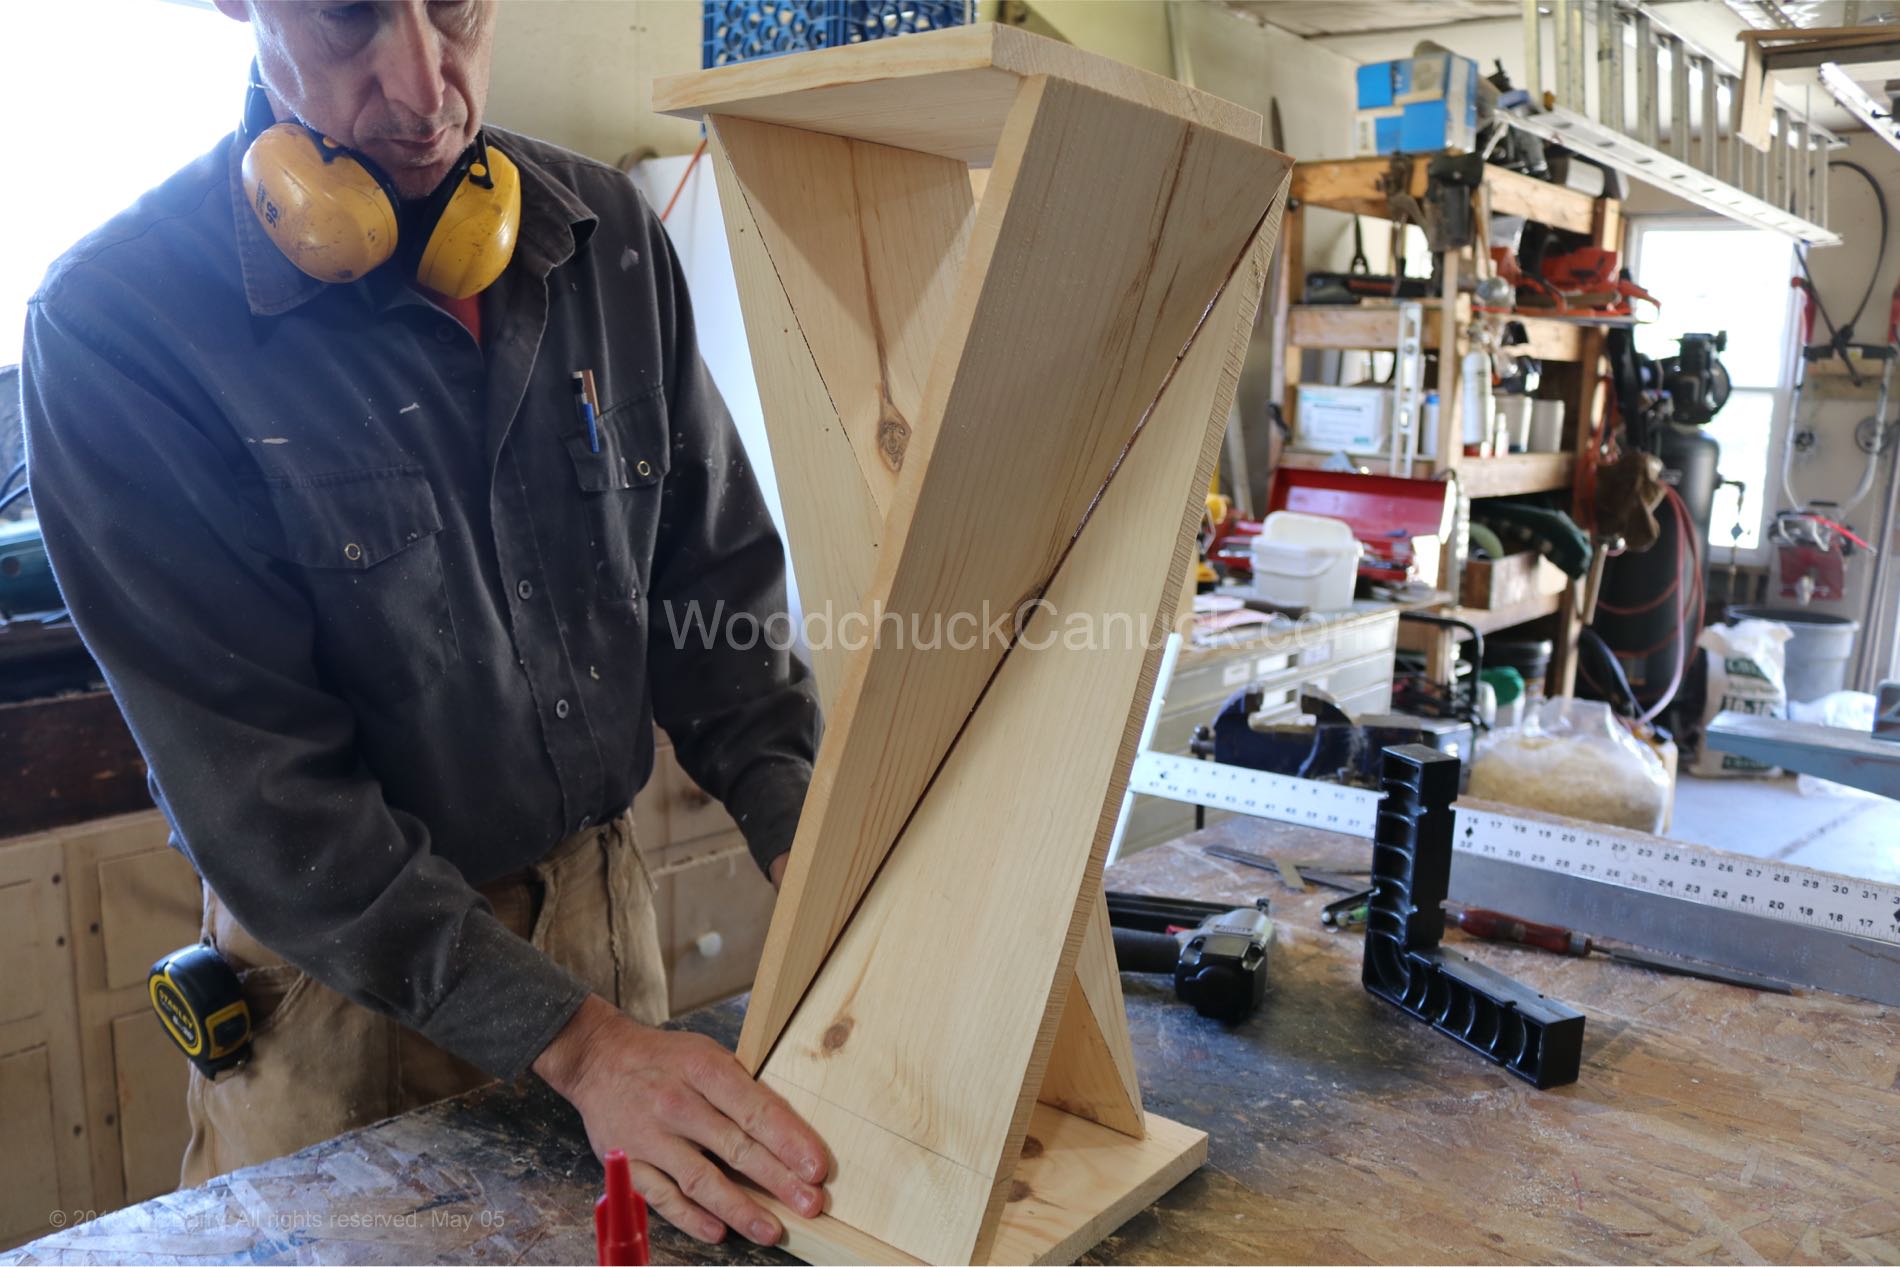
With the major cuts done, we decided to mock it up and see how we were doing.

Hmmmm…..

Now remember both the top and bottom still need to be cut on a different angle so they are level. Easier said than done. We are talking compound miter cuts. Each time we adjusted one angle it just compounded the problem. The original picture had mitered corners on the legs, we thought we would be smart and skip that step, and just do butt joints. Not smart. Doing this threw off our measurements for the width of the boards. All four triangles need to be the same size for this to work.
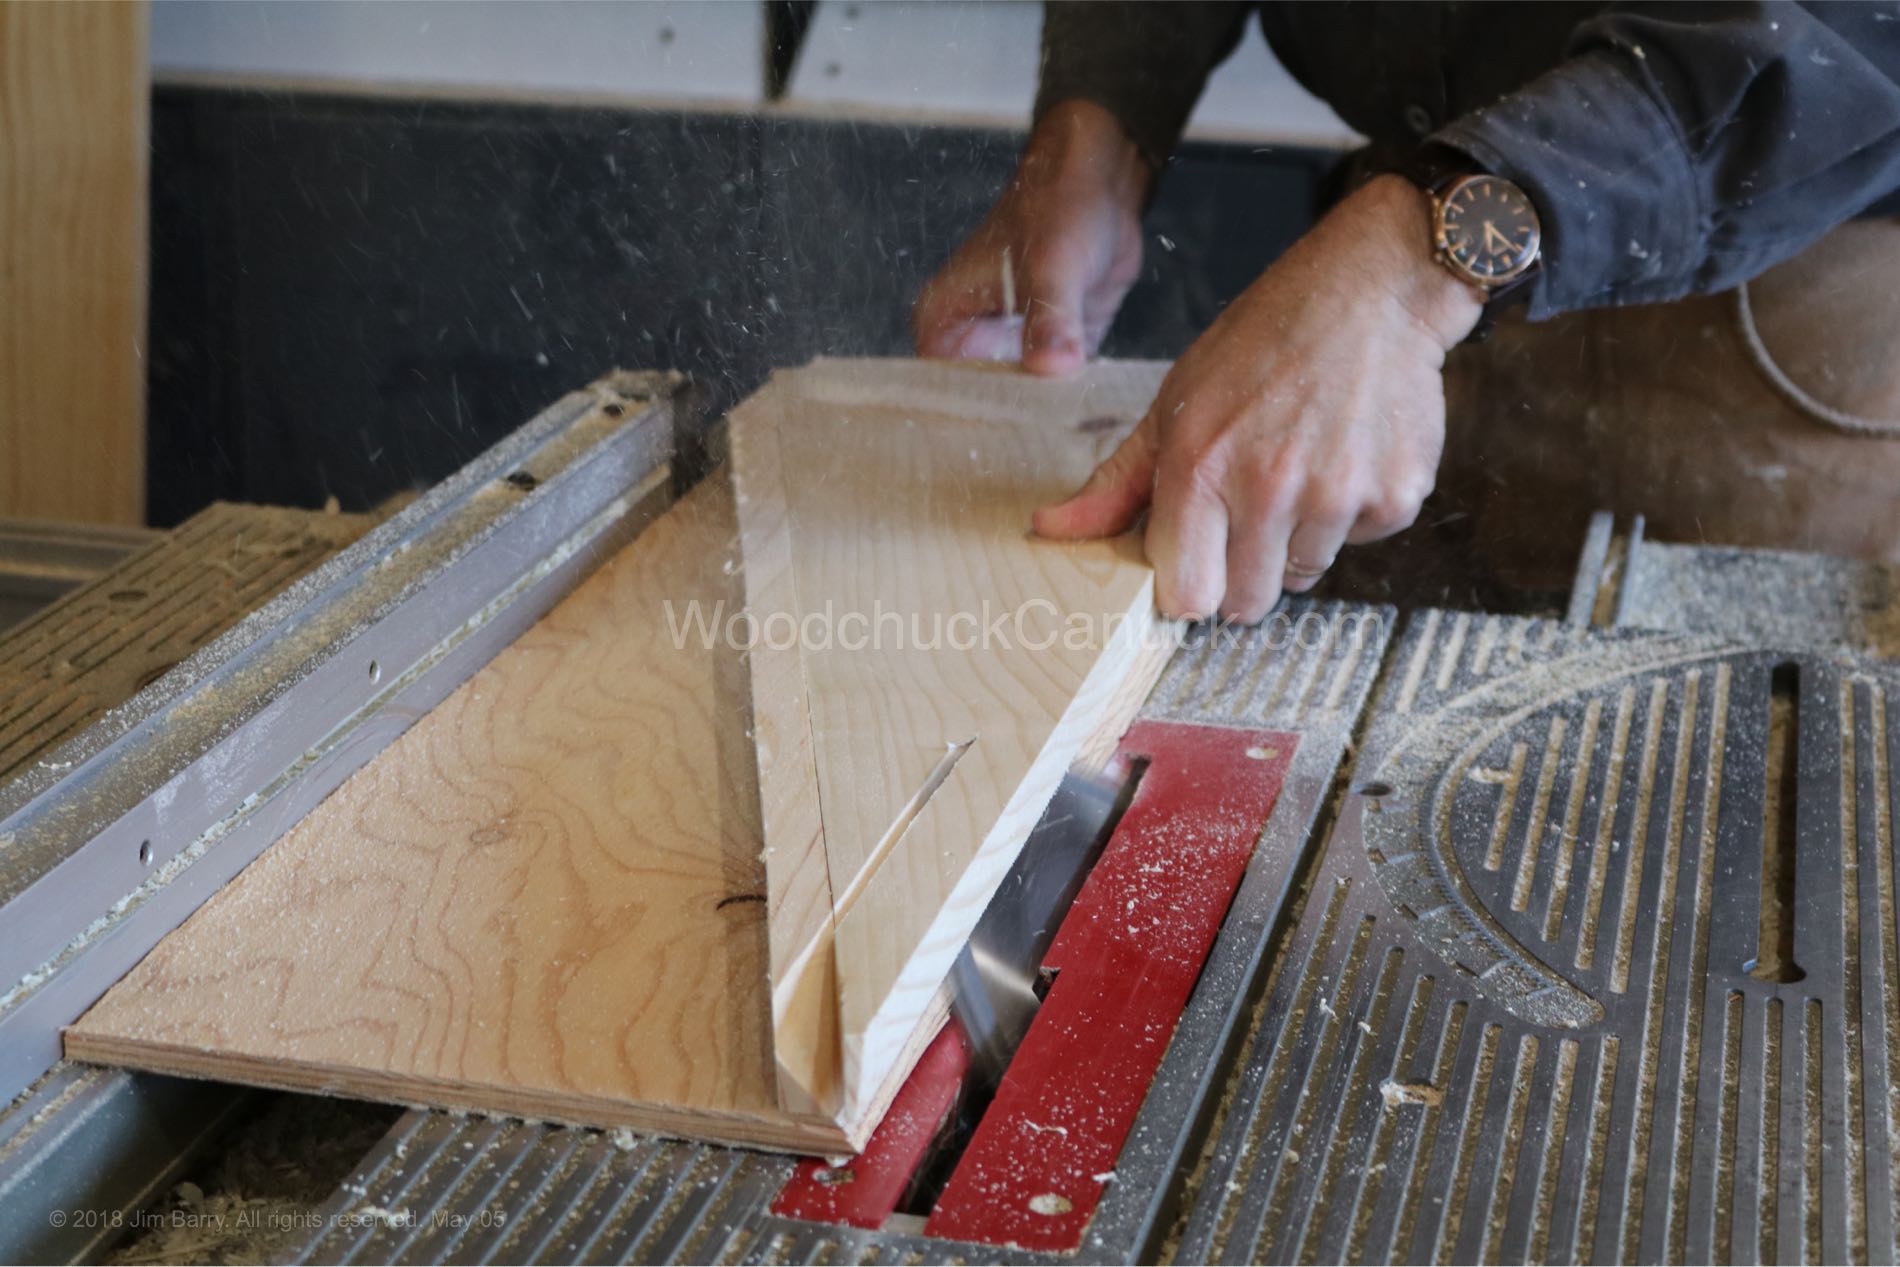
Back to the drawing board. This time Jim built a jig to use for cutting the 45 degree angles on the triangles. Worked perfectly. I should also mention that every time we did some cutting or correcting of angles, the table shrunk slightly in size.
Here is the jig in action.
At this rate we will end up with a footstool!
Not willing to admit defeat yet, we pushed onward. More trimming, fixing angles, passing the edges over the jointer. Looking back it was quite comical, but at the time, not so much. Anyhow…this is the closest we came to a finished table.
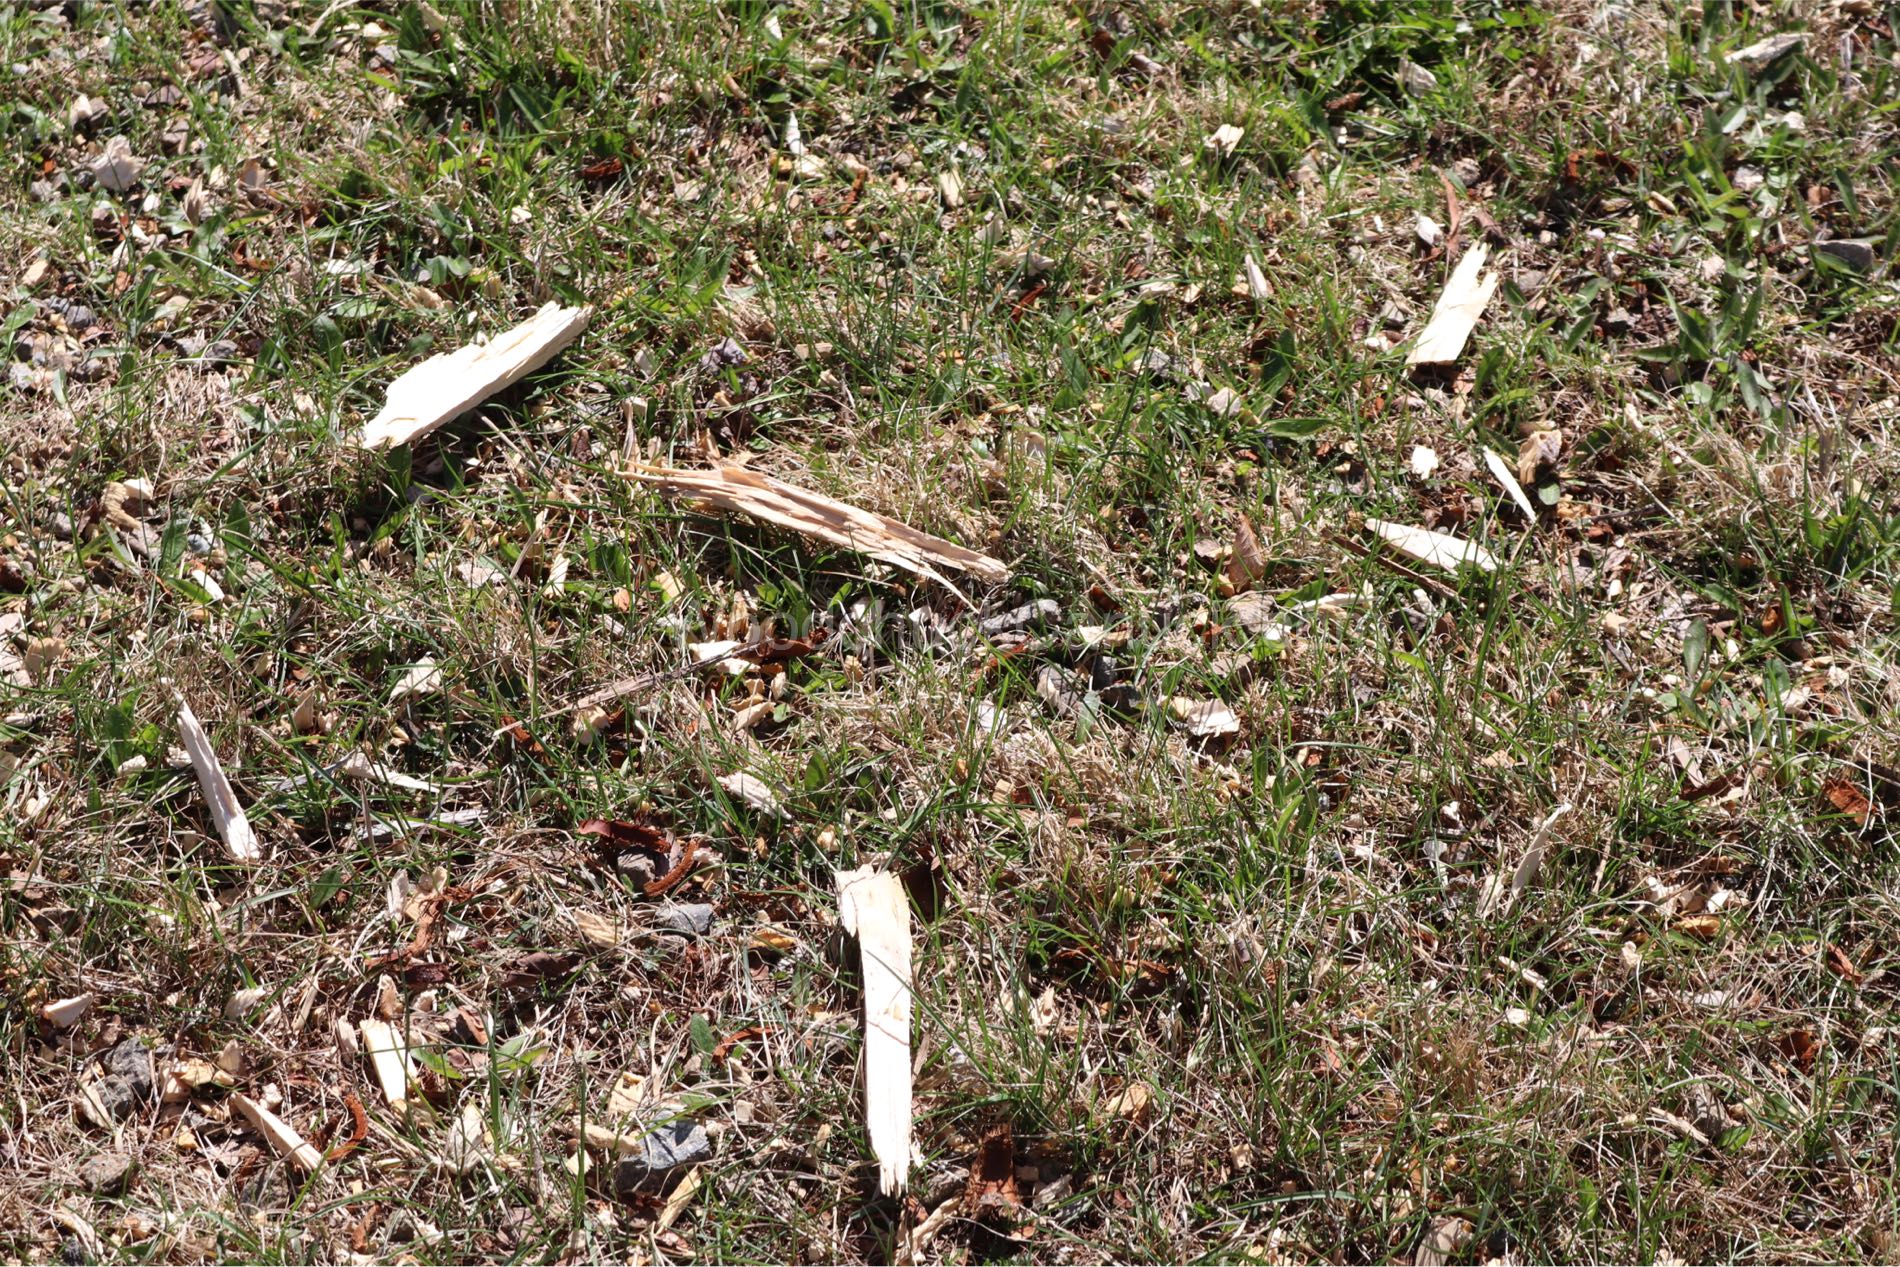
I could tell this project was testing Jims patience. And after that last mockup wasn’t right, he was finished. Done. Finito. Can’t say I blame him. I was thinking we now have some fancy angled firewood but Jim was way ahead of me.

Here are my table legs spread out on the lawn. Might be easier to start from scratch with these pieces. 🙂
Oh well, wasn’t meant to be I guess. Back to Pinterest to find a replacement. Just kidding. I quit.
Later
5 Comments
Pingback:
Pingback:
Shara
Hi! I’m Shara, the author of the original tutorial you followed for this project you “found on Pinterest.” You actually seem to have made your way over to the tutorial on my website at: https://www.woodshopdiaries.com/twisty-table/ I’m sorry you had issues putting it together. I’ve got building plans for this project available with extra information and also a video for it here: https://www.facebook.com/Hometalk/videos/1606021419415408 I am happy that you shared your experience, but since I am a content creator like you, I’d greatly appreciate a link back or credit to Woodshop Diaries since this was my original tutorial.
Jim Barry
Hi Shara,
We actually did find that picture on Pinterest. If we knew it was yours, we would have credited the source.
FYI, we have been promoting your free plan tutorials since 2014. https://freewoodworkingplan.com/?s=woodshopdiaries
Sincerely,
Jim
Pingback: