2×4 Folding Bench Picnic Table

Today I finished revising the plans for our folding bench picnic table.
Then I went into the workshop and did a test build of the plans.
I will outline some of the building photos on this page later this week. For now, here is a short video of the completed bench.
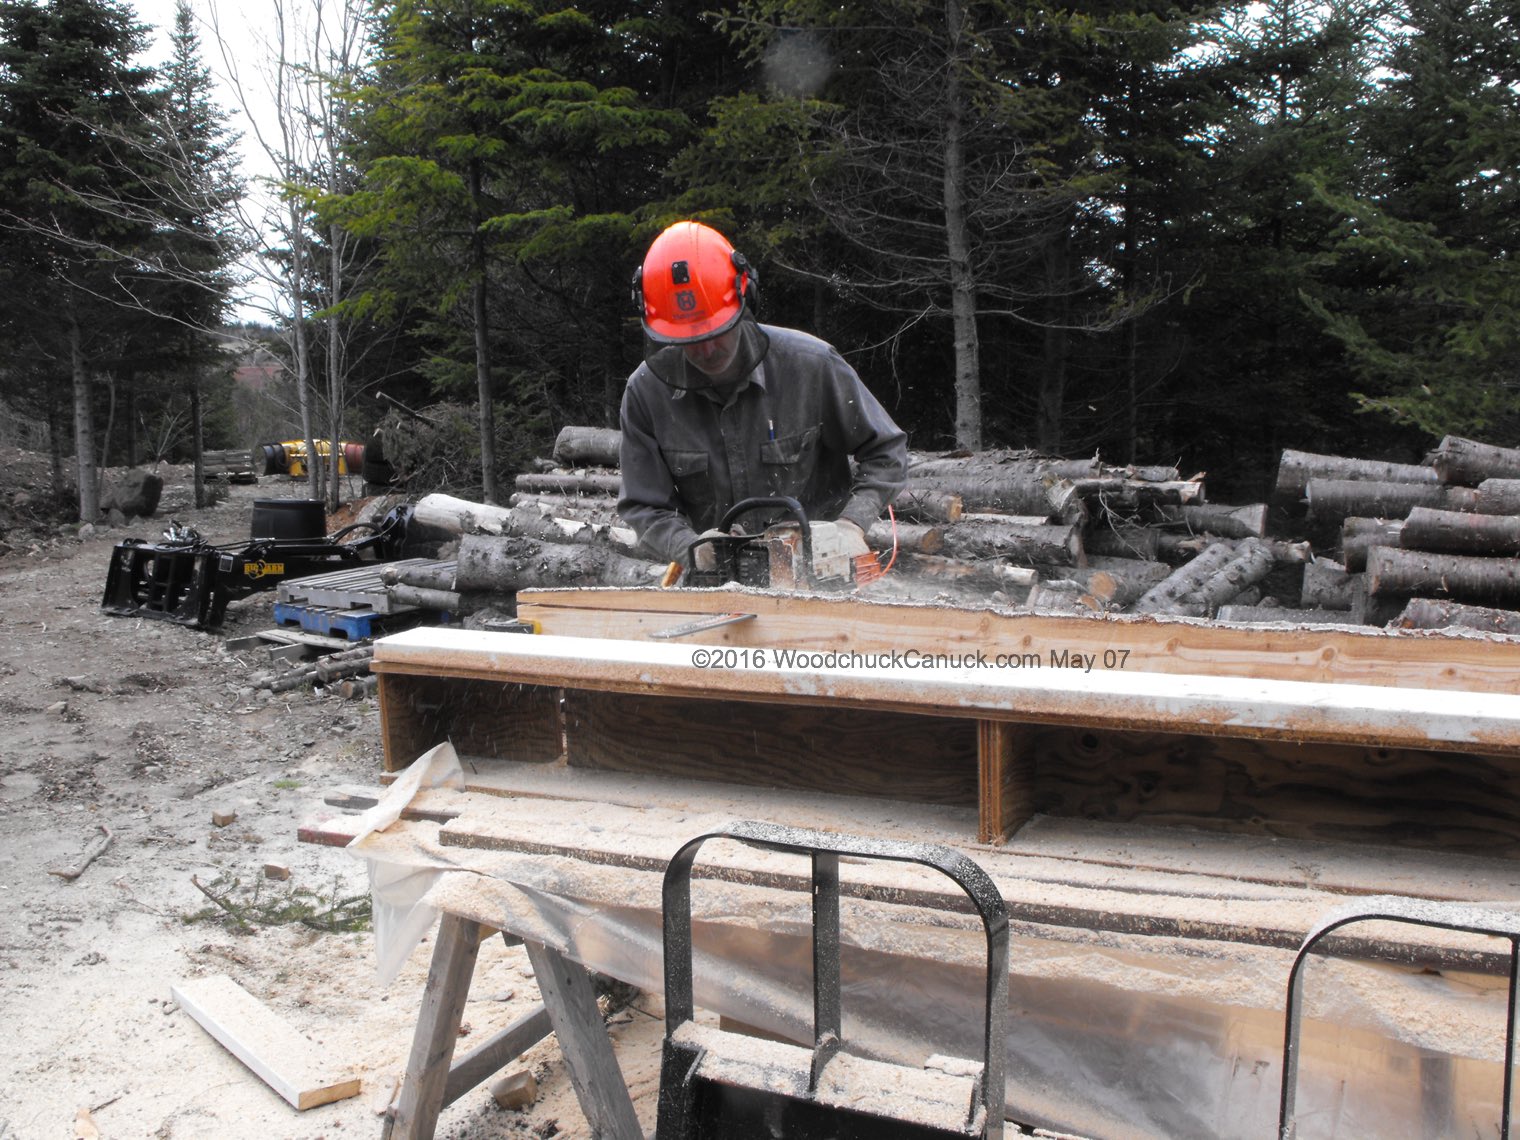
With some logs cut from last summer, I started slabbing them to make the 11 pieces of 2×4 x 8ft that are needed for this project. Here are a few of the lumber pieces made from the logs.

The rough lumber then had to be jointed and planed down to 1.5 x 3.5 inches.
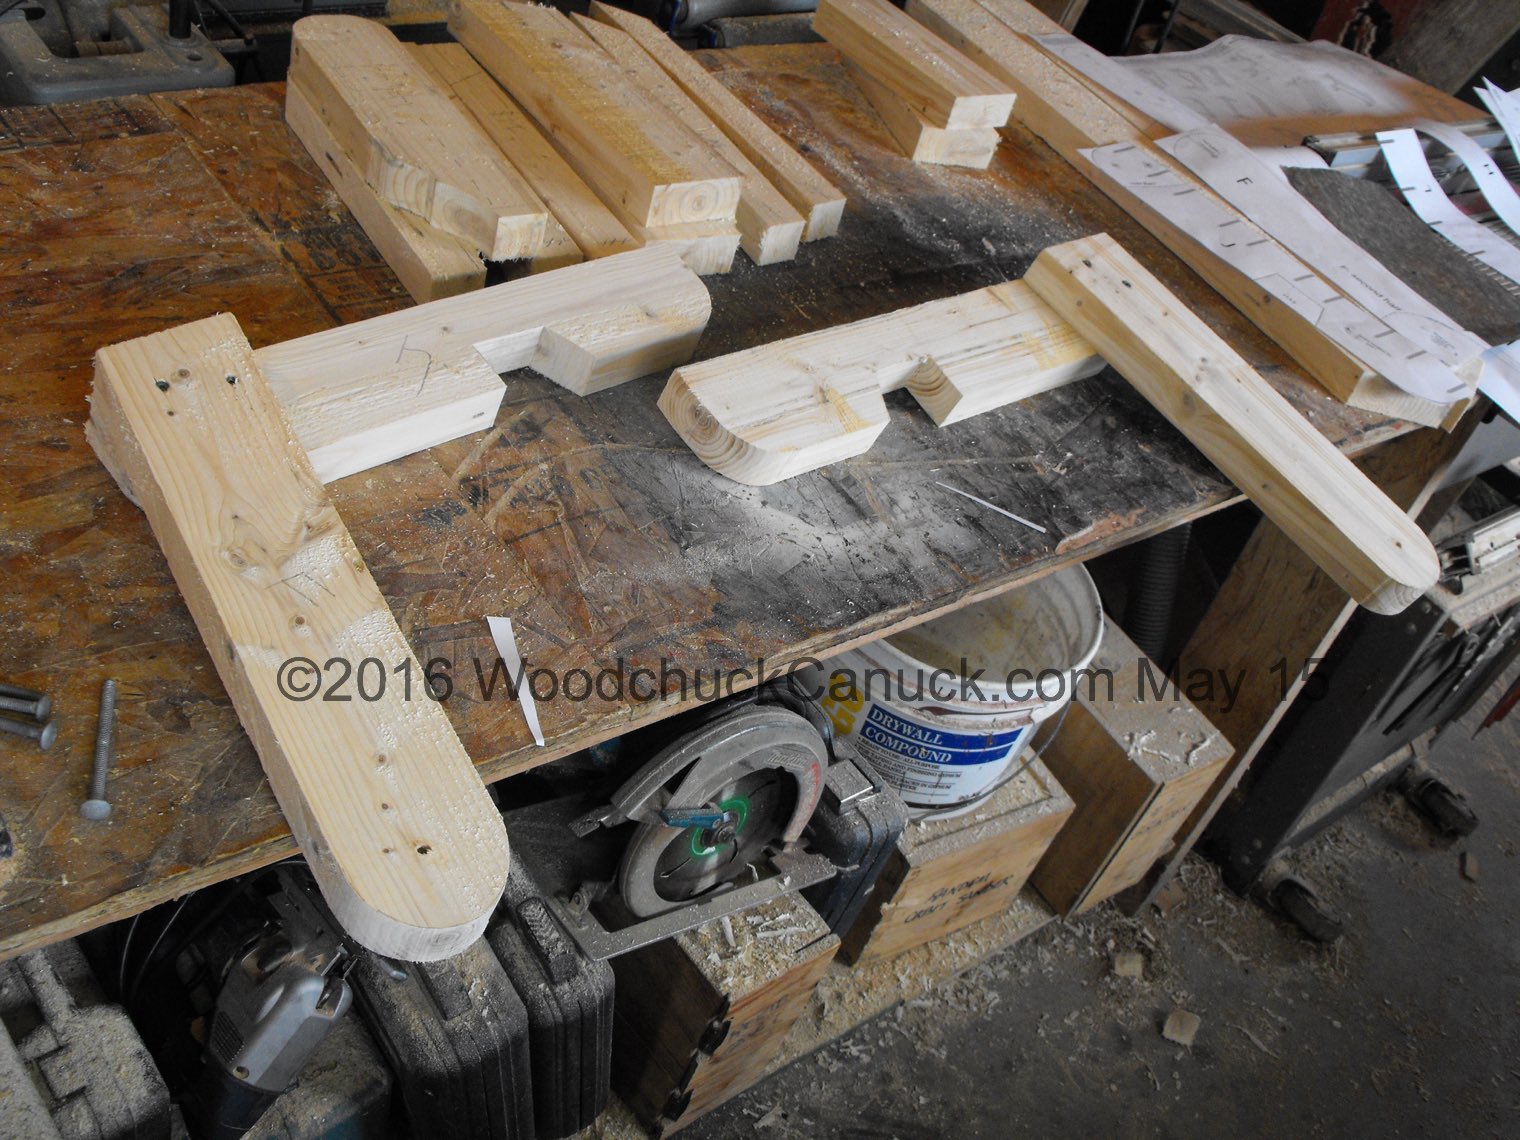
The first step is to cut all the parts from the full size drawings we provide in the building plan.

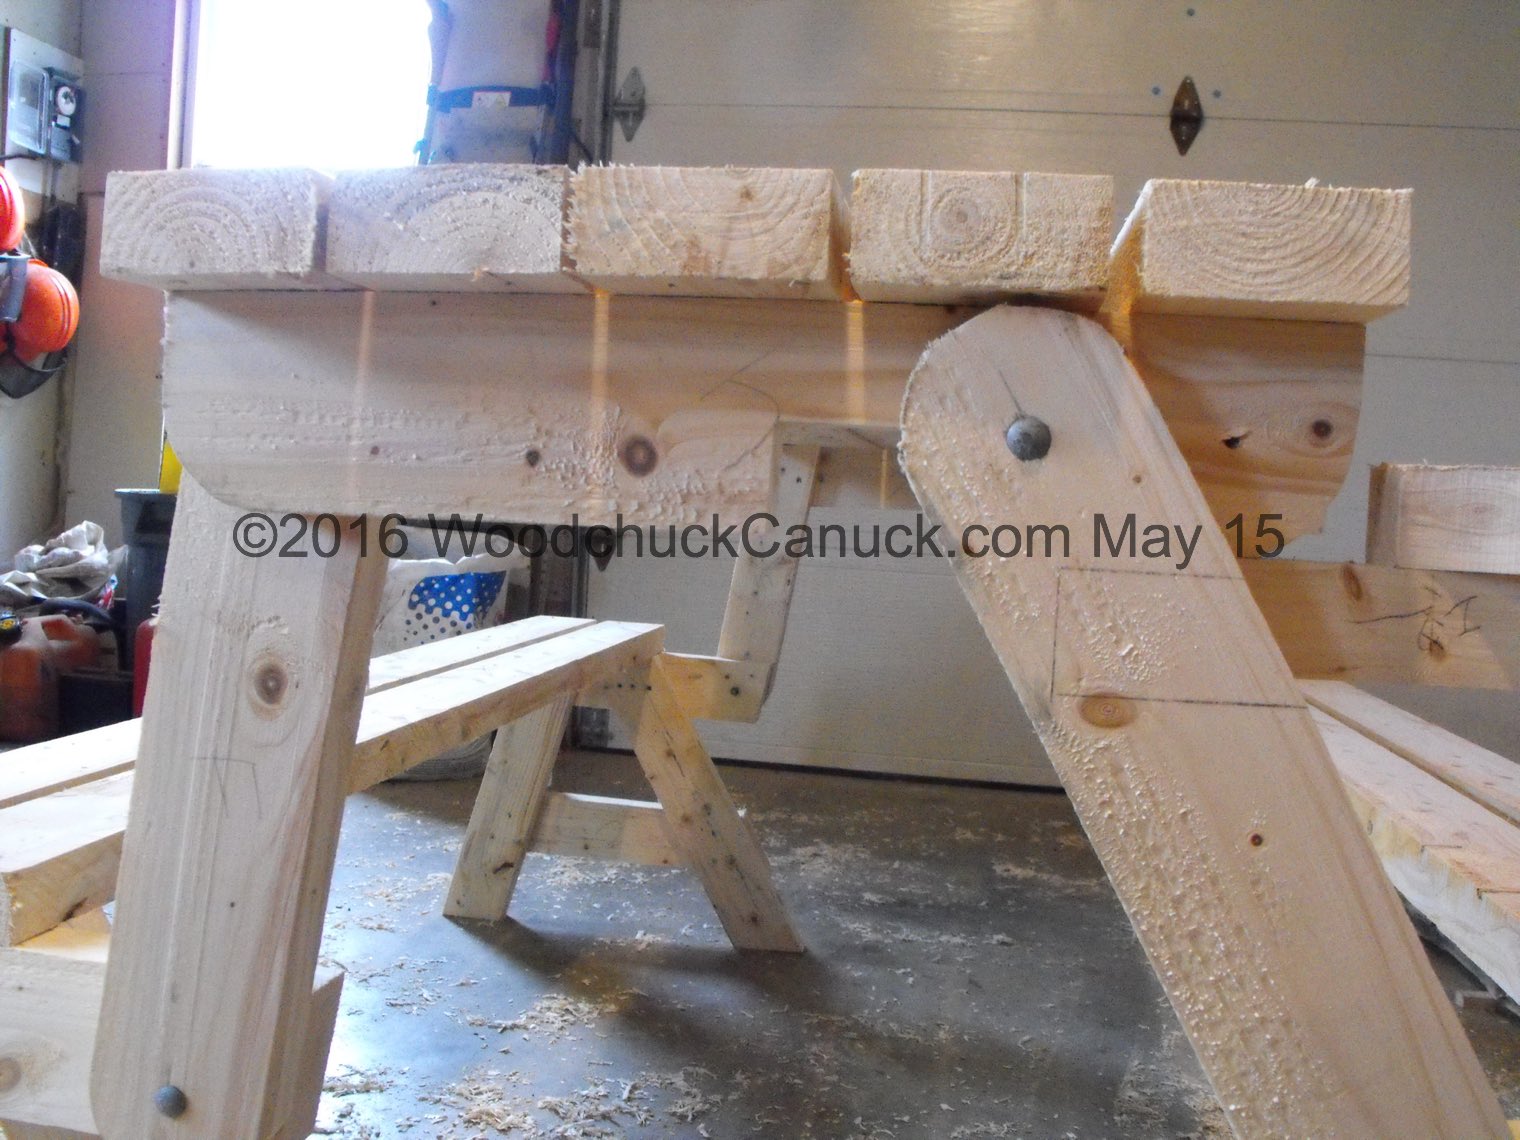
1. Start with assembling the bench seat legs; parts B, D, C and E.

2. Assemble the bench seat by adding on the parts A.

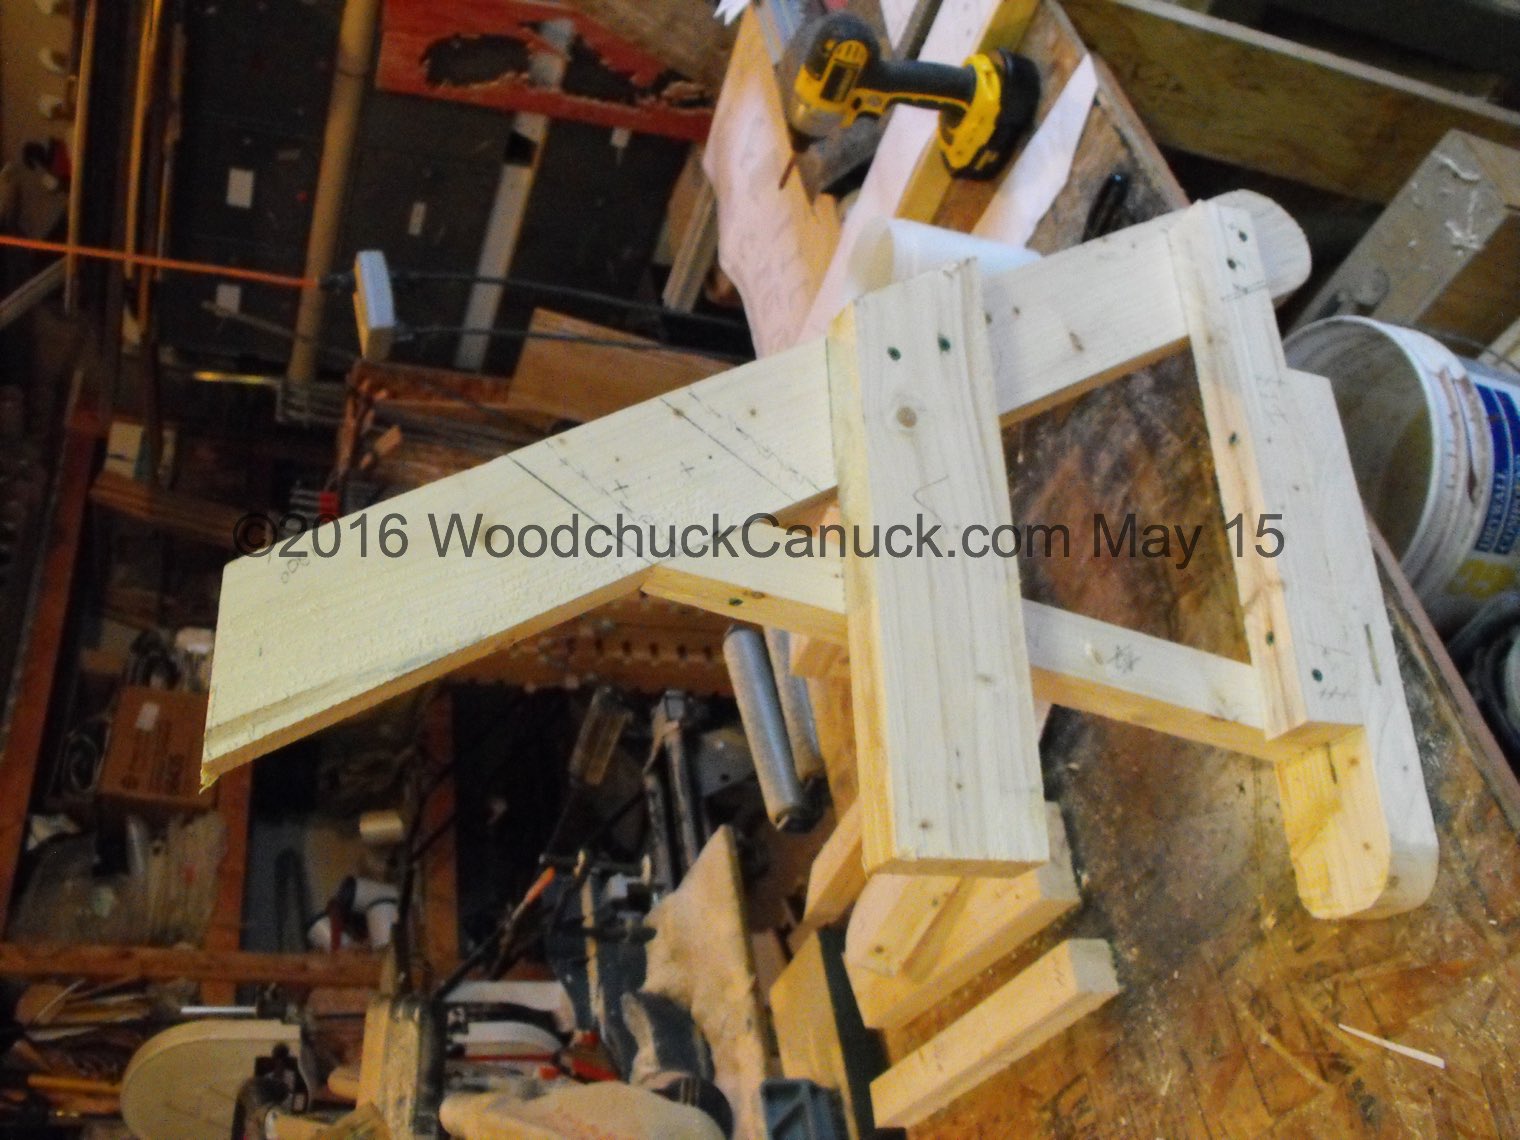
3. Assemble the pivot mechanism; parts F and J.
4. Assemble the picnic table leg and bench arm rest portion of the project. Start with parts O and L.

Next add part N.

Next add the part I.

Finally add part H. You also add part M at this time, while its not shown in the photo below, if you looking at the images after that you will see part M added.
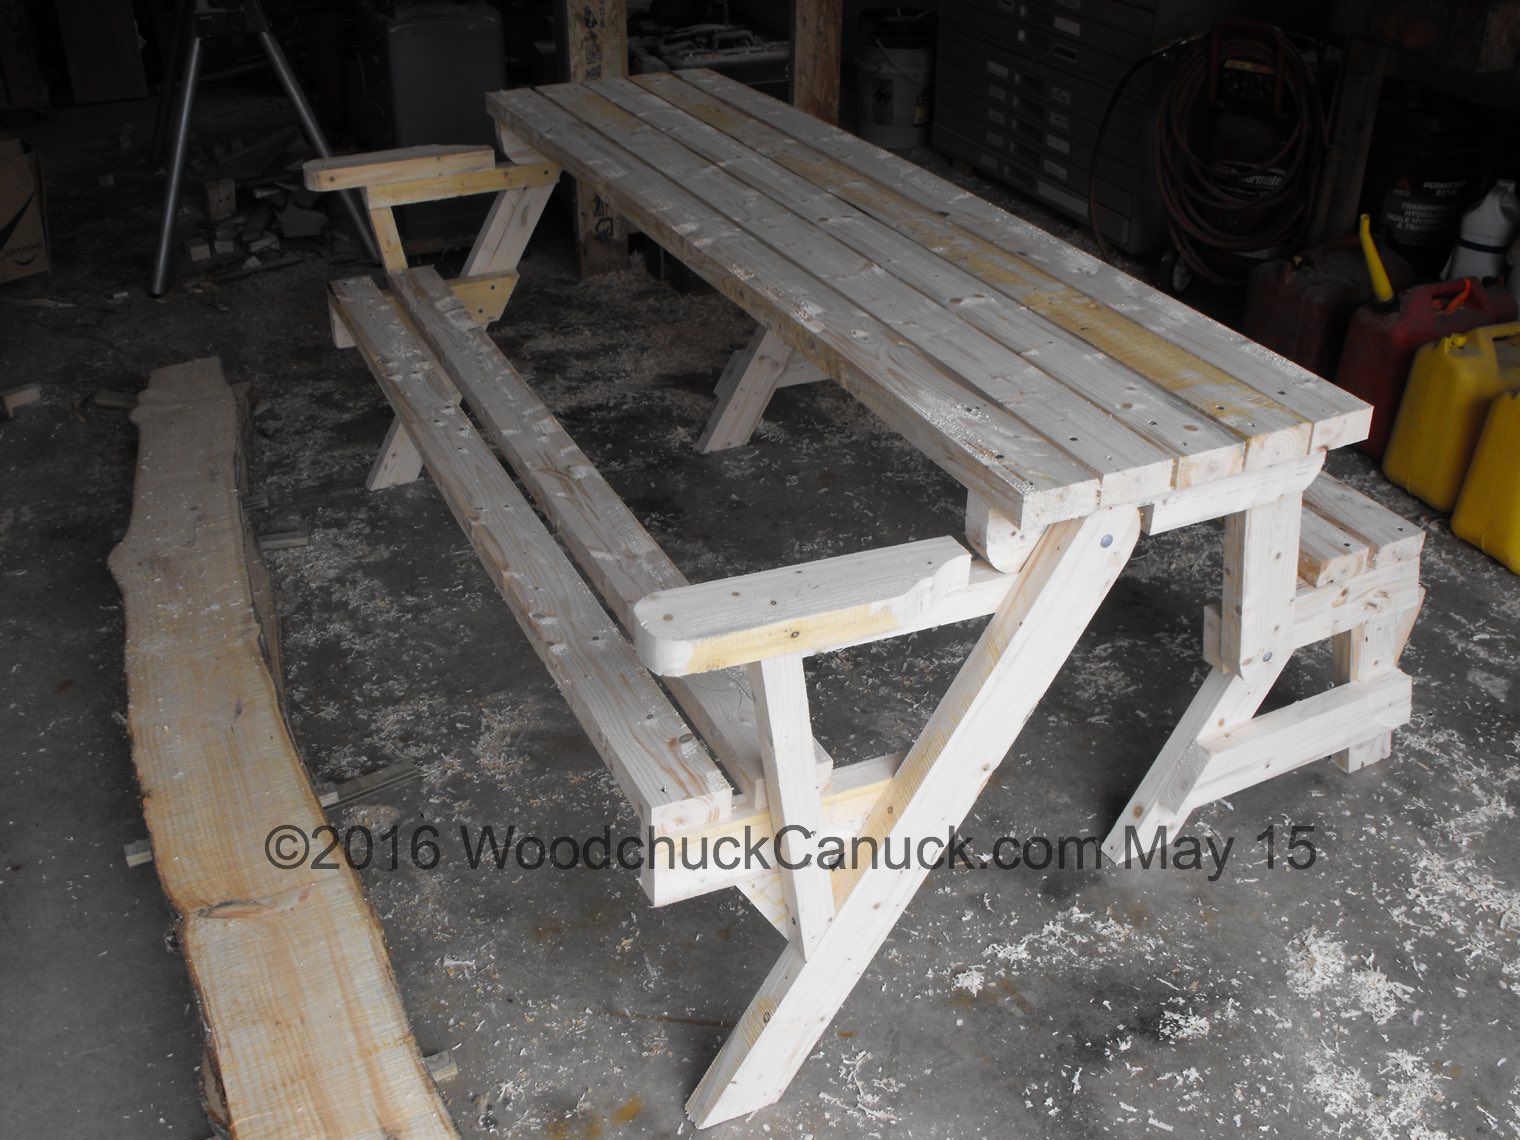
5. Bolt on the pivot mechanism to the bench seat.
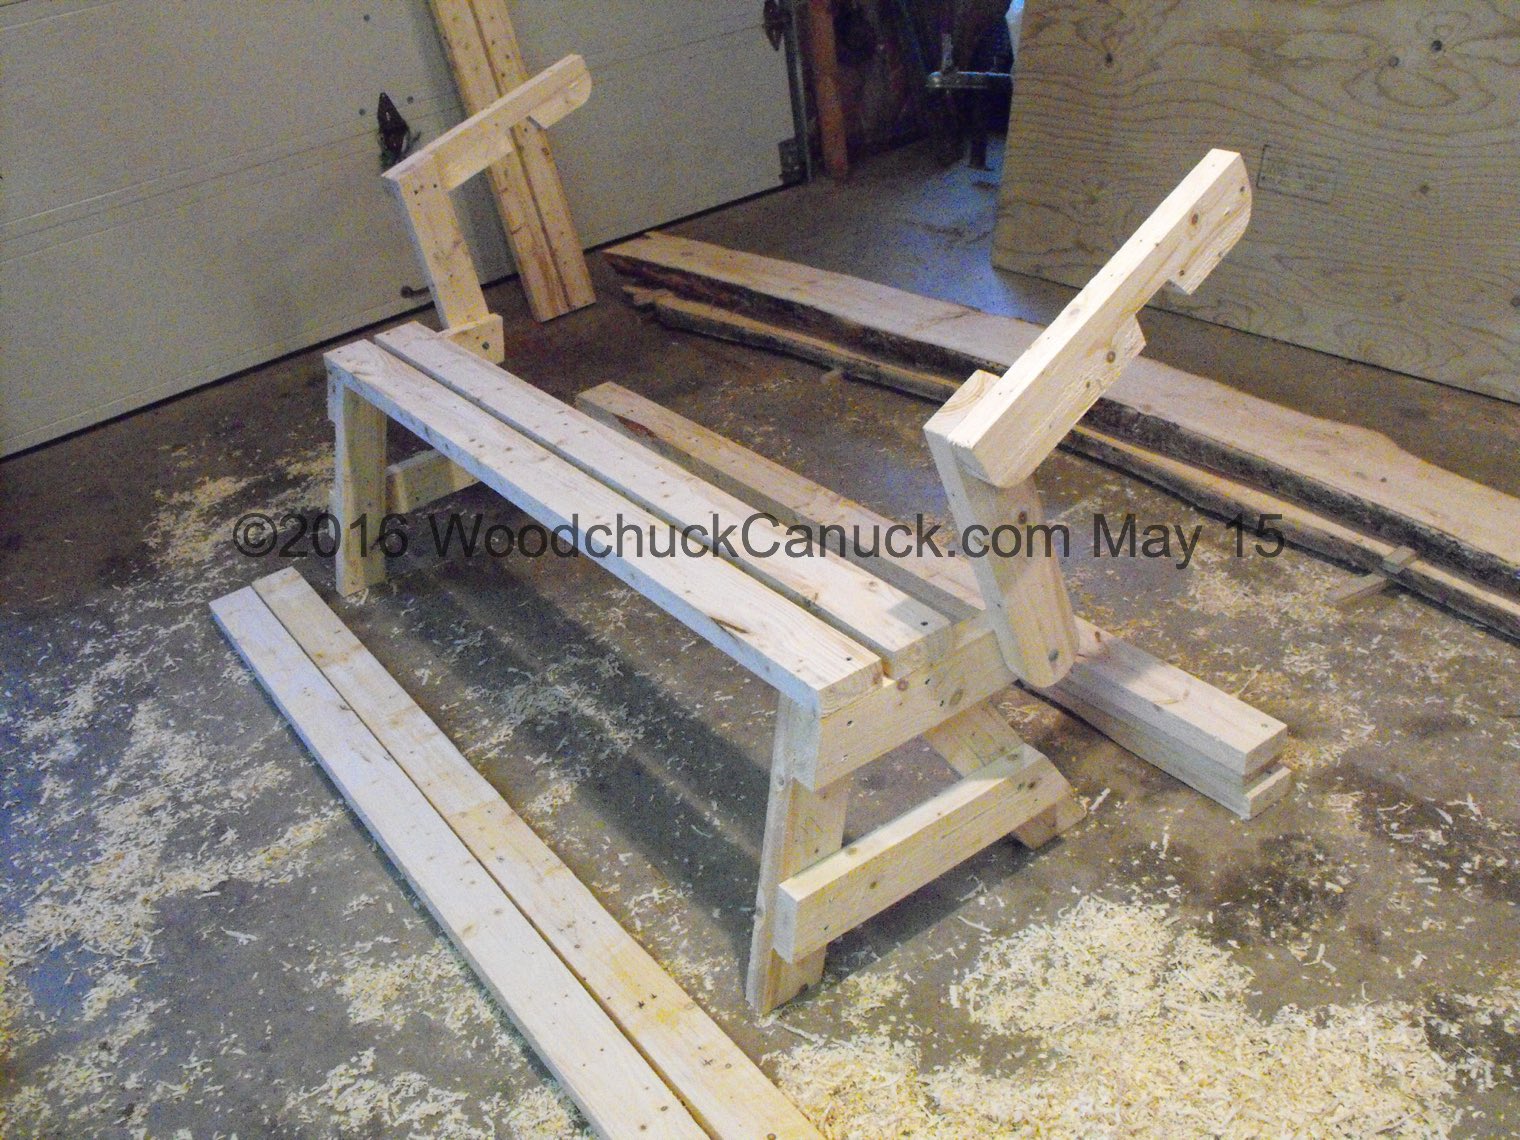
6. Bolt on the assemblies you made from step 4.

7. Check the pivoting mechanism and the clearances. Adjust if necessary.

8. Checking for squareness.

9. When you are adding the parts G, you can add them however far apart you want. Below I show how I attached mine. Some people even replace the 2×4 with 2×6, just adjust accordingly.
All done!

One Comment
Pingback: